The following step-by-step instructions show how to enable the Microsoft Entra ID (formerly AAD Licensing) for our add-ons. This allows you to consider licenses assigned in the Office 365 portal rather than only security roles assigned in your DataVerse.
Microsoft Entra ID licensing is required for scenarios where PowerApps Per app, PowerApps per User or Team Member licenses are utilized. (see How licenses are counted for details).
Please note: To activate the Microsoft Entra ID Licensing, you need administration rights. Have a look at the corresponding blog article “Licensing Guide for Microsoft Dynamics 365“.
Open your Dynamics 365 Advanced Settings, navigate to the MSCRM-ADDONS section (highlighted below) and select the product you want to activate the Microsoft Entra ID Licensing for. This activation process has to be done for each product separately. Depending on which of our solutions you choose, the main configuration window will provide you with different tabs.


For example, if you select DocumentsCorePack (DCP), the main configuration window looks like in the figure below. To activate the Microsoft Entra ID Licensing for DCP:
❶ Navigate to the “License Server” tab.
❷ Hit the [Enable AAD Licensing] button (Microsoft Entra ID).
![Enable the [Enable AAD Licensing] button in the License Server Tab](https://cdn.mscrm-addons.com/wp-content/uploads/2018/05/2021-12-22_08h16_44.jpg)
Figure 2: TeamMember Licensing for DocumentsCorePack
This “Enable AAD Licensing” window will pop up. You have to enter a Dynamics 365 user and hit the [Start] button.
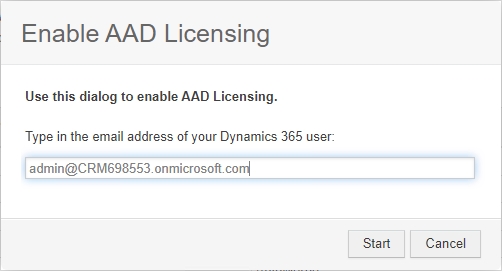
Figure 3: Enable AAD TeamMember licensing
A login is required. Sign in and hit the [Next] button
Please note: It might be helpful to disable the pop-up blocker in your browser.
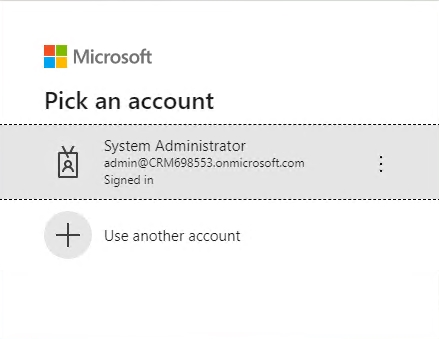
Figure 4: Login
After the login, you will be provided with the “Permissions requested Review for your organization” page.
Continue by hitting the [Accept] button.
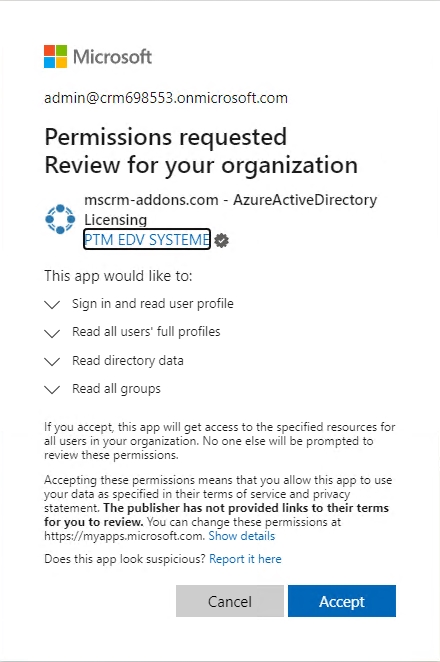
Figure 5: Accept Permission requested
Please note: If you do not have an Azure administrator account available, you can use this URL and ask your admin to consent. Once done, repeat the steps.
https://login.microsoftonline.com/[AAD Tenant]/adminconsent?client_id=b947c55d-c40e-41d5-88f6-f47388504e69&state=appuser&redirect_uri=https://graphapi.mscrm-addons.com
Your Administrator only has to replace the placeholder [AAD TenantId] with the actual ID of your AAD Tenant or with the domain name of the tenant.
If the process was successful, you will be linked to our website showing the information below.
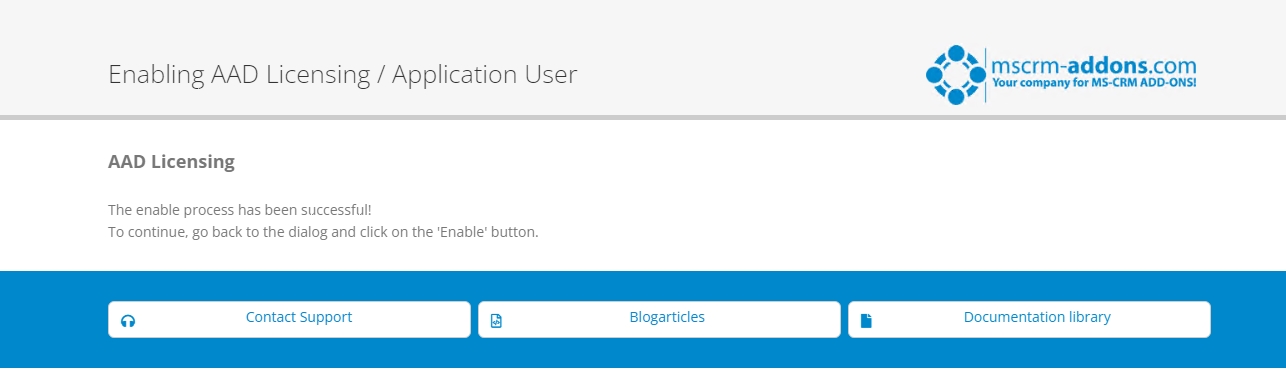
Figure 6: Licensing information – successful
Go back to your license dialog and click on the [Enable] button.

Figure 7: Enable AAD Licensing
The system information of your Dynamics 365 shows you that your Microsoft Entra ID Licensing is enabled.
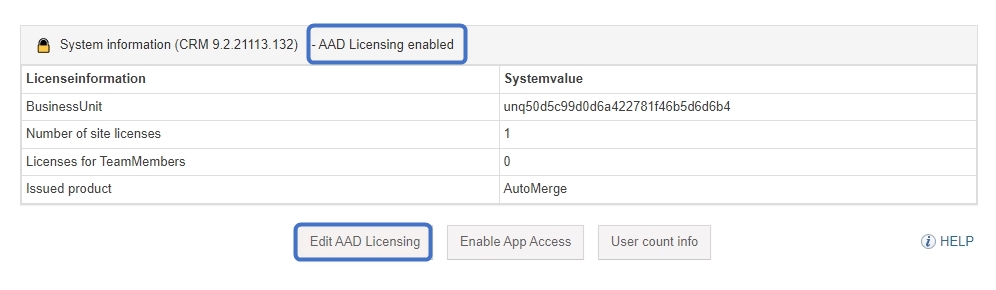
Figure 8: License summary
If you hit the [Edit AAD Licensing] button, the window below will opens and allow you to [Renew], [Clear Cache], [Disable] or to [Cancel] the Microsoft Entra ID Licensing.

Figure 9: Edit AAD TeamMember licensing
If you need to enable Microsoft Entra ID Licensing for any other of our products, just navigate to the License tab in the respective product and activate it, like in this article.
If you don´t know exactly, how licenses are counted, this article will help you.
That’s it! We appreciate your feedback! Please share your thoughts by sending an email to support@mscrm-addons.com.