mscrm-addons.com logomscrm-addons.com logo
  • Release History
  • Knowledge Base
  • Documentation
  • Contact Support
  • Release History
  • Knowledge Base
  • Documentation
  • Contact Support
home/Knowledge Base/Template Designer(DCP)/Step-by-Step: How to create a NDA-contract template 

Step-by-Step: How to create a NDA-contract template 

592 views 0 Updated on October 18, 2023

This article outlines how to create a simple NDA template. 

In this step-by-step description, we will create an NDA template that contains DocuSign fields. This template will make use of the following features: 

  • Adding fields from Dynamics 365 
  • DocuSign fields 

Please note: This article assumes an understanding of DocumentsCorePack’s DocuSign integration. For information on configuring and installing DocuSign, please see this article. 

This guide is based on a sample template. To view the finished sample template, please see the attached document at the bottom of this article. 

For a video version of this guide, please see the video below: 

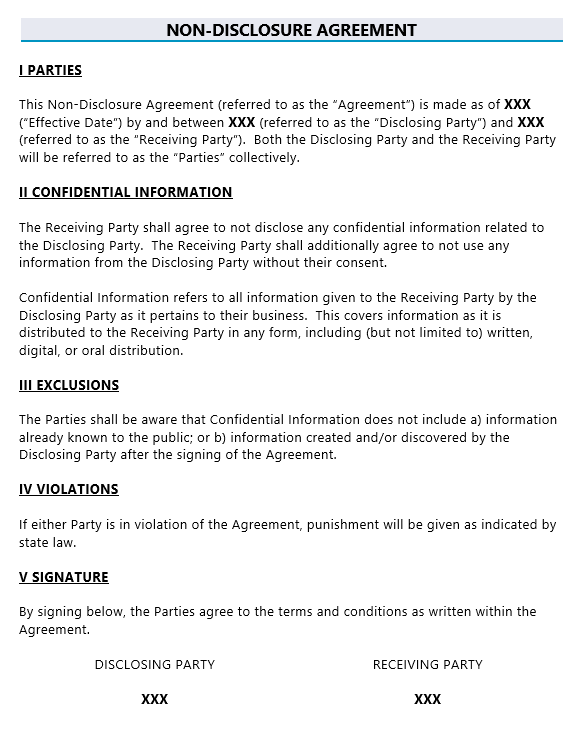
Step 1: Include your NDA’s text 

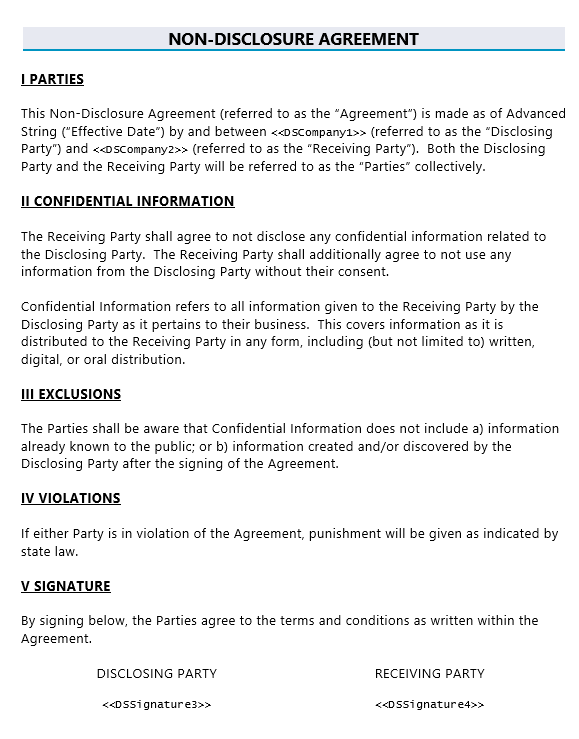
Begin by including the text of the NDA.  For our example, here’s what our text looks like: 

NDA structure
Figure 1: The overall structure of our NDA

Step 2: Adding the DocuSign fields 

Next, we will need to add our DocuSign fields for our “Disclosing” and “Receiving” parties.  There are two sets of fields we need to add: our company fields and our signature fields.  We will add our company DocuSign fields first, in the “Parties” section of the NDA. 

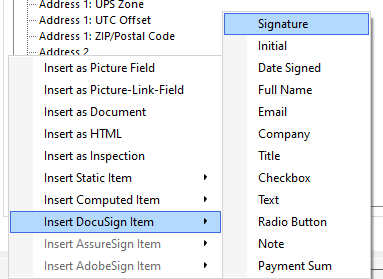
To add a DocuSign field, place the cursor where you would like the field to be and navigate to the Insert Field button in the Template Designer.  From there, select Company under Insert DocuSign Item.  

company docusign field
Figure 2: Selecting the ‘Company’ DocuSign field

This will add the field to the document. 

company field
Figure 3: The added ‘Company’ field, as seen in the template

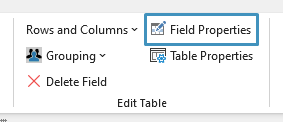
Once the field has been added, you can modify its properties by selecting the field and clicking on the Field Properties button in the Edit Table group under the www.mscrm-addons.com tab. 

field properties button
Figure 4: The ‘Field Properties’ button

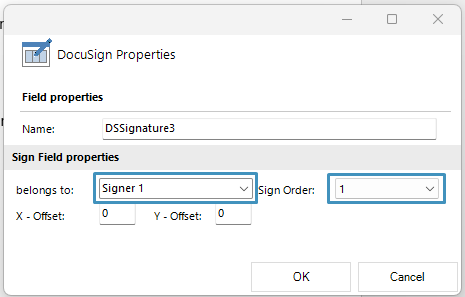
In the DocuSign Properties window, you can change who the field belongs to (Signer 1, 2, ect.) or select the sign order.  Since this field should belong to our first signer, we will select this field to belong to “Signer 1” and set the Sign Order to 1. 

Click OK once you are finished. 

signer and sign order
Figure 5: Specifying the signer and sign order

This process should be repeated for our second DocuSign field for this section.  Once we add the second company field, we can go into its properties and add a new signer by selecting Add new one.  

adding a signer
Figure 6: Adding a new signer

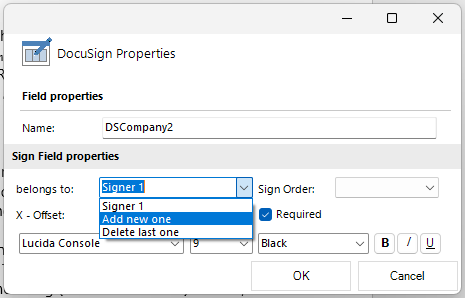
Then, we modify the properties to account for our second signer, as shown here: 

second signer properties
Figure 7: Modified properties for our second signer

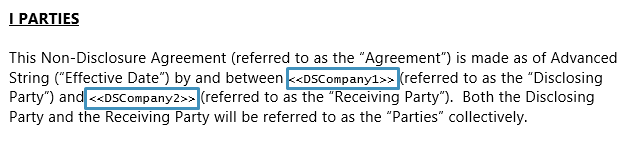
The fields should now look like this in the document: 

both company fields
Figure 8: Both ‘Company’ fields in the template

Next, we want to add two Signature fields in the “Signature” section of the document.  Once again, we can navigate to the Insert Field button in the Template Designer and select the Signature field from there. 

adding signature fields
Figure 9: Adding our ‘Signature’ fields

Similar to before, we can add the field and modify its properties to account for our first signer. 

signature field properties
Figure 10: Setting the properties for our ‘Signature’ field

Repeat this process for our second signer. The section should now have two signature fields, one for each signer. 

signature fields
Figure 11: The ‘Signature’ fields in our template

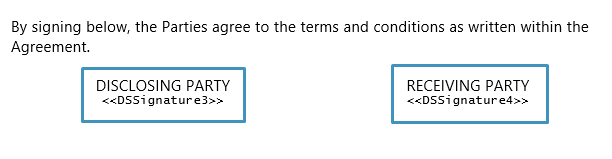
Your document should now look similar to the following: 

finished template
Figure 12: The finished template

Step 3: Generating your document 

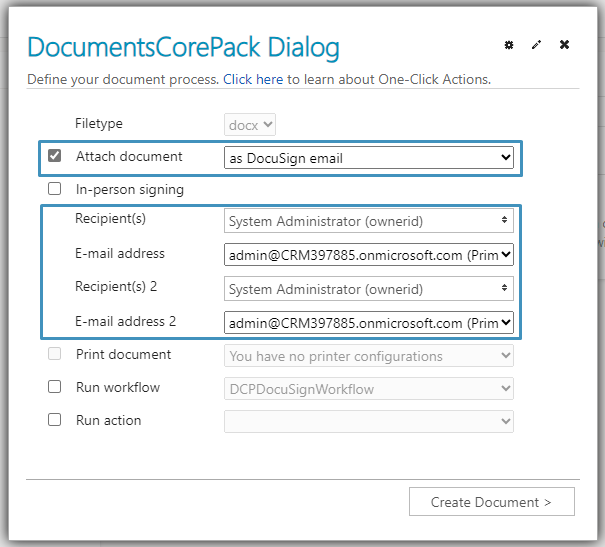
Once you are finished, save your template and return to your environment to generate a document. In the DocumentsCorePack Dialog, select to attach the document as a DocuSign email.  Additionally, you can select the recipients. 

dcp dialog
Figure 13: Configuring the document generation process in the DocumentsCorePack Dialog

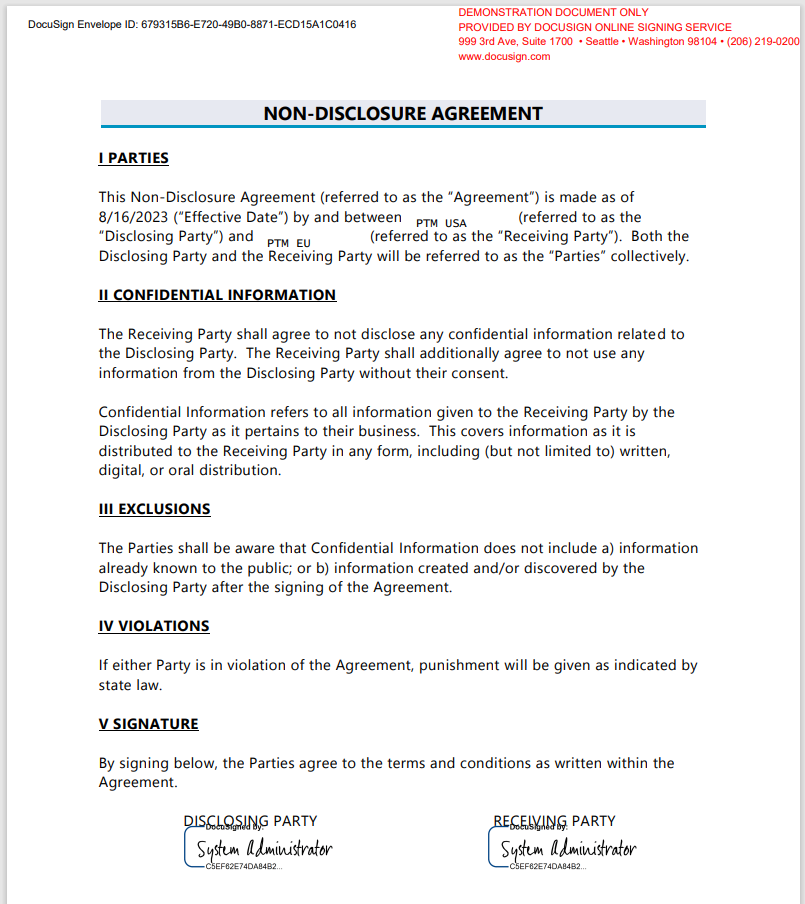
Continue through the dialog steps.  After finishing the process, the generated document should be sent to your recipients for signing.  Once all recipients have signed the document, the finished document should look similar to this: 

final result document
Figure 14: The final result document

That‘s it! We appreciate your feedback! Please share your thoughts by sending an e-mail to support@mscrm-addons.com 

Attached Files
#
File Type
File Size
Download
1 .docx 416.84 KB Contact NDA Template

Was this helpful?

Yes  No
Related Articles
  • Debugging the Template Design Office Add-In 
  • Introducing the DocumentsCorePack Template Designer Office Add-In
  • Ensuring correct time zone display for DateTime fields
  • How to compare a date-fields with the current date 
  • Create a template for XML or plain text
  • E-Invoicing with DocumentsCorePack
Latest Articles
  • Locating Raw Inputs and Outputs in Power Automate
  • Step by Step: How to execute an OCA in a Power Automate flow 
  • The Hidden Cost of CRM Storage — And How to Eliminate It 
  • Recap: Nordic Summit 2025
  • The new Template Designer Office Add-In
Popular Articles
  • DocumentsCorePack Template Designer – Getting Started
  • Step-by-Step: How to configure a One-Click-Action
  • Application Access for Dynamics 365
  • How to find your environment’s unique name in Microsoft Dynamics 365
  • How licenses are counted
Top Rated Articles
  • “Undefined”-labels in Chrome and Edge 114 and higher
  • How to insert Condition Fields in DocumentsCorePack Templates designer
  • Important information for Dynamics 365 online customers using DocumentsCorePack and/or AttachmentExtractor
  • How to activate the DocumentsCorePack Connector for PowerApps & Microsoft Flow
  • How licenses are counted
Categories
  • *News and General Infos* 65
  • Webinars 46
  • Template Designer(DCP 197
  • DocumentsCorePack(DCP 262
  • TelephoneIntegration (TI 65
  • AttachmentExtractor (AE 76
  • PowerSearch (PS 50
  • ActivityTools (AT 61
  • SmartBar (SB 54
  • GroupCalendar (GC 47
Our Vision

“We see it as our purpose to provide products that simplify and speed up our customers’ Microsoft Dynamics 365 experience.”

Knowledgebase
LogIn
mscrm-addons.com
  • Products
  • Online Shop
  • Downloads
  • My Account
About Us
  • About Us
  • Case Studies
  • Newsletter
  • Partner Program
  • Contact
Support
  • Support
  • Terms & Conditions
  • Documentation
  • Webinars
  • Legal Documents
  • Impressum
  • © 2025 www.mscrm-addons.com. All Rights Reserved.