mscrm-addons.com logomscrm-addons.com logo
  • Release History
  • Knowledge Base
  • Documentation
  • Contact Support
  • Release History
  • Knowledge Base
  • Documentation
  • Contact Support
home/Knowledge Base/*News and General Infos*/How to install solutions manually

How to install solutions manually

1302 views 0 Updated on July 26, 2022

In some cases, it is necessary to install our “mscrm-addons.com” solutions manually.
This article shows how this can be done in Dynamics 365.

Open your Dynamics 365 in a web browser and  navigate to “Settings” (Settings wheel -> Advanced Settings)


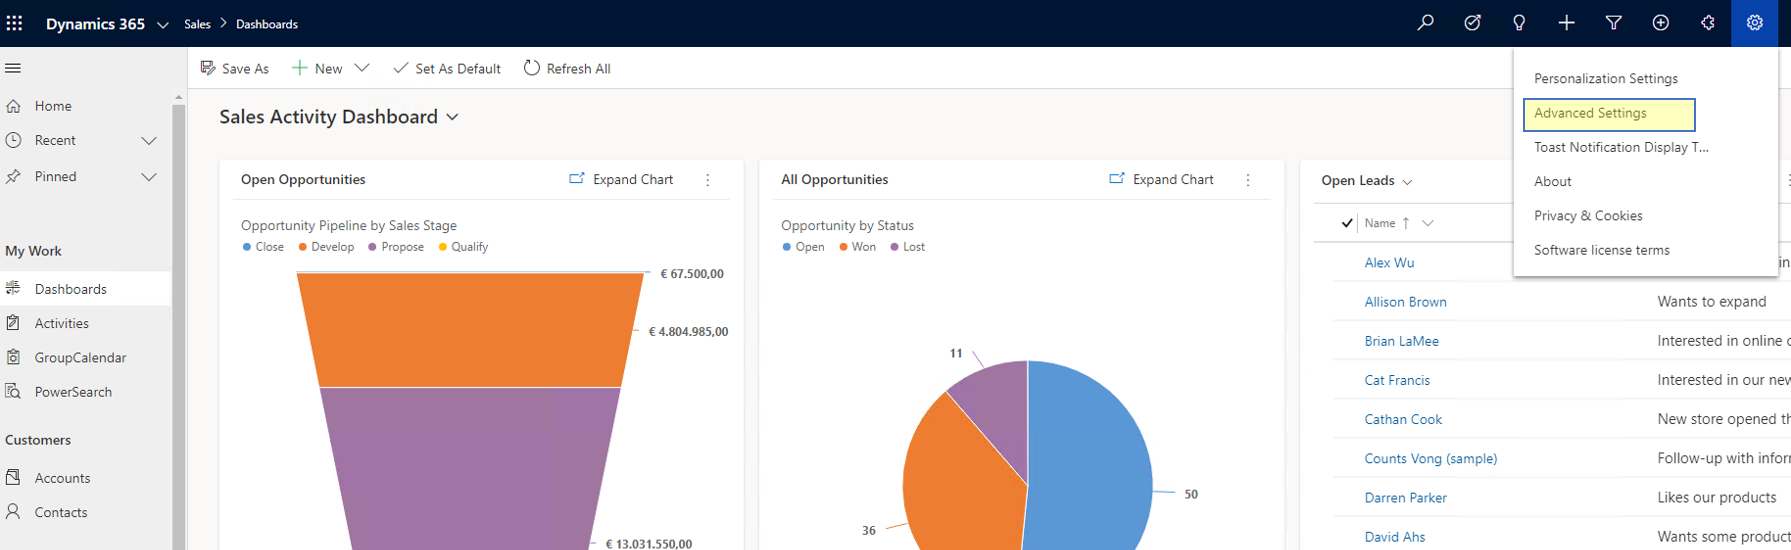
Figure 1: Settings/Advanced Settings

Hit again “Settings” and select “Solutions“.


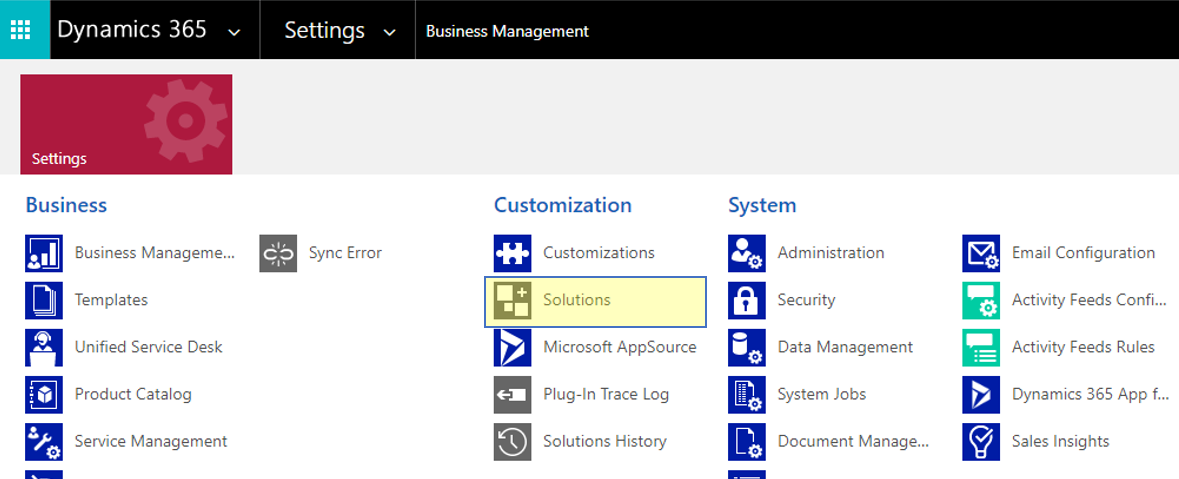
Figure 2: Dynamics 365/Solutions

Now you have reached the “Solution Overview“.
Choose “Import“.


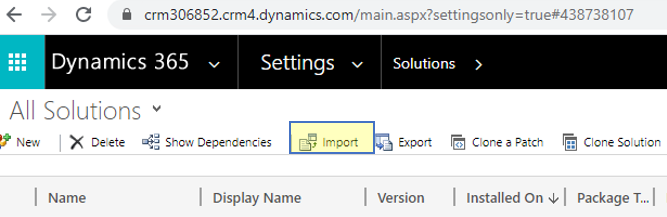
Figure 3: Import-button

A window “Select Solution Package” pops up.

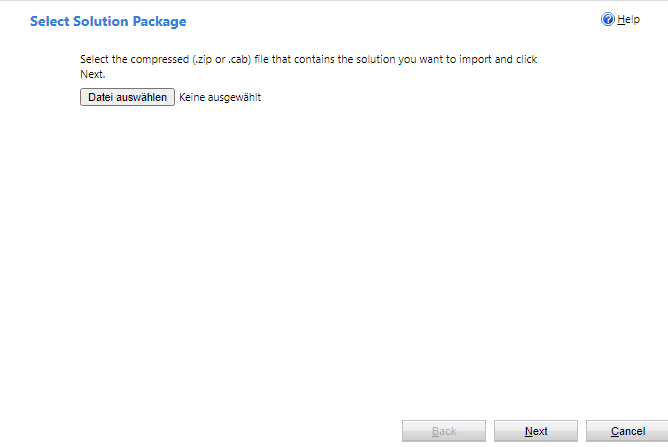
Figure 4: Select Solution Package-window

On this dialog hit “Select File” and a file dialog opens.
Use it to select the solution file (.zip) you want to import
(in this example the “MSCRMADDONScomGeneral”-solution):


Figure 5: MSCRMADDONScomGeneral.zip

Continue with “Next”. This dialog gives an overview of the solution package, go on with “Next”:


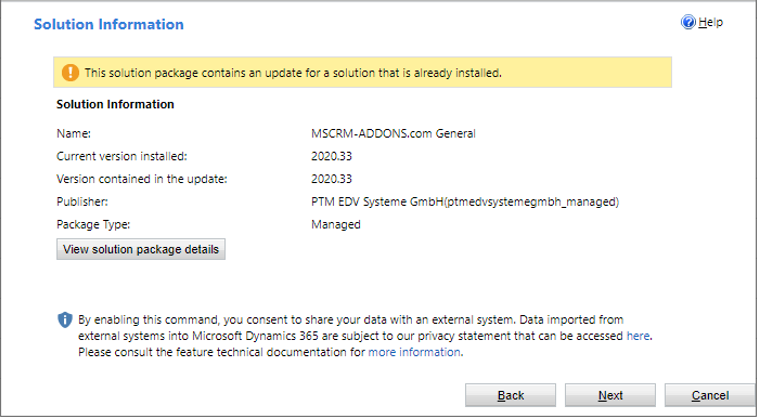
Figure 6: Solution Information

If an older version of the same solution already exists in your organization, you will get the following dialog: 


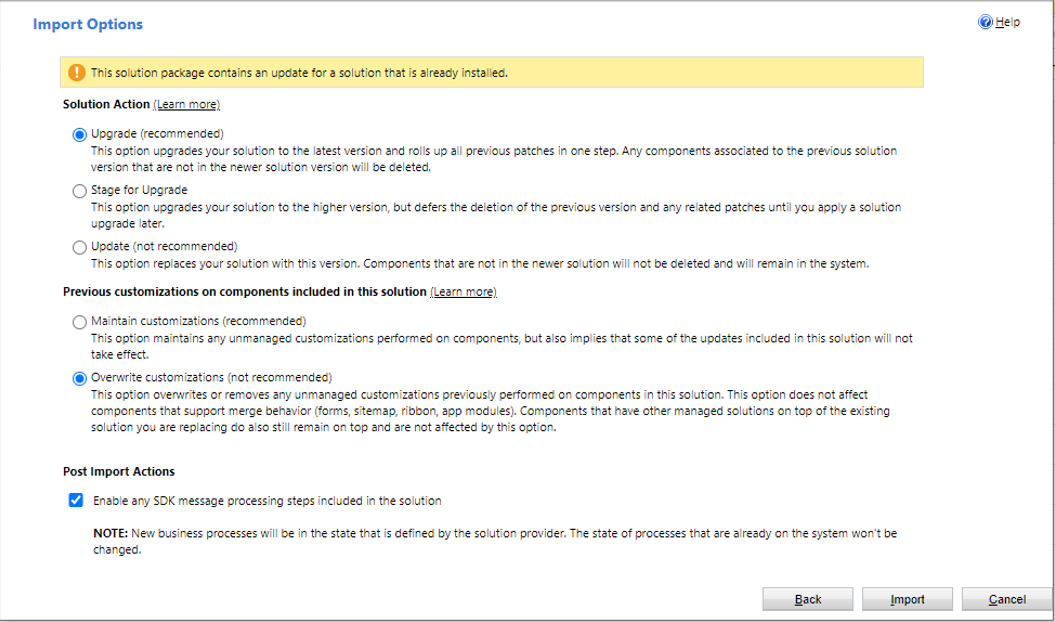
Figure 7: Import Options

We recommend selecting “Overwrite customizations”, for all other options default values can remain.
Then hit “Import”.

When the import is finished this dialog will be displayed:


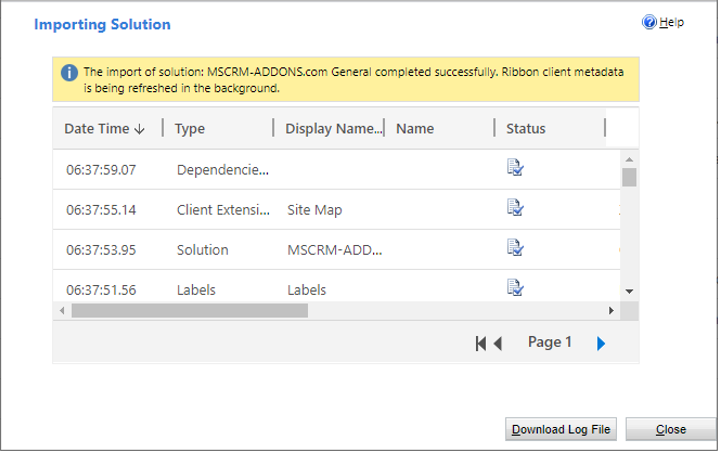
Figure 8: Importing Solution

Now press the [Close]-button.

Finally, you will see the installed solution with the correct version in the “Solution Overview“: 


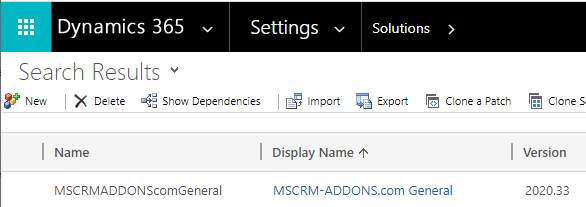
Figure 9: Successfully imported Solution

That’s it! We appreciate your feedback! Please share your thoughts by sending an email to support@mscrm-addons.com.

Was this helpful?

Yes  No
Related Articles
  • Recap: Nordic Summit 2025
  • Recap: European Power Platform Conference 2025
  • Recap: DynamicsMinds 2025
  • Recap: ColorCloud 2025
  • Recap: Canadian Power Platform Summit 2025
  • Recap: Scottish Summit 2024
Leave A Comment Cancel reply

You must be logged in to post a comment.

Latest Articles
  • Locating Raw Inputs and Outputs in Power Automate
  • Step by Step: How to execute an OCA in a Power Automate flow 
  • The Hidden Cost of CRM Storage — And How to Eliminate It 
  • Recap: Nordic Summit 2025
  • The new Template Designer Office Add-In
Popular Articles
  • DocumentsCorePack Template Designer – Getting Started
  • Step-by-Step: How to configure a One-Click-Action
  • Application Access for Dynamics 365
  • How to find your environment’s unique name in Microsoft Dynamics 365
  • How licenses are counted
Top Rated Articles
  • “Undefined”-labels in Chrome and Edge 114 and higher
  • How to insert Condition Fields in DocumentsCorePack Templates designer
  • Important information for Dynamics 365 online customers using DocumentsCorePack and/or AttachmentExtractor
  • How to activate the DocumentsCorePack Connector for PowerApps & Microsoft Flow
  • How licenses are counted
Categories
  • *News and General Infos* 65
  • Webinars 46
  • Template Designer(DCP 197
  • DocumentsCorePack(DCP 262
  • TelephoneIntegration (TI 65
  • AttachmentExtractor (AE 76
  • PowerSearch (PS 50
  • ActivityTools (AT 61
  • SmartBar (SB 54
  • GroupCalendar (GC 47
Our Vision

“We see it as our purpose to provide products that simplify and speed up our customers’ Microsoft Dynamics 365 experience.”

Knowledgebase
LogIn
mscrm-addons.com
  • Products
  • Online Shop
  • Downloads
  • My Account
About Us
  • About Us
  • Case Studies
  • Newsletter
  • Partner Program
  • Contact
Support
  • Support
  • Terms & Conditions
  • Documentation
  • Webinars
  • Legal Documents
  • Impressum
  • © 2025 www.mscrm-addons.com. All Rights Reserved.