mscrm-addons.com logo displayed here.mscrm-addons.com logo displayed here.
  • Release History
  • Documentation
  • Back to www.mscrm-addons.com
  • Release History
  • Documentation
  • Back to www.mscrm-addons.com
home/Knowledge Base/Template Designer(DCP)/How to protect your template (document) with a password or encrypt your PDF

How to protect your template (document) with a password or encrypt your PDF

1727 views 1 Updated on January 25, 2024

PDFs are used to record and exchange data. If the content should remain confidential and only selected recipients can access it, it is possible to setup password protection or encryption. DocumentsCorePack allows the user to predefine those settings in a template.

This article will show how to define document protection parameters using the DocumentsCorePack Template Designer.

The Document Protection Tab

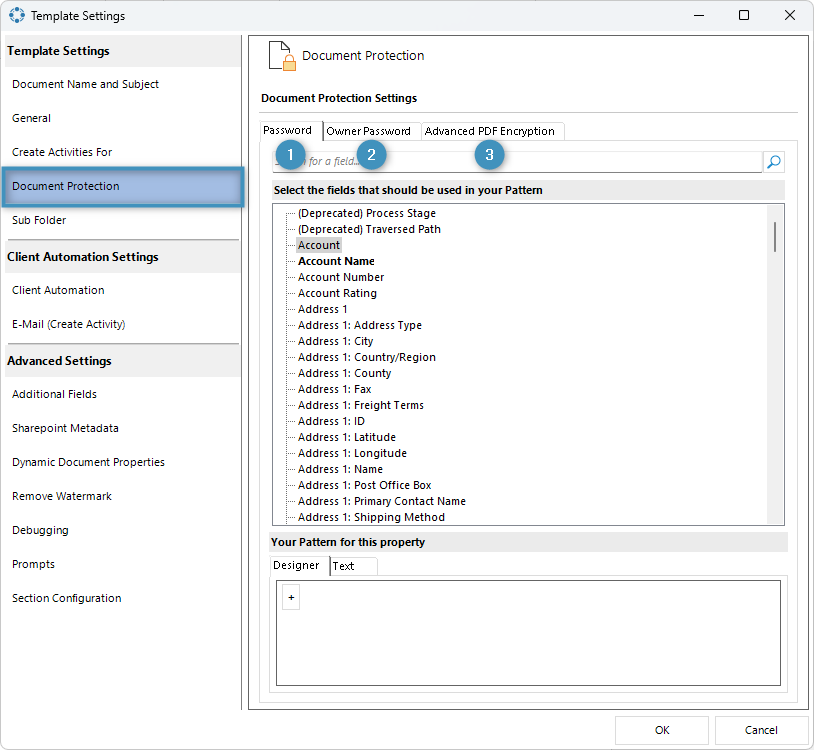
Select and open the template you want to protect with a password, and open in your the Advanced Template Settings from the Template Designer.  Navigate to the Document Protection tab as shown on the left side of the window. On the right are three additional tabs: the (1) Password tab, the (2) Owner Password tab, and the (3) Advanced PDF Encryption tab.
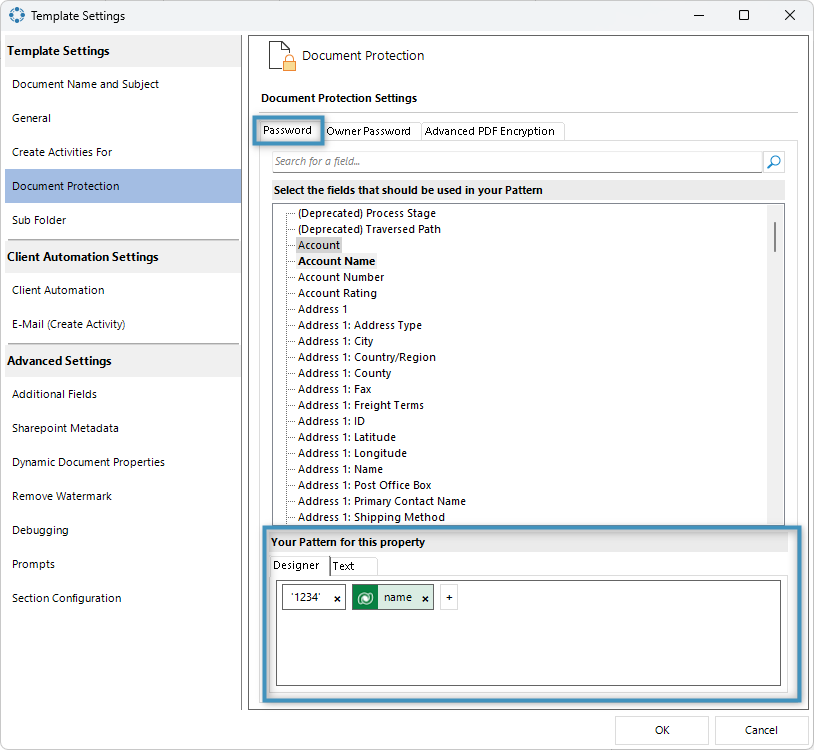
The Document Protection tab
Figure 1: The Document Protection tab

1. Password

A password can be configured to protect any document generated from the base template. This password can be constructed from either static text or fields from Dynamics 365 in the property designer.

To learn how the property designer works, please see here.

Please note: The set password will be required for all subquently generated documents.

The Password tab with a password configured below
Figure 2: The Password tab with a password configured below

2. Owner Password

The owner password is used to make changes to the settings of a generated PDF document after it’s been created. This can be set to help prevent unwanted changes to the protection settings of a PDF.

An owner password can be created through the property designer just like creating a normal password above.

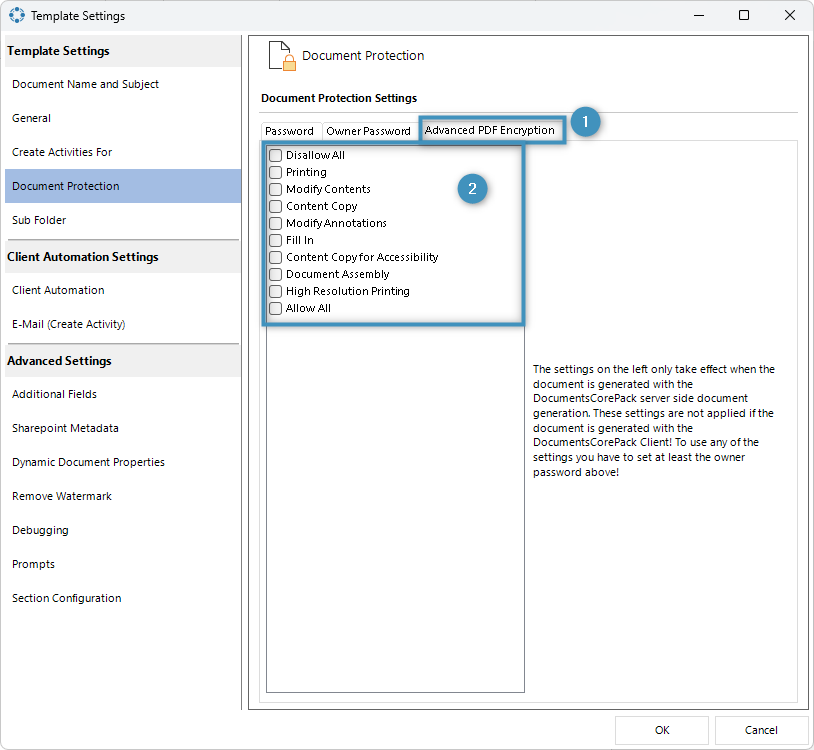
3. Advanced PDF Encryption

In the (1) Advanced PDF Encryption tab, you can increase the security of your PDF template. The (2) various encryption options are shown in the figure below.

Example: If you want to completely disallow all actions on the PDF, you can select the “Disallow All” option and confirm it by clicking “OK“. Keep in mind that most PDFs won’t have visible security settings, but if the “Disallow All” option is selected, you will not be able to print or make any changes to the content until you enter the password you set earlier.

Advanced PDF Encryption
Figure 3: Advanced PDF Encryption

Once you have configured your document protection settings, do not forget to save and test your template.

Result

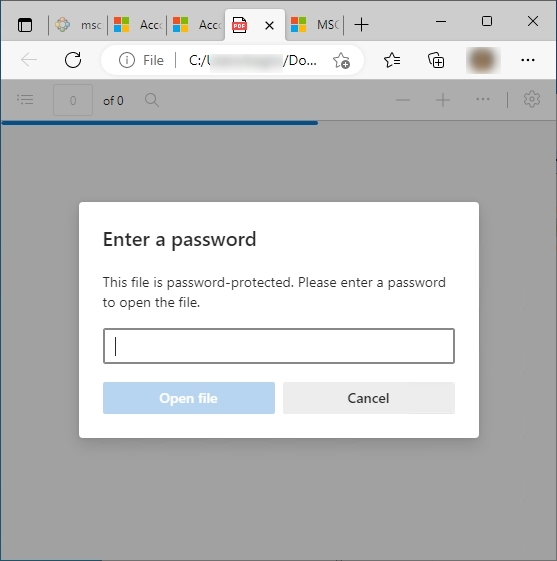
Example 1: Password protected Template

Here’s what a generated PDF with a configured password would look like if someone attempts to open it.

Example of a generated PDF with a password
Figure 4: Example of a generated PDF with a password

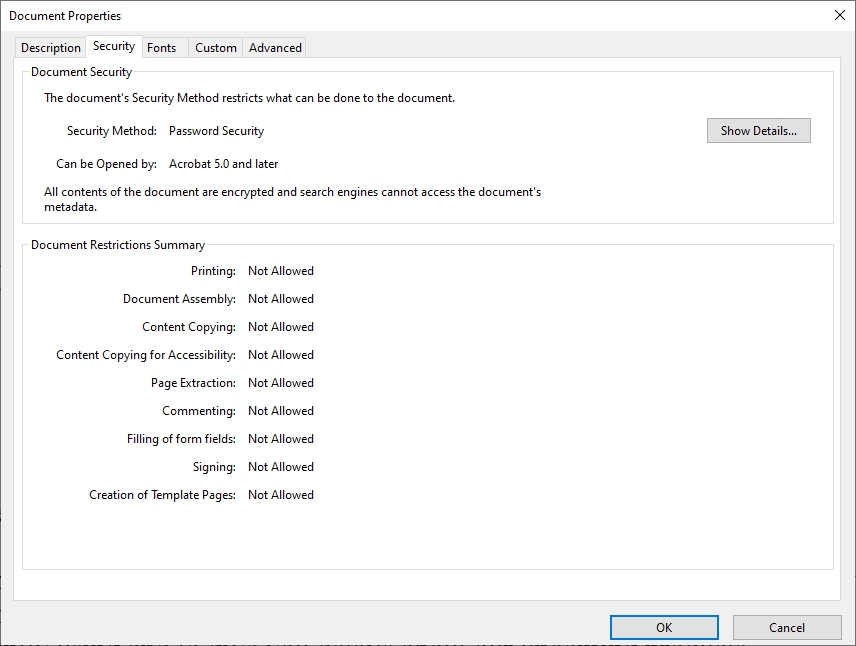
Example 2: Template which is protected with PDF Encryption

Please note: If you choose to protect your template with PDF Encryption, you must set either a password or an owner password for PDF Encryption to take effect.

In this example, a password, an owner password, and PDF encryption have been set.

All protection options enabled
Figure 5: All protection options enabled

If you open your PDF in a PDF-Reader, you can see that the encryption was successful:

An example of the document properties of the protected PDF
Figure 6: An example of the document properties of the protected PDF

That’s it! We appreciate your feedback! Please share your thoughts by sending an email to support@mscrm-addons.com.

Was this helpful?

1 Yes  1 No
Related Articles
  • Introducing the DocumentsCorePack Template Designer Office Add-In (Beta)
  • Ensuring correct time zone display for DateTime fields
  • How to compare a date-fields with the current date 
  • Create a template for XML or plain text
  • E-Invoicing with DocumentsCorePack
  • How to add content from SharePoint to a document
Latest Articles
  • What Happens After You Deploy AttachmentExtractor: Storage & Cost Savings in Dynamics 365
  • Deploying DocumentsCorePack: Setup, Automation, and Real Business Impact in Dynamics365
  • Introducing the DocumentsCorePack Template Designer Office Add-In (Beta)
  • How to Eliminate Excess Storage Costs in Microsoft Dynamics 365 Without Losing Access to Emails and Attachments
  • 3 Ways DocumentsCorePack Transforms Proposal, Quote, and Contract Creation
Popular Articles
  • DocumentsCorePack Template Designer – Getting Started
  • Step-by-Step: How to configure a One-Click-Action
  • Application Access for Dynamics 365
  • How to find your environment’s unique name in Microsoft Dynamics 365
  • How licenses are counted
Top Rated Articles
  • “Undefined”-labels in Chrome and Edge 114 and higher
  • Important information for Dynamics 365 online customers using DocumentsCorePack and/or AttachmentExtractor
  • How to activate the DocumentsCorePack Connector for PowerApps & Microsoft Flow
  • How to insert Condition Fields in DocumentsCorePack Templates designer
  • How licenses are counted
Categories
  • *News and General Infos* 64
  • Webinars 45
  • Template Designer(DCP 196
  • DocumentsCorePack(DCP 258
  • TelephoneIntegration (TI 65
  • AttachmentExtractor (AE 75
  • PowerSearch (PS 50
  • ActivityTools (AT 61
  • SmartBar (SB 54
  • GroupCalendar (GC 47
Our Vision

“We see it as our purpose to provide products that simplify and speed up our customers’ Microsoft Dynamics 365 experience.”

Knowledgebase
LogIn
mscrm-addons.com
  • Products
  • Online Shop
  • Downloads
  • My Account
About Us
  • About Us
  • Case Studies
  • Newsletter
  • Partner Program
  • Contact
Support
  • Support
  • Terms & Conditions
  • Documentation
  • Webinars
  • Legal Documents
  • Impressum
  • © 2022 www.mscrm-addons.com. All Rights Reserved.