• Release History
  • Documentation
  • Back to www.mscrm-addons.com
  • Release History
  • Documentation
  • Back to www.mscrm-addons.com
home/Knowledge Base/Template Designer(DCP)/Step-by-Step: How to create a label template

Step-by-Step: How to create a label template

390 views 0 Updated on September 2, 2024

In Microsoft Word, it is possible to create label templates for mailing lists or nametags.  DocumentsCorePack extends this feature to additionally work with the Template Designer, allowing dynamic fields to be inserted into labels. 

In this step-by-step description, we will create a label template for the use of creating business cards, with each label representing a business card meant for an account stored in our Dynamics 365 environment.  This template will make use of the following features: 

  • Labels 
  • Adding fields from the Template Designer

This guide is based on a sample template. To view the finished sample template, please see the attached document at the bottom of this article.  

For a video version of this guide, please see the video below: 

Step-by-Step-Video

Step 1: Setting the base entity 

When creating a template, it is always important to set your base entity first.  This is because the fields displayed in the Template Designer will be determined by this base entity, and once a field has been inserted into a template, the base entity can no longer be changed.  In this case, our base entity is Account, so we will set the Type accordingly.  

Setting our base entity
Figure 1: Setting our base entity

Step 2: Setting up the label template 

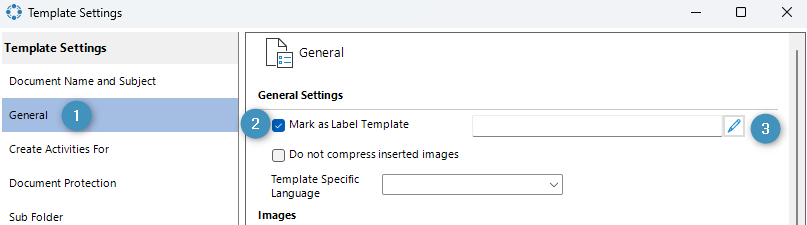
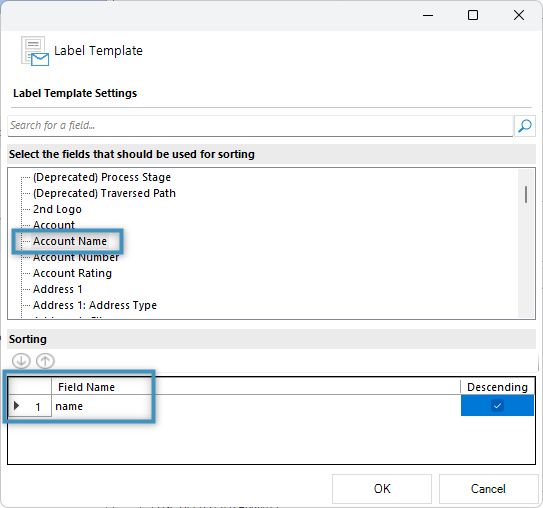
Open the Advanced Template Settings.  Navigate to the ❶ General tab and enable the ❷ “Mark as Label Template” setting.  Optionally, you can click on the ❸ Edit button to apply a sorting filter to the label.  In the next window, you can select a field to sort the labels by.  We will choose to sort by the Account Name. 

Marking our template as a label template
Figure 2: Marking our template as a label template
Applying a a sorting filter
Figure 3: Applying a a sorting filter

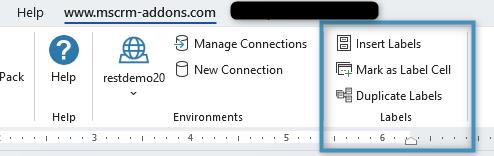
Click OK and accept all changes.  When you return to your template, you will now see a new group called Labels appear under the mscrm-addons.com tab.   

The Labels group
Figure 4: The Labels group

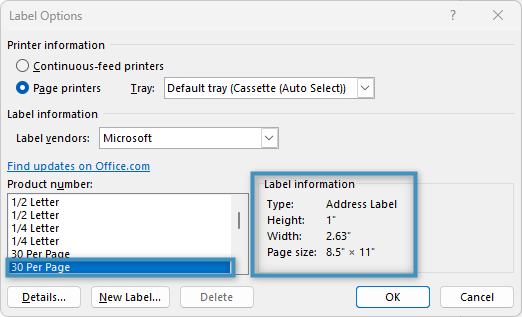
Click on the Insert Labels button.  The Label Options window will open.  Here, select the second 30 Per Page option.  The option should indicate a page size of 8.5 x 11. 

Selecting our label options
Figure 5: Selecting our label options

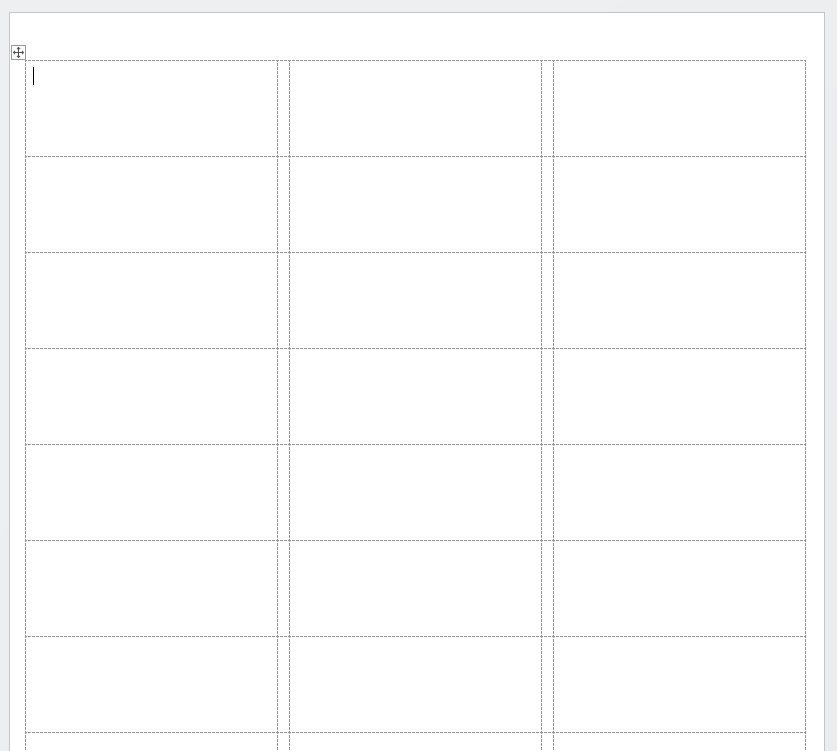
After clicking OK, the page will insert the label format into the template. 

Note: If you cannot see gridlines, we recommend applying them via the Layout tab to help manage your label content. 

The blank document, with gridlines showing
Figure 6: The blank document, with gridlines showing

Step 3: Designing our labels 

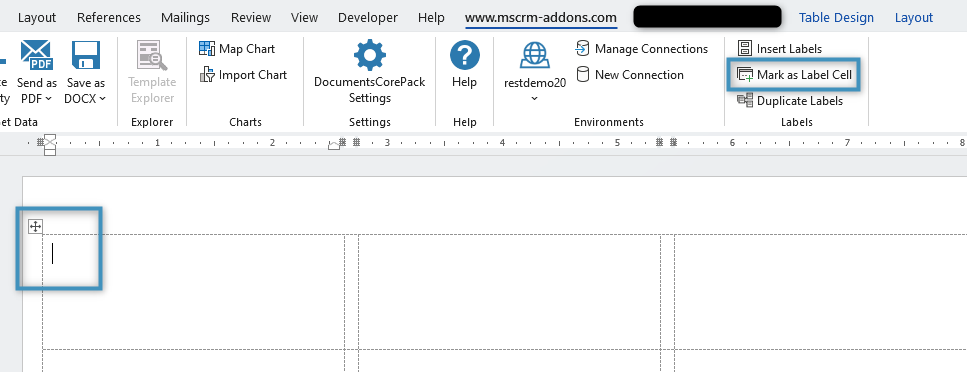
Before adding content to our labels, it is important to mark one cell as the label cell.  This cell will later be used to apply its design over all of the labels in the template. 

To mark the cell, set your cursor in the first cell of the document and click on the Mark as Label Cell button. 

Marking the first cell as a label cell
Figure 7: Marking the first cell as a label cell

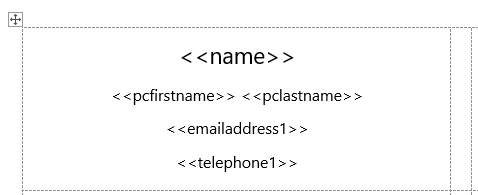
With the cell marked, we will now add fields to the label via the Template Designer.  For a simple business card, we want to add four fields: the account’s name, primary contact, email, and telephone number. 

Adding fields to our label
Figure 8: Adding fields to our label

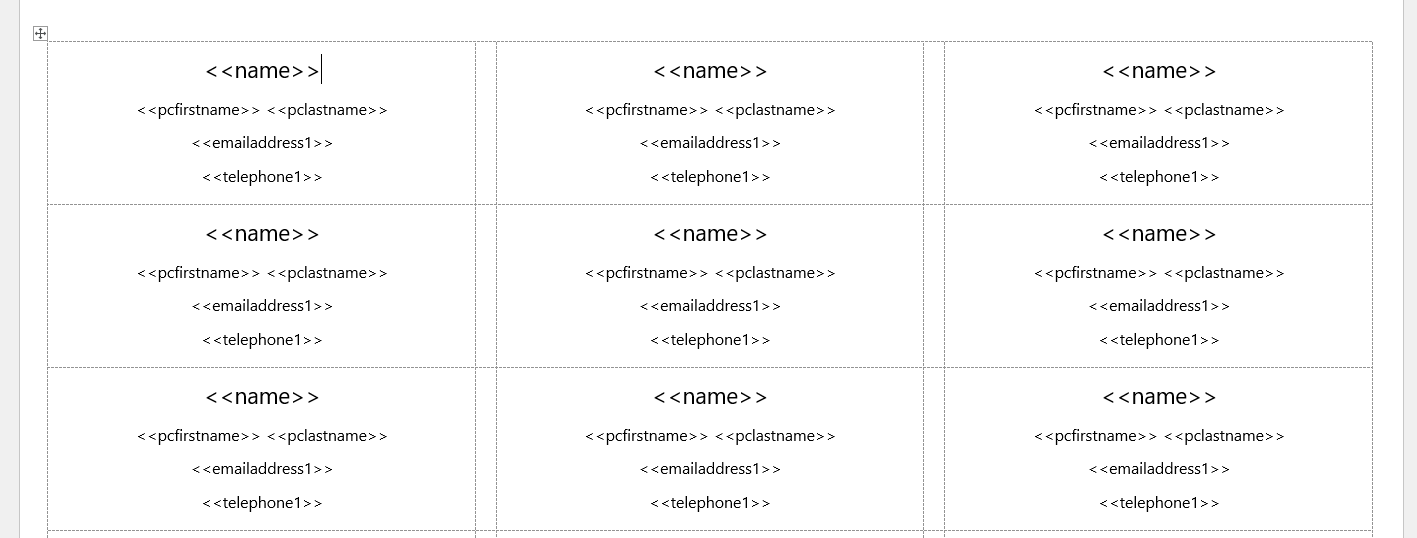
After adding the fields, we can apply our design to all labels in the template.  To do so, place your cursor once more in the first cell and click the Duplicate Labels button. 

The Duplicate Labels button
Figure 9: The Duplicate Labels button

The content will then be duplicated across all labels. 

Figure 10: The template displaying the duplicated labels

Step 4: Testing your template 

Once the template has been saved, we can test it by merging it with the data from our system via the DocumentsCorePack Dialog.  When generating a document based on a label template, you will notice a prompt for the label start position.  This will determine from which label the document will generate the records from, with the first label being the upper left one. 

he label starting position in the DocumentsCorePack Dialog
Figure 11: The label starting position in the DocumentsCorePack Dialog

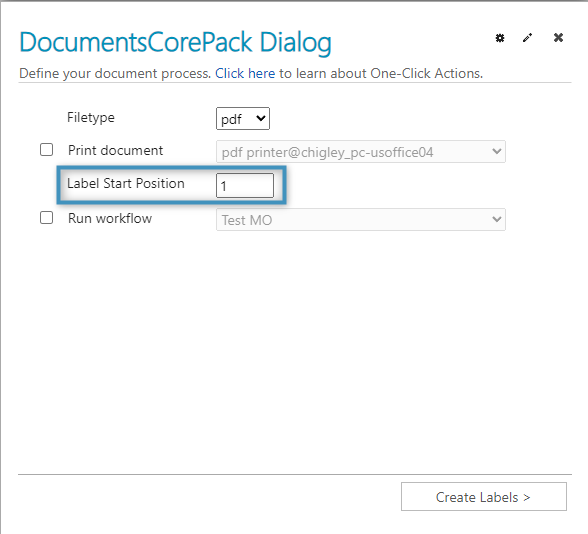
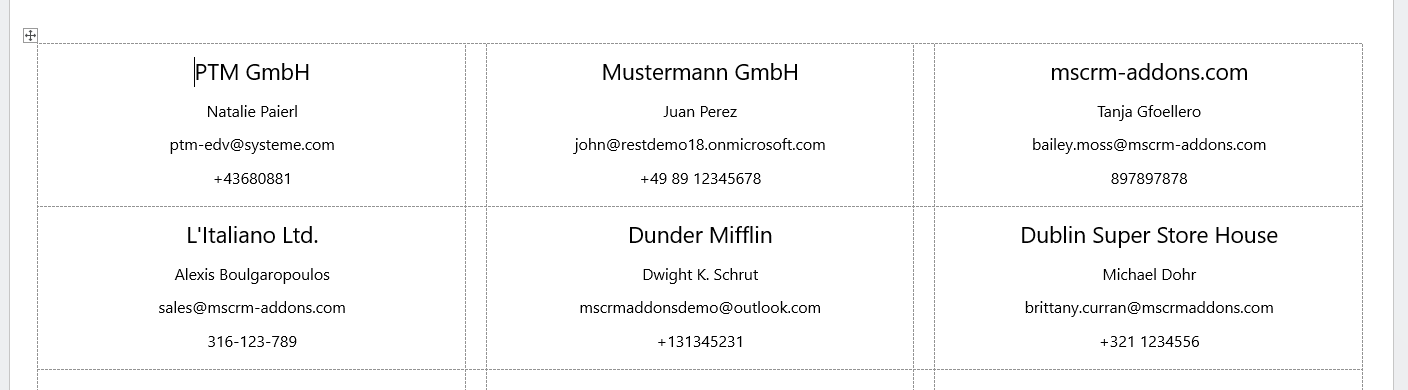
After specifying the starting position, select Create Labels.  The generated document will display several labels, each one representing a separate account. 

Figure 12: The result document, displaying several labels filled with data

That’s it! We appreciate your feedback! Please share your thoughts by sending an email to support@mscrm-addons.com.  

Attached Files
#
File Type
File Size
Download
1 .docx 64.51 KB Label Template Sample

Was this helpful?

Yes  No
Related Articles
  • Introducing the DocumentsCorePack Template Designer Office Add-In (Beta)
  • Ensuring correct time zone display for DateTime fields
  • How to compare a date-fields with the current date 
  • Create a template for XML or plain text
  • E-Invoicing with DocumentsCorePack
  • How to add content from SharePoint to a document
Latest Articles
  • What Happens After You Deploy AttachmentExtractor: Storage & Cost Savings in Dynamics 365
  • Deploying DocumentsCorePack: Setup, Automation, and Real Business Impact in Dynamics365
  • Introducing the DocumentsCorePack Template Designer Office Add-In (Beta)
  • How to Eliminate Excess Storage Costs in Microsoft Dynamics 365 Without Losing Access to Emails and Attachments
  • 3 Ways DocumentsCorePack Transforms Proposal, Quote, and Contract Creation
Popular Articles
  • DocumentsCorePack Template Designer – Getting Started
  • Step-by-Step: How to configure a One-Click-Action
  • Application Access for Dynamics 365
  • How to find your environment’s unique name in Microsoft Dynamics 365
  • How licenses are counted
Top Rated Articles
  • “Undefined”-labels in Chrome and Edge 114 and higher
  • Important information for Dynamics 365 online customers using DocumentsCorePack and/or AttachmentExtractor
  • How to activate the DocumentsCorePack Connector for PowerApps & Microsoft Flow
  • How to insert Condition Fields in DocumentsCorePack Templates designer
  • How licenses are counted
Categories
  • *News and General Infos* 64
  • Webinars 45
  • Template Designer(DCP 197
  • DocumentsCorePack(DCP 259
  • TelephoneIntegration (TI 65
  • AttachmentExtractor (AE 75
  • PowerSearch (PS 50
  • ActivityTools (AT 61
  • SmartBar (SB 54
  • GroupCalendar (GC 47
Our Vision

“We see it as our purpose to provide products that simplify and speed up our customers’ Microsoft Dynamics 365 experience.”

Knowledgebase
LogIn
mscrm-addons.com
  • Products
  • Online Shop
  • Downloads
  • My Account
About Us
  • About Us
  • Case Studies
  • Newsletter
  • Partner Program
  • Contact
Support
  • Support
  • Terms & Conditions
  • Documentation
  • Webinars
  • Legal Documents
  • Impressum
  • © 2022 www.mscrm-addons.com. All Rights Reserved.