With Copilot in Dynamics 365, users have the ability to pull up records, receive insights and prepare for meetings all by writing simple prompts. Copilot aims to assist in streamlining work processes, and by integrating DocumentsCorePack into it, documents can be generated with the power of AI as well. This article will detail and demonstrate how to generate documents via Microsoft Copilot.
Step-by-step video
This step by step video will walk you through how to enhance Microsoft Copilot with the powerful document generation capabilities of DocumentsCorePack.
Step-by-step description
Creating a topic
We would like to use Copilot to generate an invoice from an invoice record. This will allow us to quickly generate a document from an invoice after submitting a prompt.
First, you’ll need to create an agent if you haven’t done so already. In our scenario we want to extend the Dynamics 365 integrated “Copilot in Sales”. Therefore, we open the existing “Copilot in Dynamics 365 Sales” agent in copilotstudio and create a new topic. Click on Topic in the toolbar and click on Add a new topic -> From blank
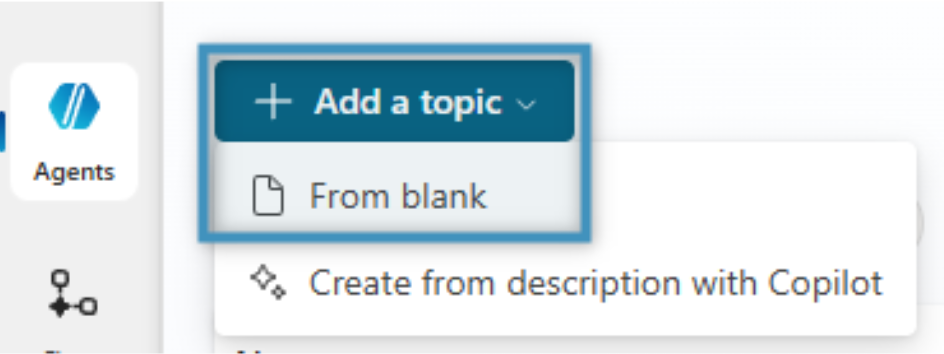
Figure 1: Adding a new topic
In this topic, we will need to create some trigger phrases that will trigger Copilot to generate a document. Since we want this agent to generate an invoice, we should include phrases like “Create an invoice” or “generate an invoice document.”
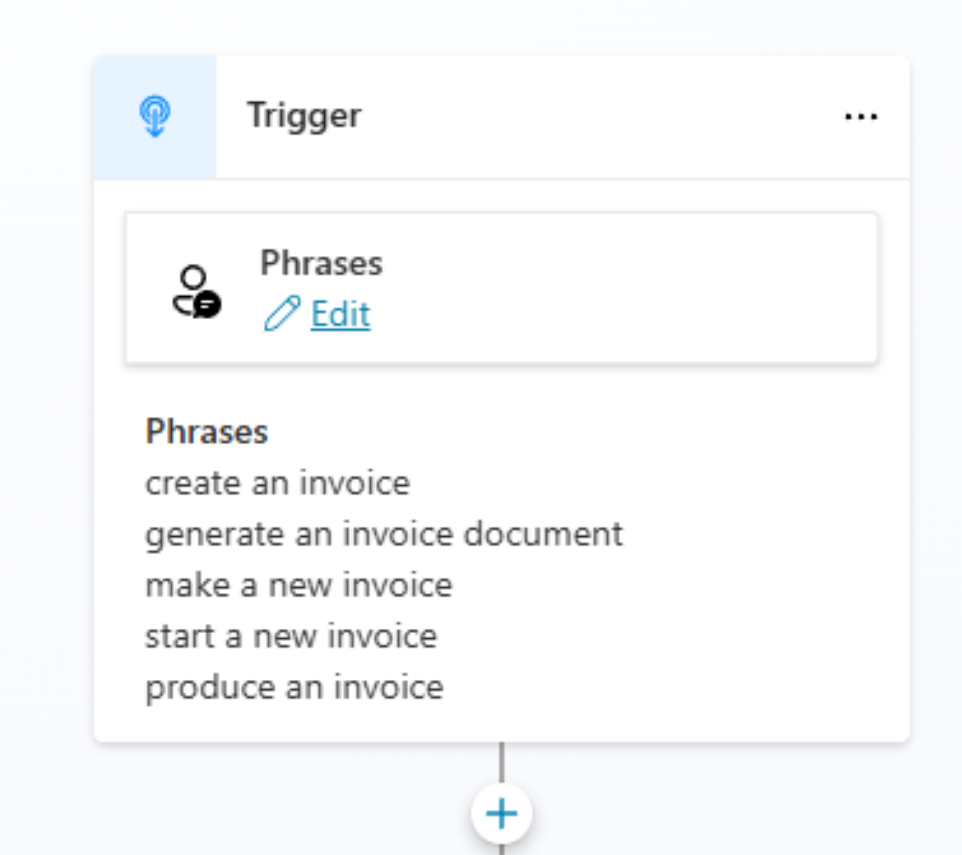
Figure 2: Create trigger phrases
Then, we’ll need a condition that checks for the record’s GUID and entity, which we’ll need to pass along later to a flow to generate our document. To do this, we’ll add a condition.
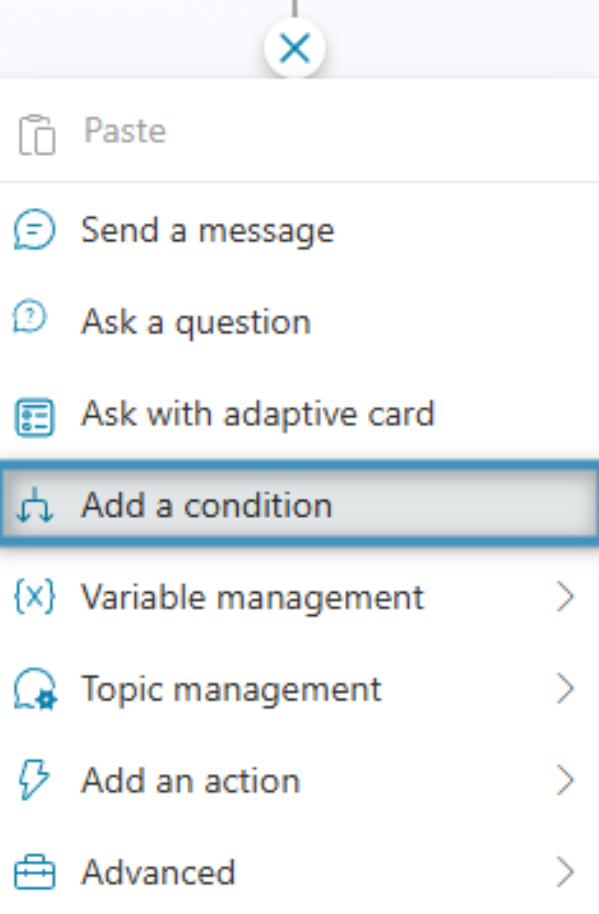
Figure 3: Adding a condition
In the Condition window, click Select a variable. As part of this condition, we will need to check if the record’s GUID is not blank before proceeding. To do this, find the Global.PA__Copilot_Model_PageContext.pageContext.id.guid variable, which can be found by using “Context.id.guid” as a search term. Then, set the lower dropdown to is not Blank, letting us ensure that we will only advance if the GUID is not empty.
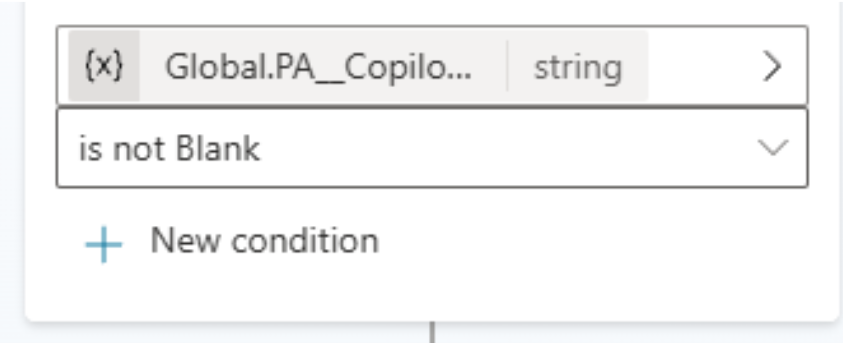
Figure 4: Searching for and selecting a variable
In the same window, add a new condition. This condition will be for checking if our entity is an invoice. Like previous, click Select a variable, find the Global.PA__Copilot_Model_PageContext.pageContext.entityTypeName by using “Context.entityTypeName” as a search term, and select the corresponding result. Set the operator to is equal to and select invoice.
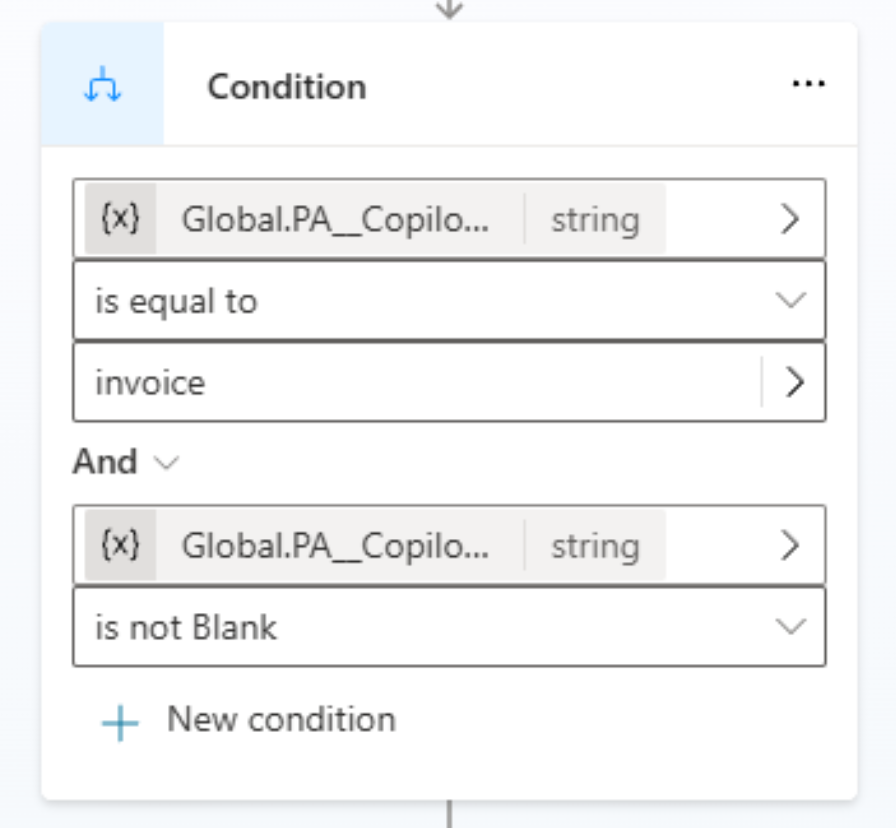
Figure 5: The full condition
We’ll configure the other branching path to print a message to the user if the condition is not met. Afterwards, save your progress.
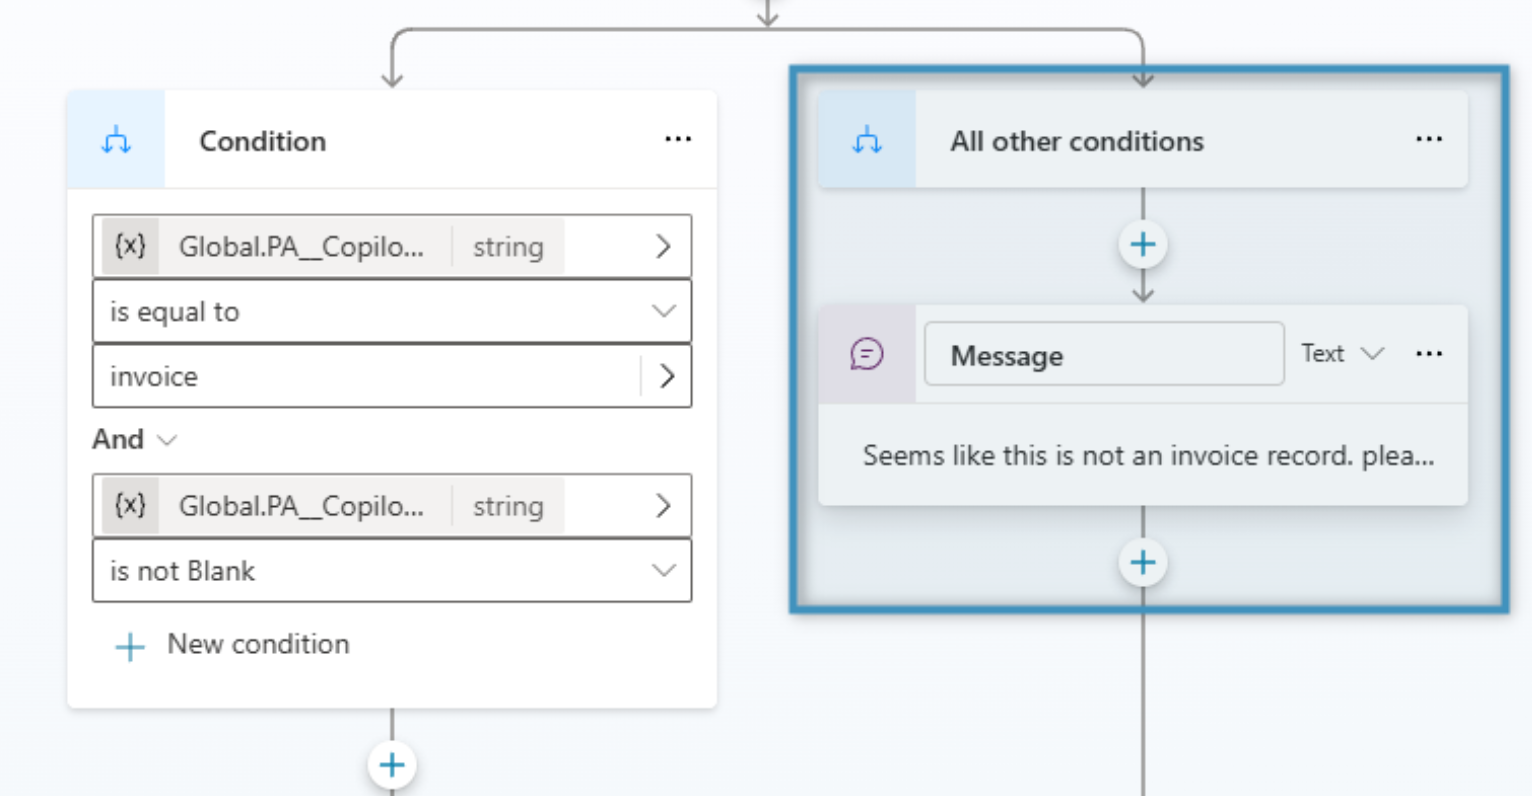
Figure 6: Second branch configuration
Creating an action
Next, navigate to the Actions tab and add an action. In the Add action window, click New action and select New Power Automate flow. We’ll need to create one for our topic.
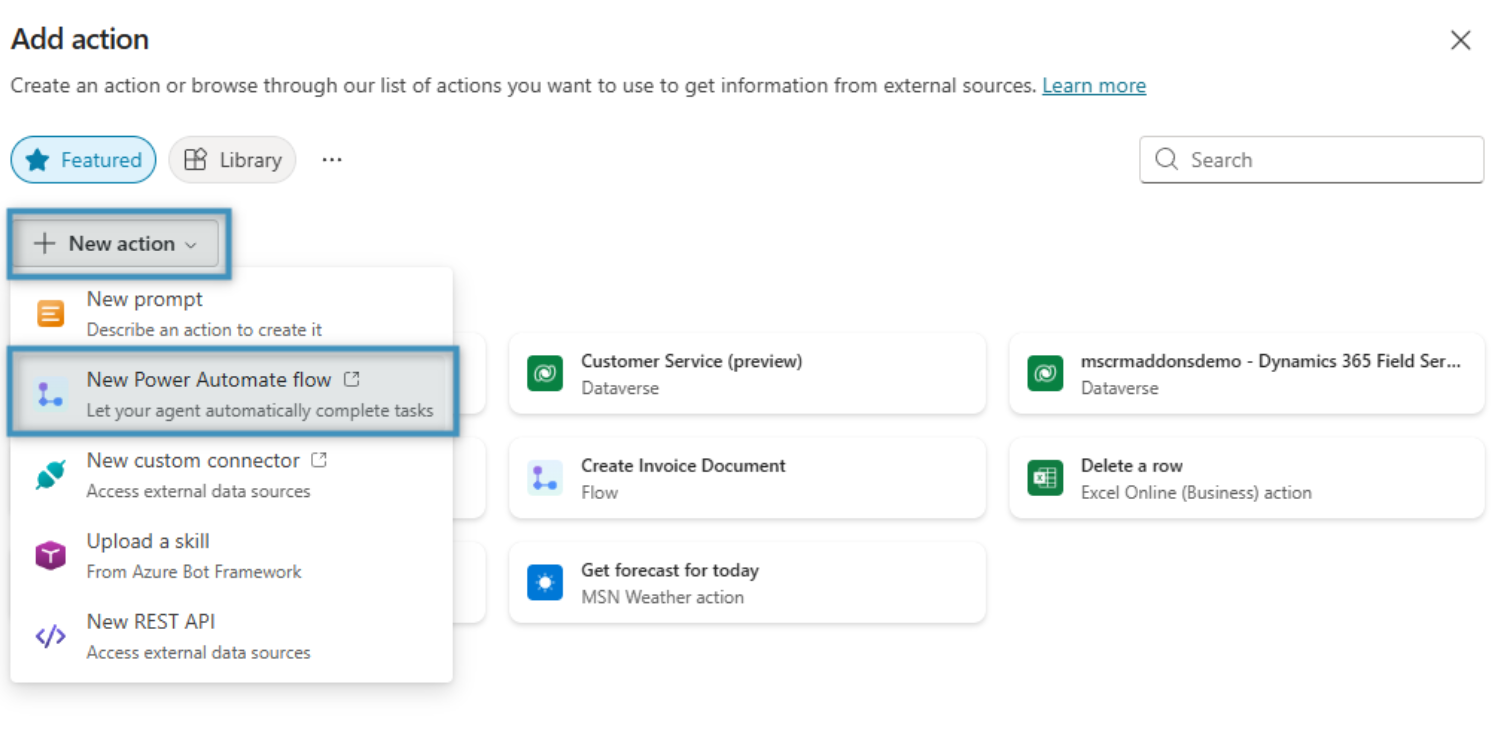
Figure 7: Adding a New Power Automate Flow action
This will redirect us to the Power Automate editor. You will notice that we already have two steps within this flow. In the first step, add a single parameter called “RecordID” to contain the record’s GUID that will be passed in from Copilot.

Figure 8: Single parameter called “RecordID”
We’ll need to add a step after this, Create document (sync), from our DocumentsCorePack Connector. In this step, we will choose the (1) template to be merged, enter the (2) RecordID parameter from the above step, set our (3) filetype to PDF, and set the generated document to be saved to (4) SharePoint.
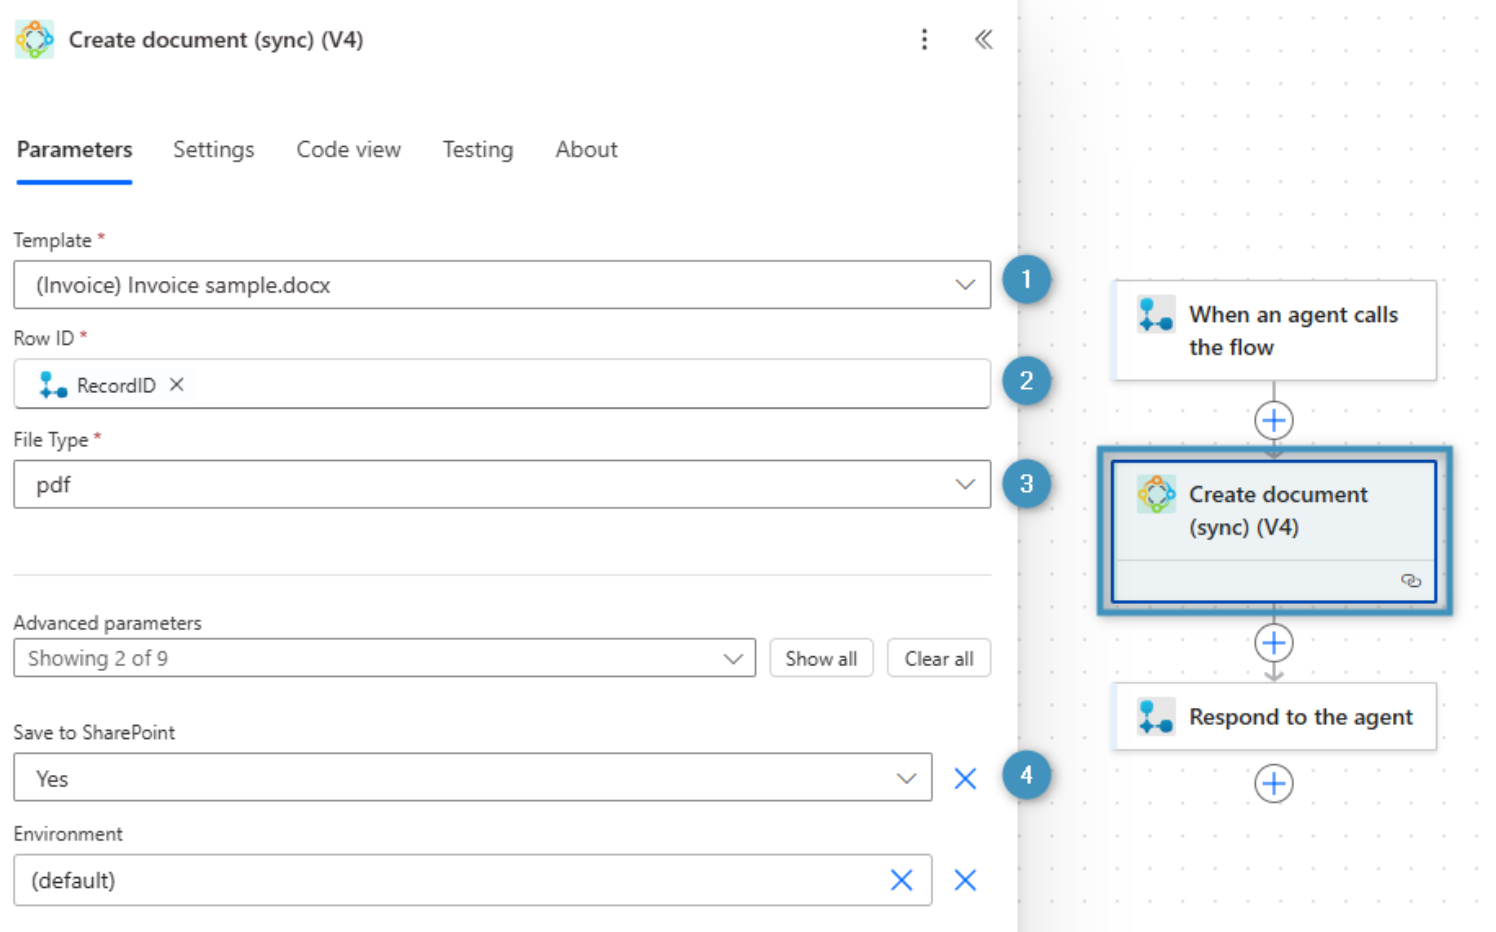
Figure 9: Create document (sync) from DocumentsCorePack Connector
For our last step, Respond to the agent, we want to return the document URL and filename to Copilot. To retrieve the document URL, you will need to insert the Return value 2 variable from the previous step into a replace function, as the variable contains an encoded version of the URL. For the filename, you can also get that from the previous step via the File name variable.
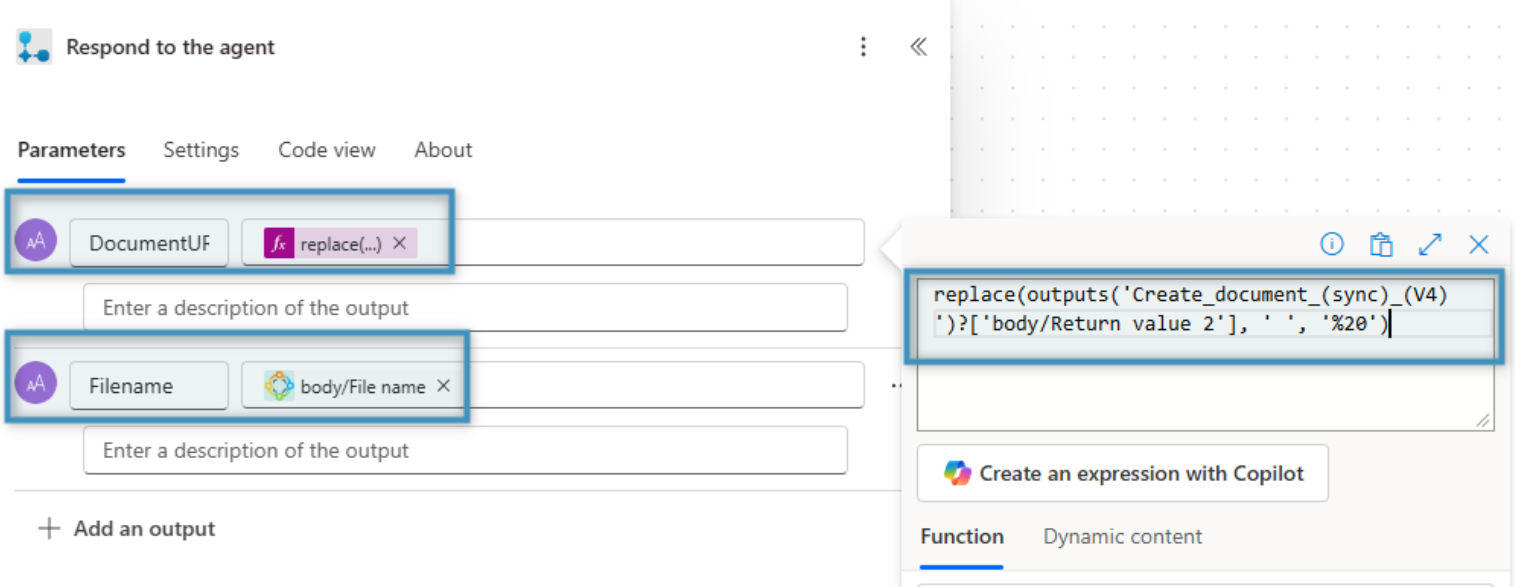
Figure 10: Return document URL and filename to Copilot
Save your flow once you’re finished and return to the Add action window. Select the flow you created.
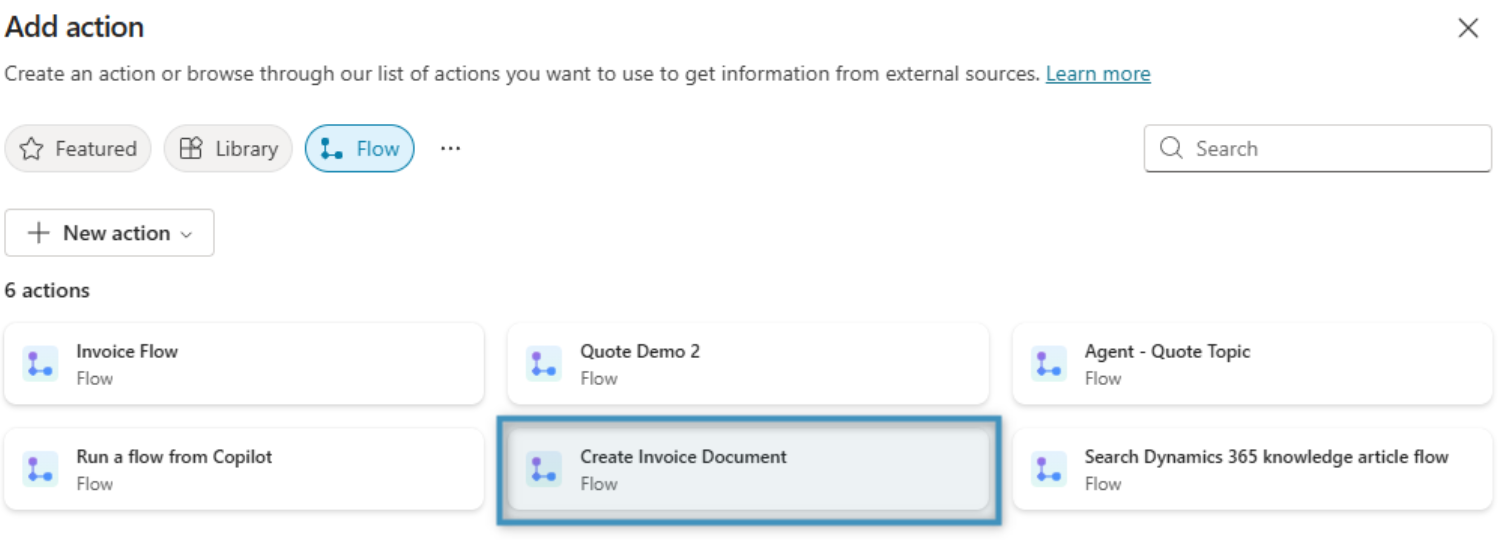
Figure 11: Return to Add action window
You will be prompted to configure your flow’s inputs and outputs. Under inputs, select the RecordID parameter.
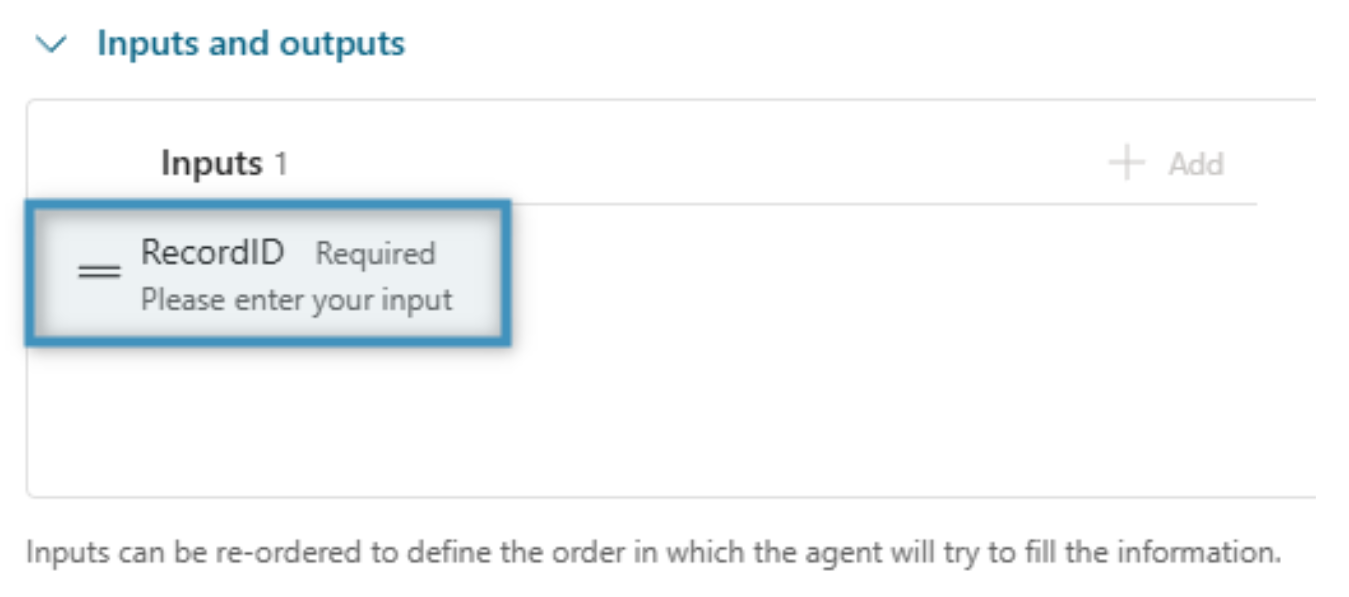
Figure 12: Select RecordID parameter under inputs
Under How will the agent fill this input, set it to Set as value. The value needs to be the record’s GUID, meaning we will need to search for and enter the Global.PA__Copilot_Model_PageContext.pageContext.id.guid variable into the field.

Figure 13: Set as value for agent to fill
After entering the value, click Done. Then, after ensuring DocumentURL and Filename have been added as outputs, click Add action.
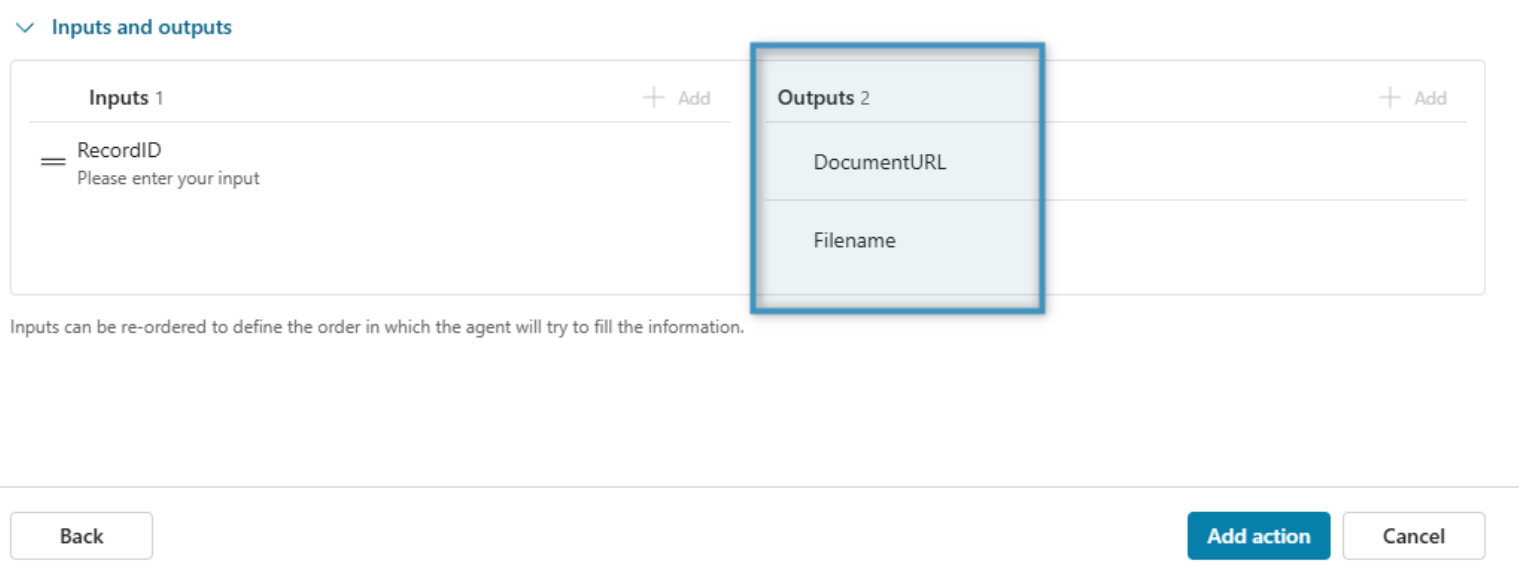
Figure 14: Add action
Returning to our topic
Return to the topic we created earlier. Under our condition, click on the plus (+) button and select Add an action. In the subsequent window, select the flow we created.
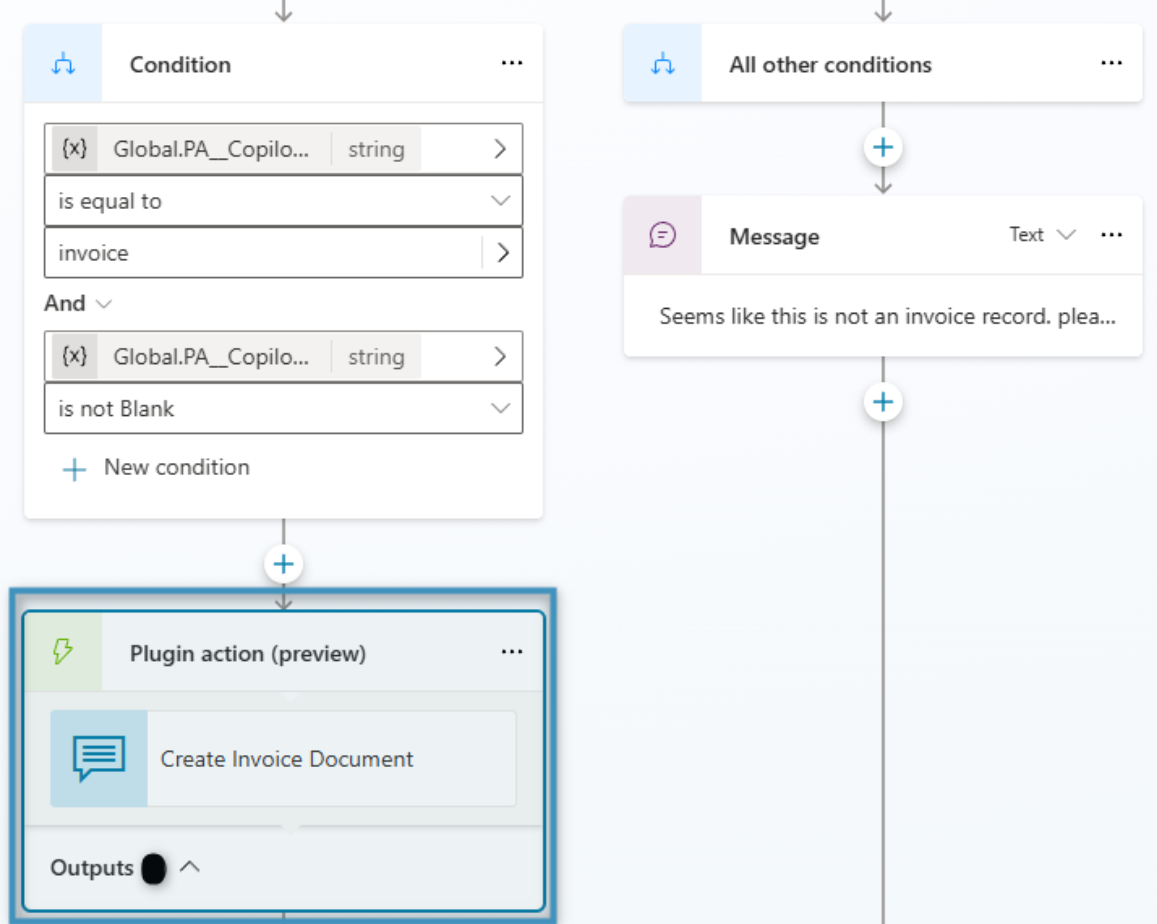
Figure 15: Return to topic and add an action
Our final addition to our topic will be our message to the user containing the generated document. Under our flow, click on the plus (+) button once more and select Send a message. Enter the text you would want to display.
On top of this, we will have to create a formula that displays our document in a clickable link. This can be done by clicking on the formula (fx) button and entering the following formula into the field:
“[” & Topic.filename & “](” & Topic.documenturl & “)”
After entering the formula, click Insert. Then, save and publish your agent.
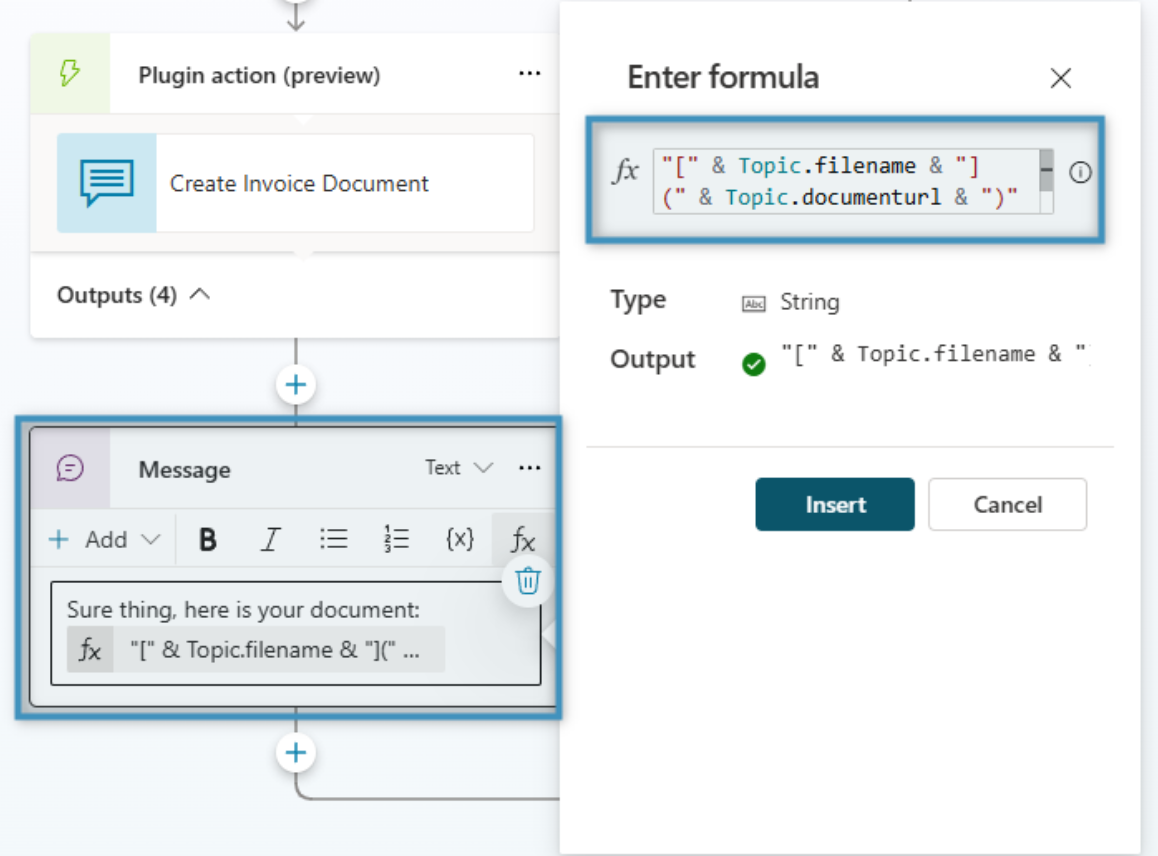
Figure 16: Inserting formula
Testing our agent
Our agent can be tested on any invoice record by entering a simple prompt in Copilot. As an example, we will test it on the following invoice.
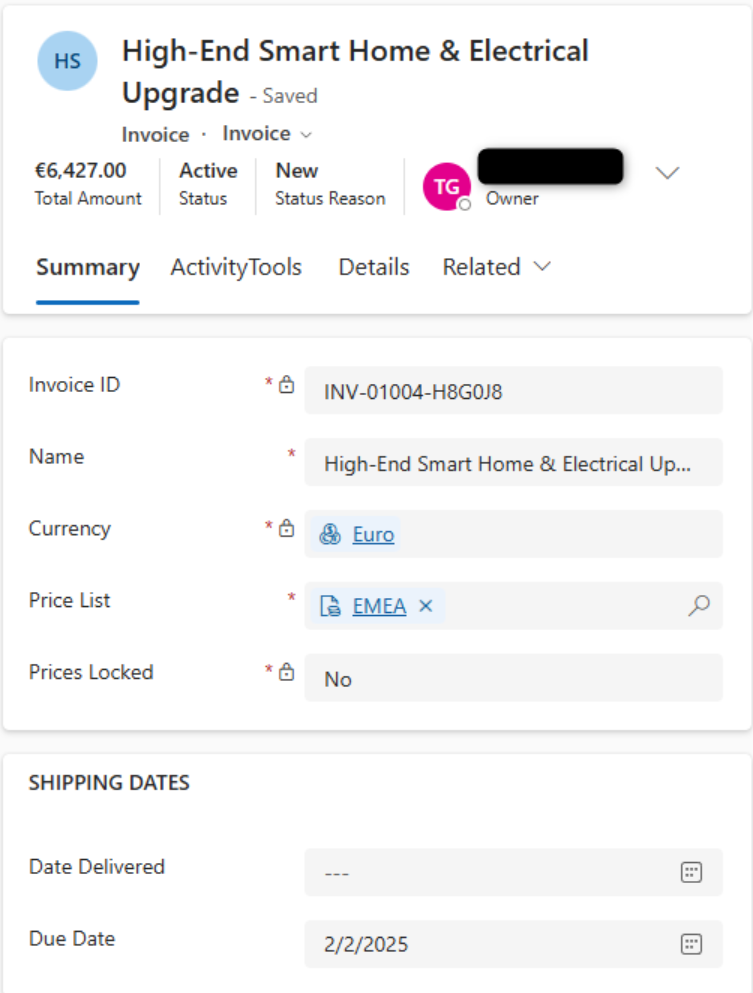
Figure 17: Example invoice
By entering a prompt in Copilot, we can receive a link to our generated document.
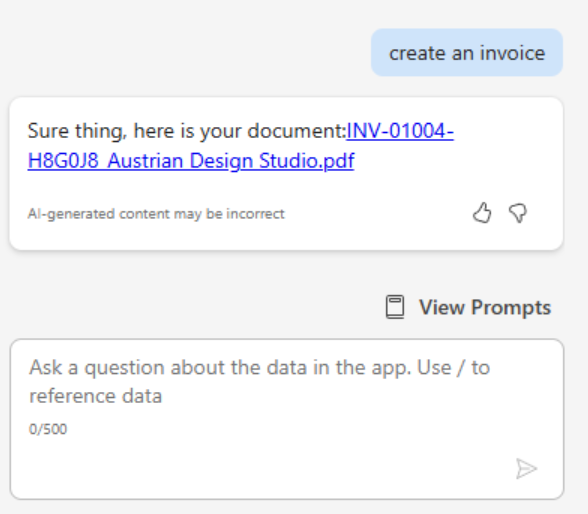
Figure 18: Enter prompt in Copilot
Click on the link which will bring us to the document itself.
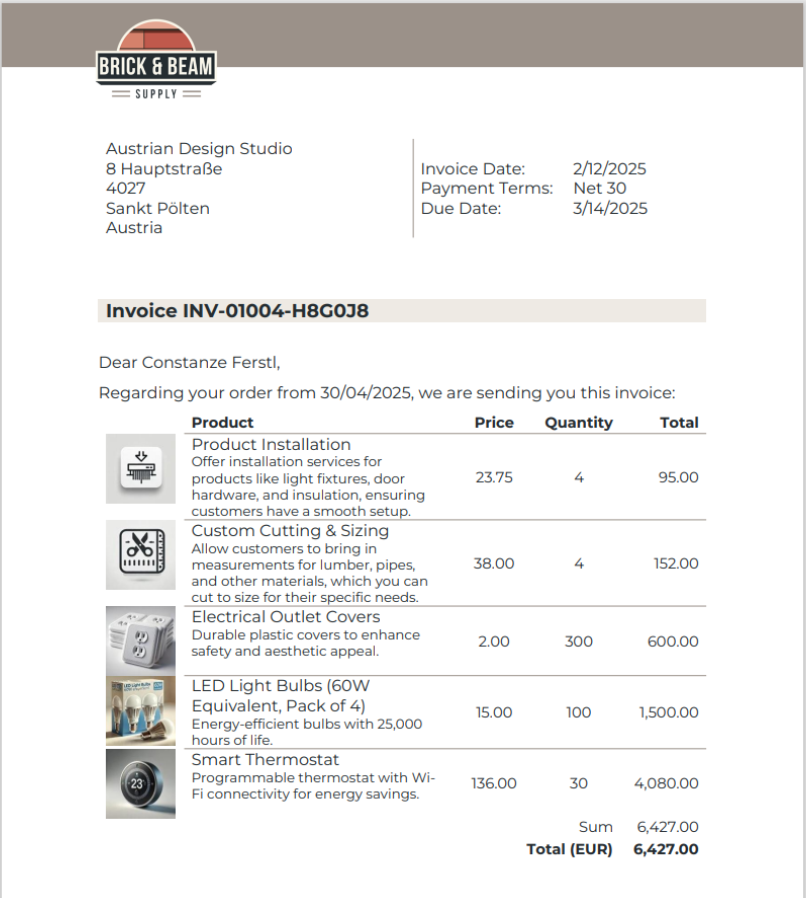
Figure 19: Final invoice document from Copilot
That’s it! We appreciate your feedback! Please share your thoughts by sending an email to support@mscrm-addons.com