Learn how to get started with DocuSign for Microsoft Dynamics 365 (Installation & Configuration) as an additional feature.
Mandatory steps:
Step 1: Create a DocuSign Business Flex/Advanced Solutions account.
Step 2: Install DocuSign from Microsoft AppSource.
What License is required for DocuSign?
DocumentsCorePack utilizes the native integration of DocuSign into Microsoft Dynamics 365. Thus, the license plan needs to support their Dynamics 365 integration. You can find details of the different license plans here. (Note: It requires an enhanced plan. We do recommend clarifying details with DocuSign.)
Step 3: Setup DocuSign in Dynamics 365.
Optional steps
You only need to take this optional step if you want to receive pushback from DocuSign. For further information on pushbacks, please have a look at our e-Signature DocuSign User Guide. Follow this link if you would like further detailed information provided by DocuSign.
Step 4: Install the additional “DocumentsCorePackServer DocuSign 6.3” solution. You can download this solution from our download center.
Step 5: – NO LONGER NECESSARY – Due to the authentication changes performed by DocuSign and our adjustments the creation of a settings key like describe is no longer necessary. For legacy systems the follownig step was required:
Create a SettingsKey for AutoMerge with the name DocuSignWorkflow and the value = DCPDocuSignWorkflow. Here is more information on how to create a settings key manually.
Please note: DocuSign only supports Microsoft Dynamics 365 ONLINE (OnPremise may work – but it is not supported by DocuSign!).
How to set up/add users in DocuSign
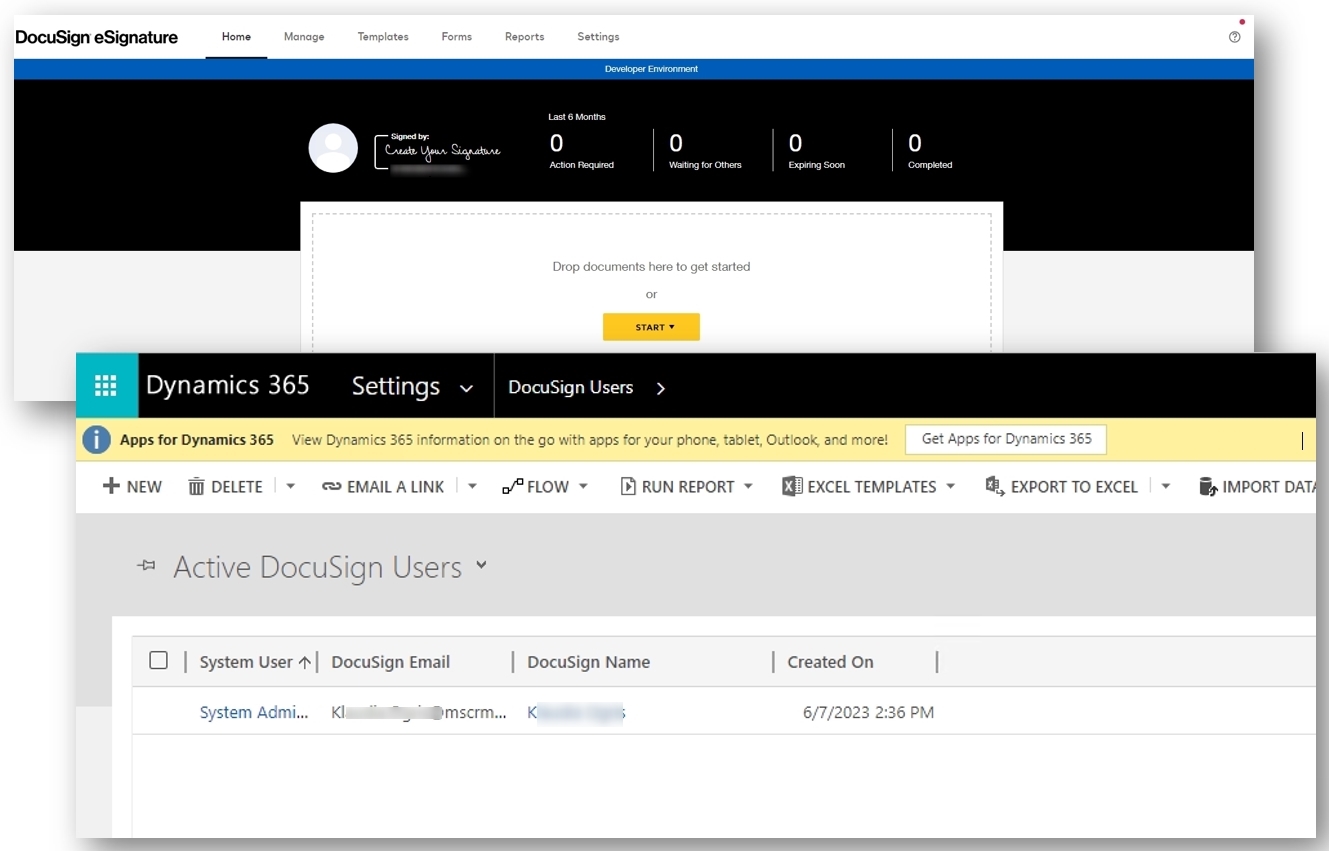
Step 6: Log into your DocuSign account, go to Admin and select Users.
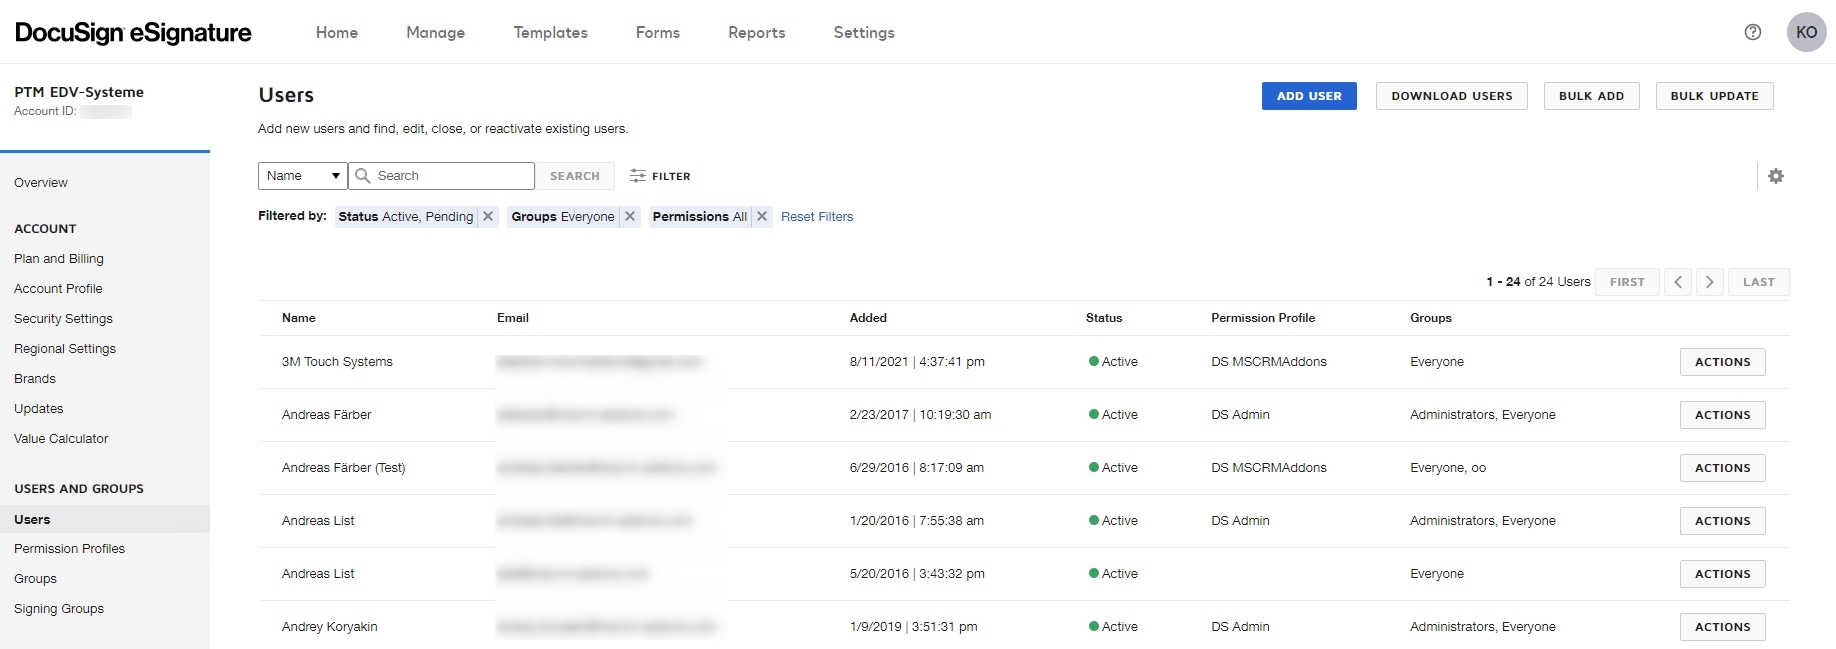
Figure 1: Log in to DocuSign account
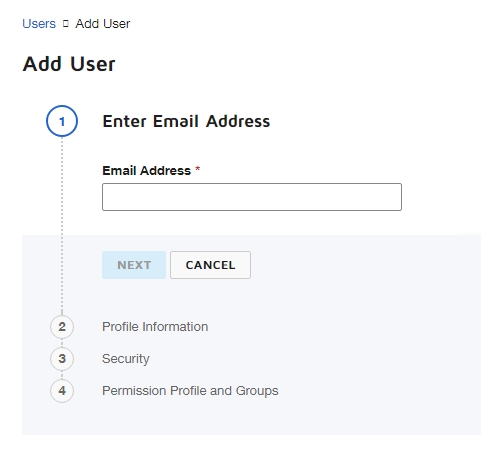
Step 7: Press on the +Add user button. This user gets an email to activate his account and enter a password.
The status of the new user is pending (until he has adequately registered).

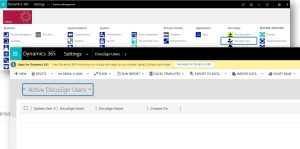
If you now open the user in Dynamics 365, you will not find any record.
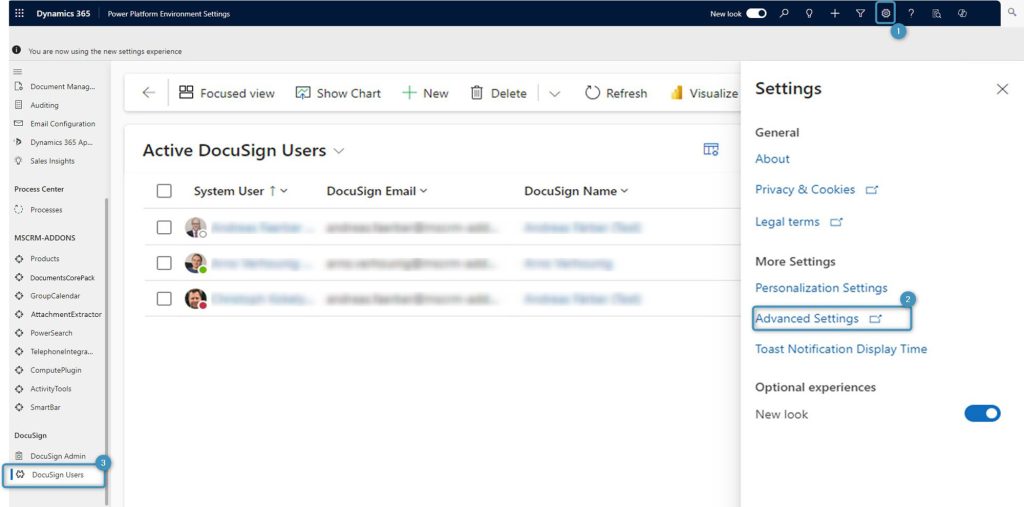
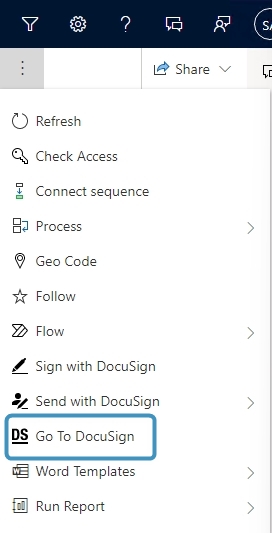
The user should open a contact or an account and then hit Go to DocuSign. DocuSign searches for a matching DocuSign account using the Dynamics 365 user’s email and only adds the record if it finds a match.
Step 8: Provided that everything went right, DocuSign recognizes the new user. The DocuSign Welcome Screen appears and your DocuSign user record appears in Microsoft Dynamics 365.
Back to the DocuSign overview.
That’s it! We appreciate your feedback! Please share your thoughts by sending an email to support@mscrm-addons.com.