One-Click-Actions (OCAs) in DocumentsCorePack act as predefined configurations that simplify document generation. They are normally used within the DocumentsCorePack Dialog, but they can be used within flows as well.
When creating a flow, there may be instances where including conditional logic is needed, but more cumbersome to implement. For example, if you were to create a flow that generates and sends a document to a contact based on their country, you would need to construct that logic in the flow, thus adding complexity.
By using a One-Click-Action to handle this instead, you can reduce the flow’s complexity and increase its readability.
Creating the One-Click-Action
Following the example mentioned above, we would like to create a flow that sends a welcome letter to a contact. By default, the sent letter should be in English, but if the contact is from Germany, a German version of the letter should be sent instead.
To create this flow, we’ll first need to create a contact-based One-Click-Action (OCA). Under Template Settings, we’ll set Template Selection to Predefine Template. The template we’ll chose will be our English language template.
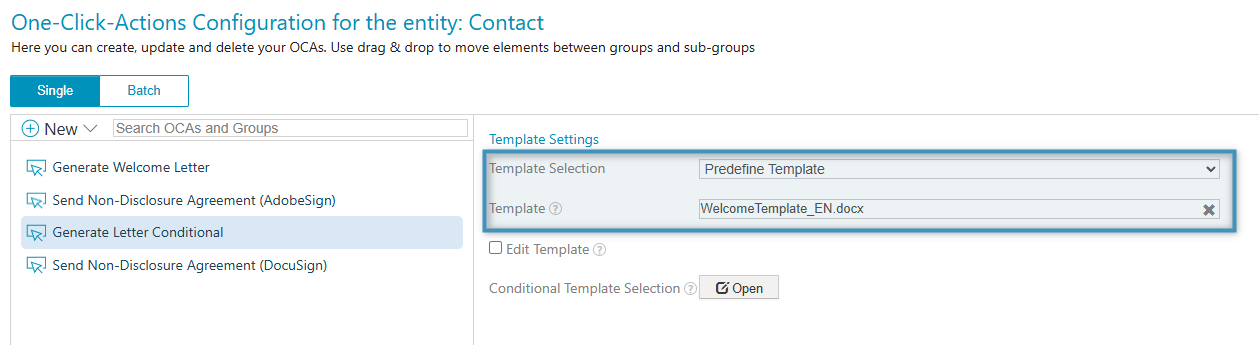
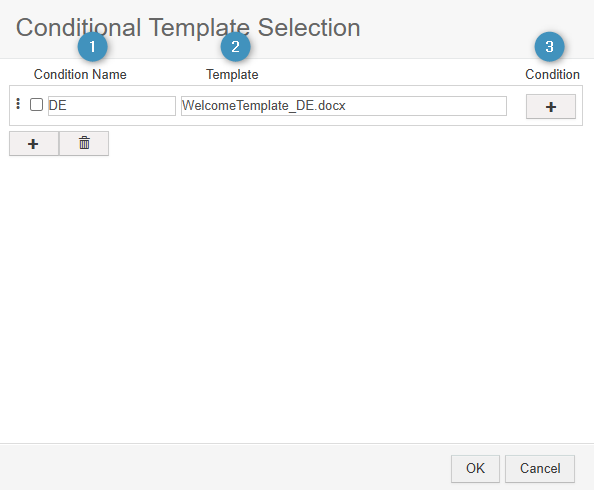
Next, click Open next to Conditional Template Selection. Set the ❶ Condition Name, ❷ the Template, and ❸ click the Condition button to configure the condition.
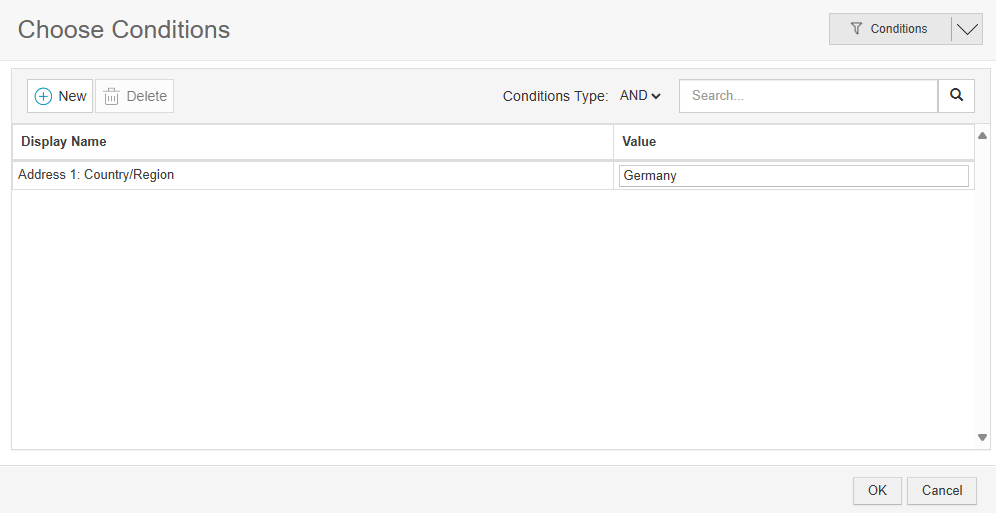
In the Choose Conditions window, select a field and set a value to build your condition. In our case, since we want to check if the contact is from Germany, we’ll select the contact’s Country/Region field and the set the value to Germany. Once you’ve set the condition, click OK and save your OCA.
Tip: In your OCA, you can configure various processing options along with the template, such as setting the document to be saved to SharePoint, saved as a note, or printed. This can help further reduce your flow’s complexity. Do note, however, that you cannot create or send emails in this way. Creating and sending emails must still be done in the flow, as detailed below.
Creating the flow
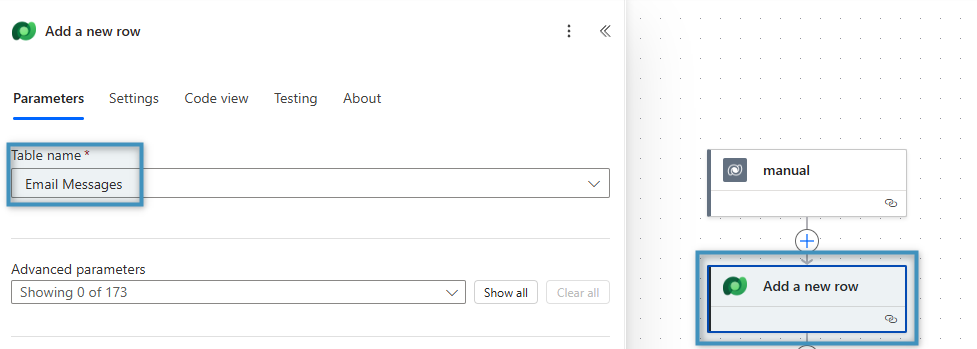
We first need to add the Add a new row action in order to create the email message to be sent later.
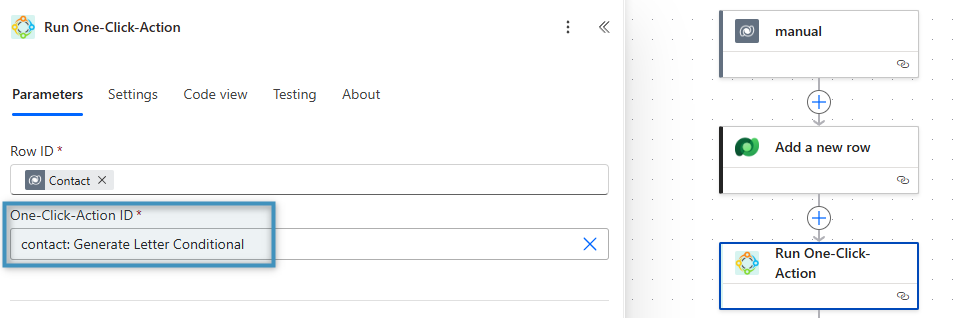
To run the OCA in a flow, search for the Run One-Click-Action (sync) action under the DocumentsCorePack Connector and select it.

Then, under One-Click-Action ID, select the OCA you created. When the flow is run, the action will trigger this OCA.
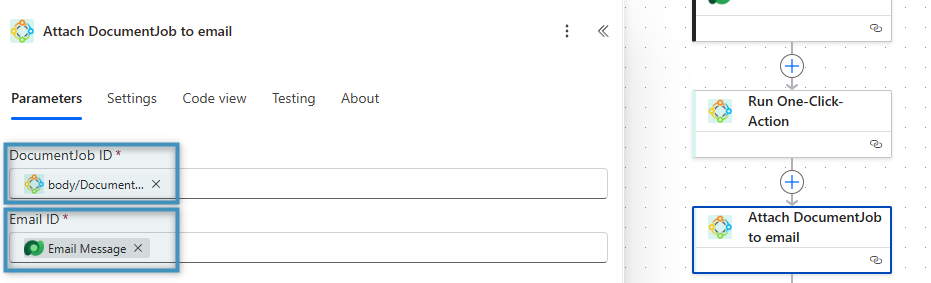
Next, add the Attach DocumentJob to email action, adding the Document content from the previous action and our email message as parameters to the DocumentJob ID and Email ID fields, respectively.
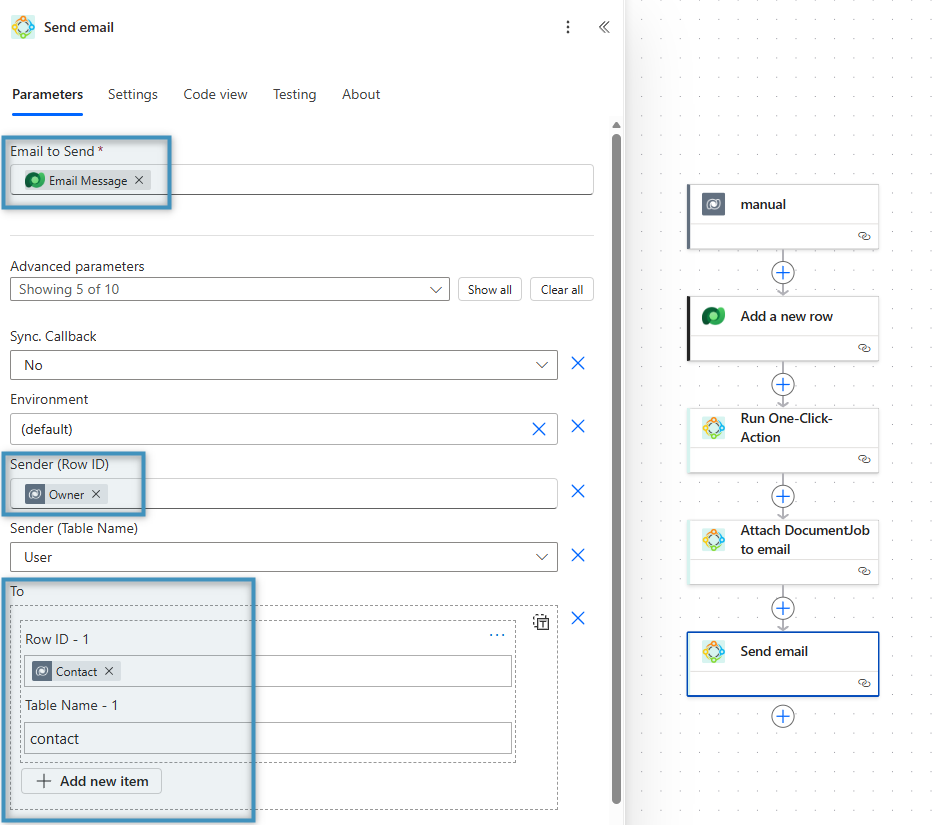
Lastly, add the Send email action to the flow. Provide the email message, sender, and recipient to action. Once you are done, save your flow.
Running the flow
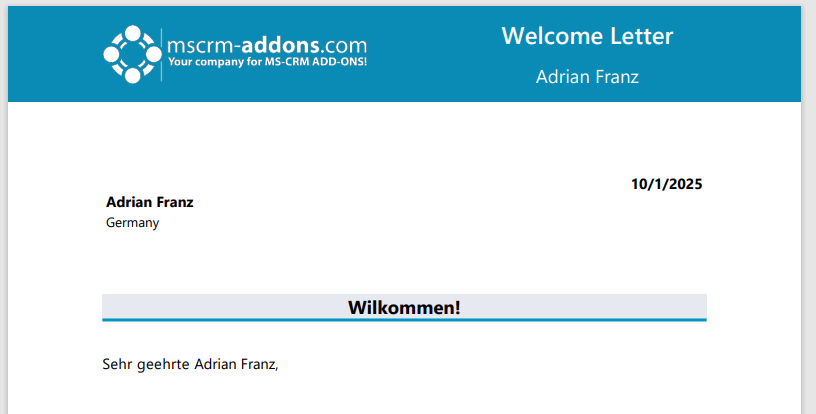
After saving the flow, run it as you see fit. In our case, we will be triggering our flow from a contact who is from Germany.
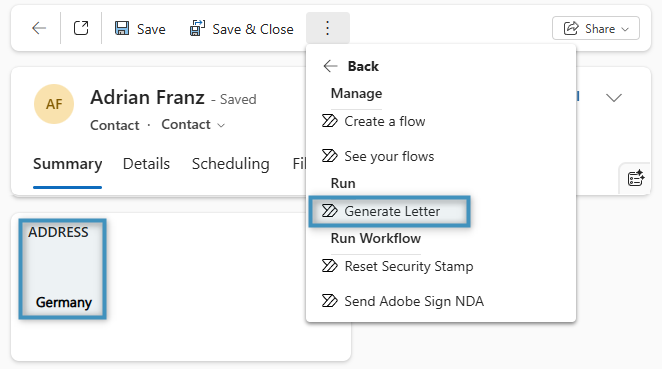
When it finishes, the generated document should be the German version, as dictated from our OCA.