Generating and sending a document for e-signing with Adobe Sign is a simple process that uses our DocumentsCorePack Dialog. This blog article outlines how to merge a document, send it for e-signing, and explains how to generate and send documents to multiple contacts at once.
How to merge and send a document for signing
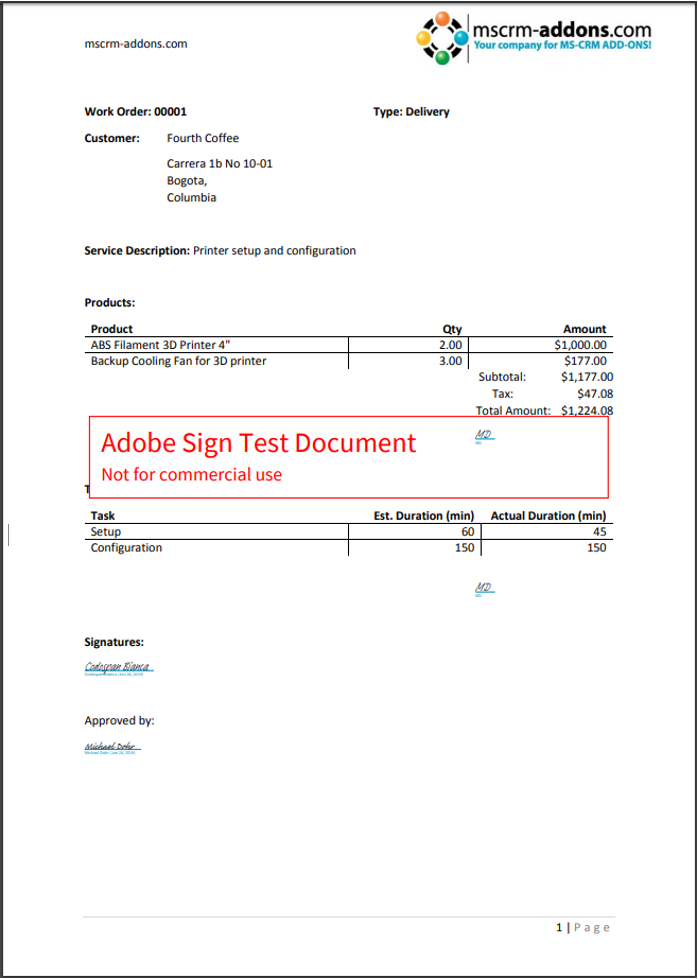
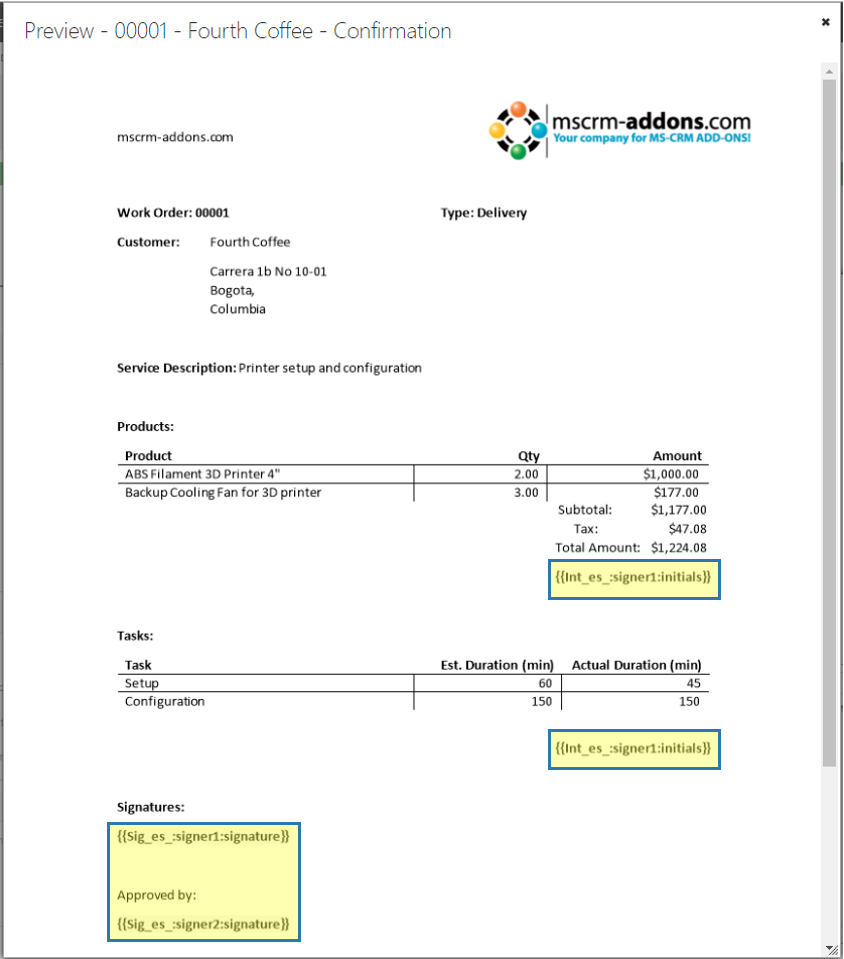
In this example, we will generate a document based on a template which contains two signees. The document will be sent to be signed via e-mail to the two signees.
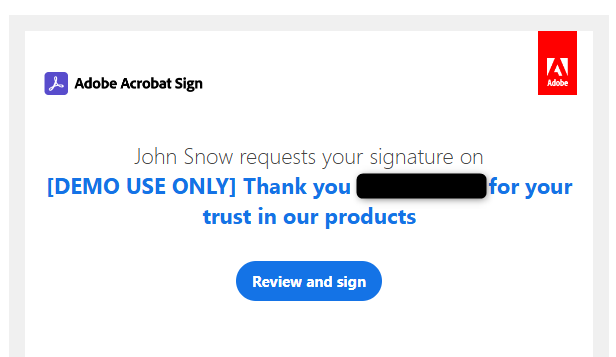
An example result is shown in the figure below.
Step 1: Generate a document via DocumentsCorePack (DCP) Dialog
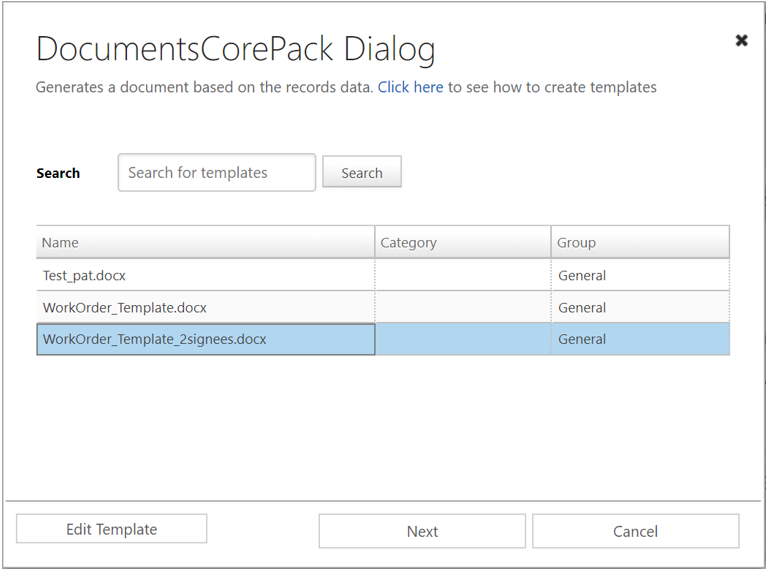
First, open your Dynamics 365 and locate the entity you want to create a document for. Next, click on the Create Document button, which opens the DCP Dialog as shown below in Figure 2.
Select the template you want to execute. In this example, we would like to generate a document to be signed by two signees. We have already prepared a template for this purpose.
Step 2: Define how your document should be processed
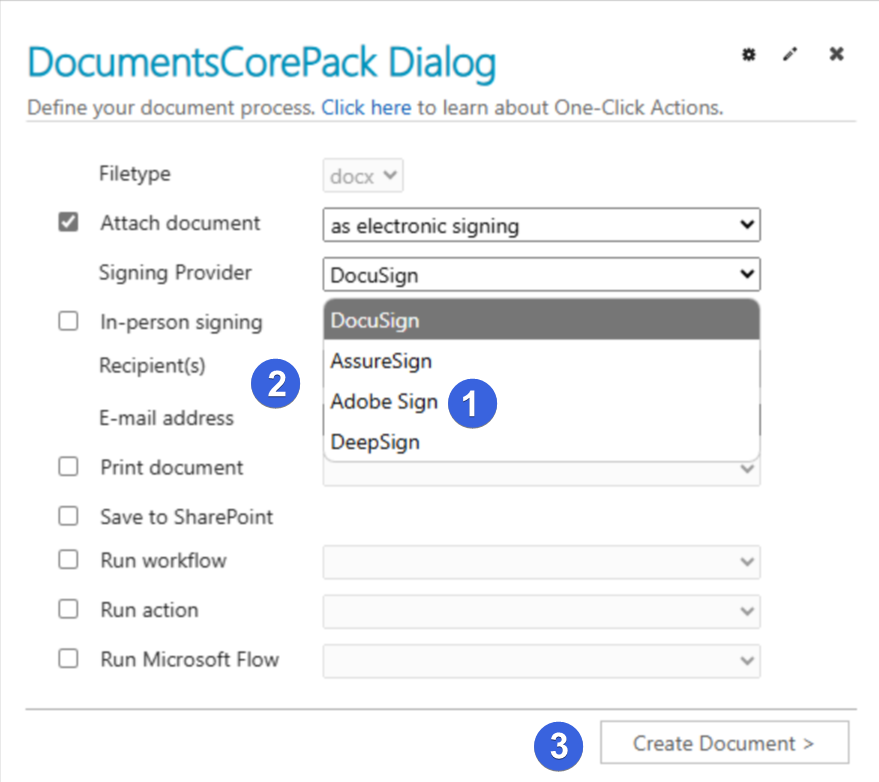
On the next screen, ❶ attach the document as an Adobe Sign email and ❷ select your recipients and their email addresses. Since we have two recipients, two dropdowns appears. Then, click on the ❸ Create Document button to continue.
Please note: The first recipient will be the first to received the generated document. After signing it, the document will be sent to the second recipient.
Step 3: Check your document before you forward it to Adobe Sign
Click on the attachment to open the document.
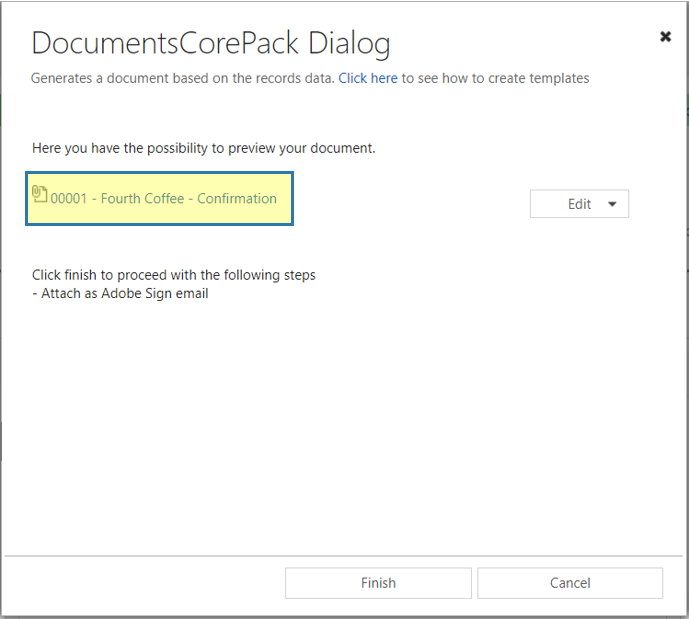
This opens a preview of your document. As shown below in Figure 5, there are two separate Adobe Sign text tags: one for the initials and one at the bottom of your document for the signatures of the two signees (highlighted in yellow).
If your document looks correct, click Finish to attach the document as an Adobe Sign email.
Step 4: Review and sign document
The first recipient will receive an e-mail with the Adobe Sign document.
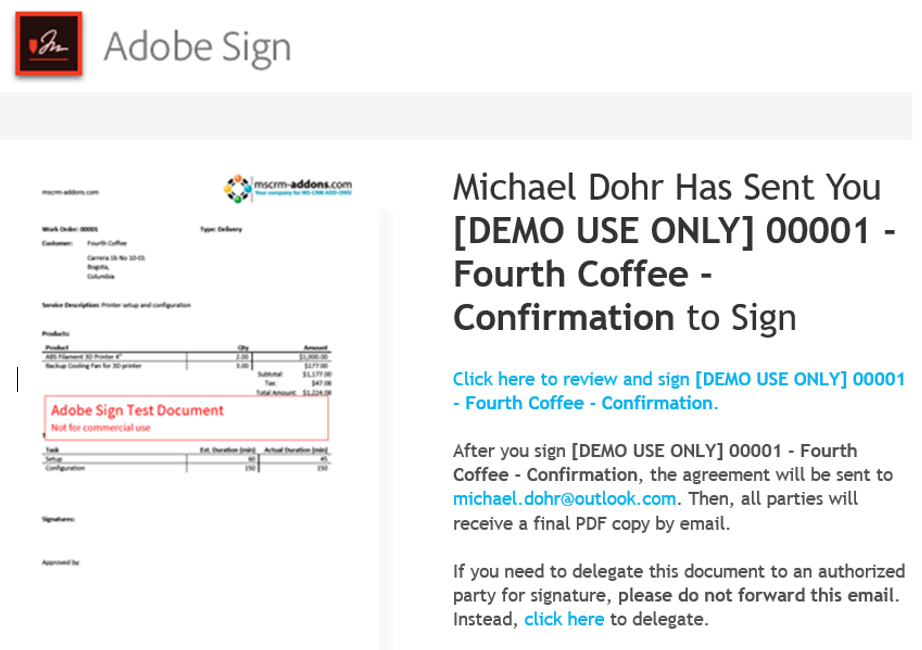
Clicking on “Click here to review and sign” will open the document in a browser where the first recipient must enter his initials and sign the document. The fields that must be completed by the first recipient are highlighted in yellow and marked with Start.
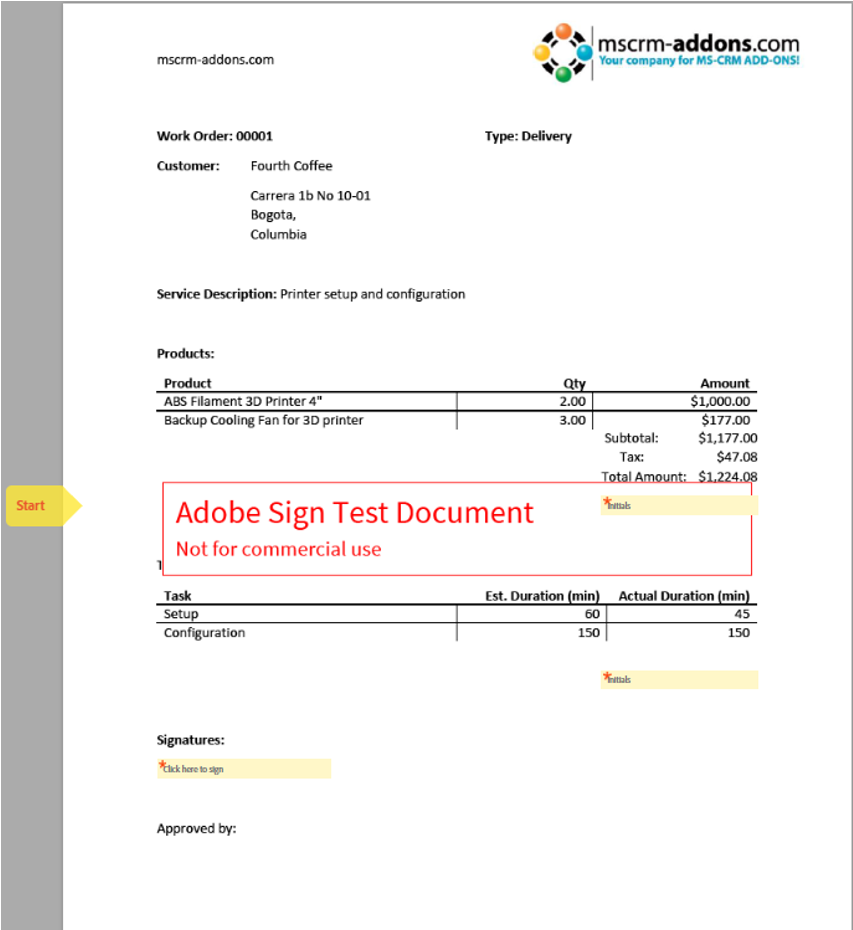
Clicking on the Click to Sign button at the bottom will finish the process and will send the document to the second recipient to be signed. Afterwards, a copy of the document can be downloaded.
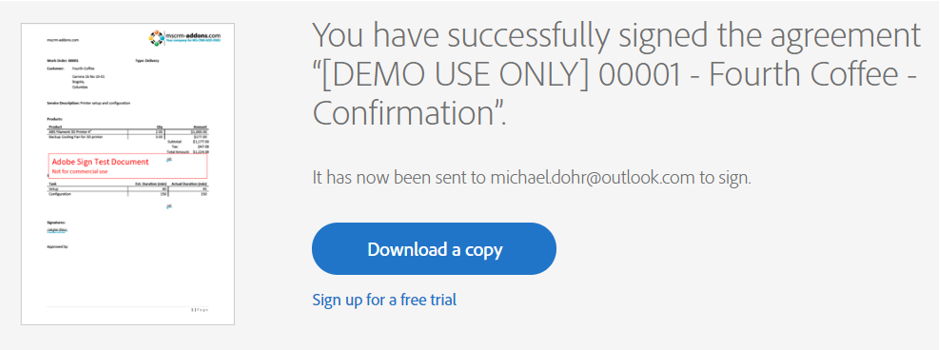
Step 5: Signed document ready for download
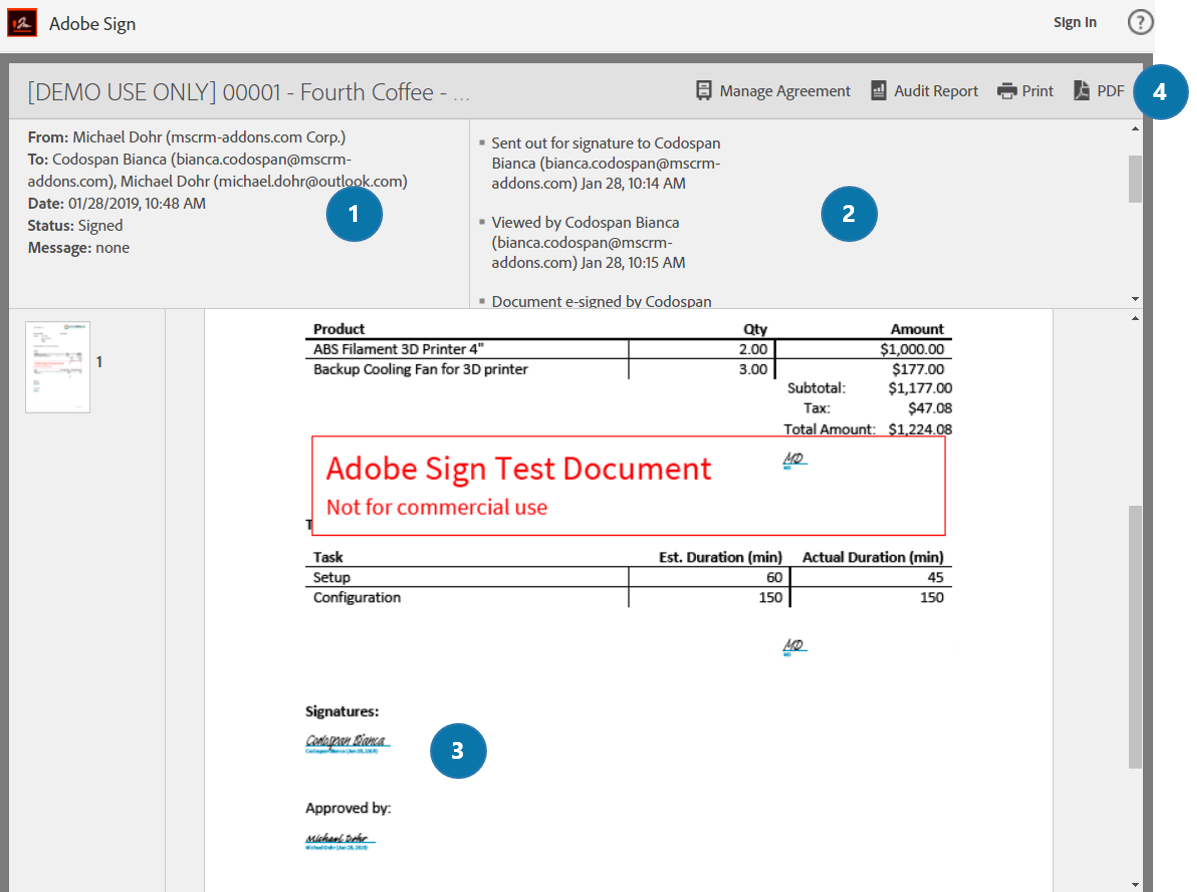
After the second recipient signs the document, all parties of the agreement will automatically receive a copy of the signed document.

By clicking on the blue text that says “the document,” the signed document will be opened. In the opened window, you will see:
❶ All details
❷ The steps of the process and the document
❸ Both signatures
❹ The option to download your signed document as a PDF
You now have your first document signed with Adobe Sign.
How to merge and send a document via batch operations
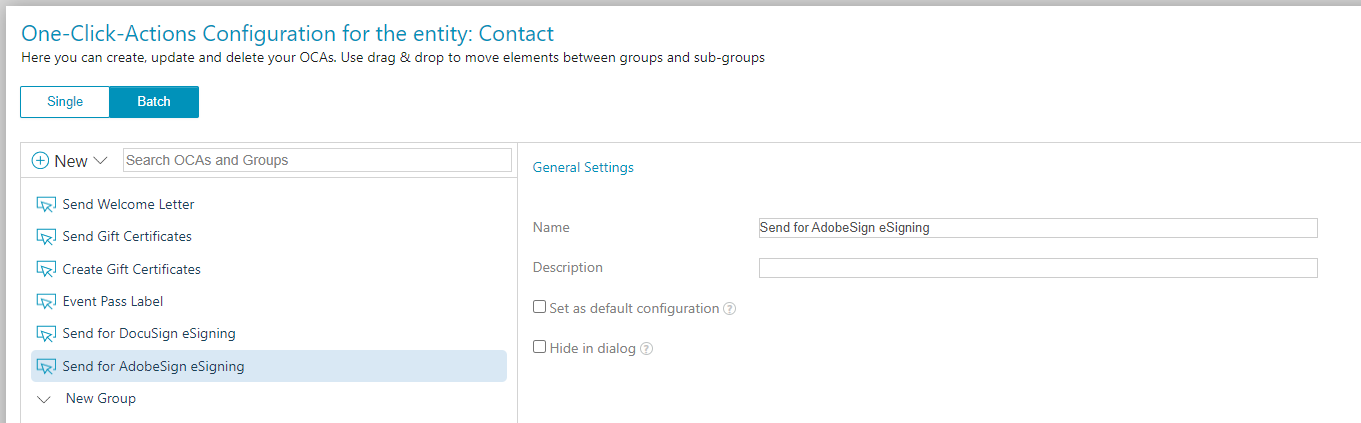
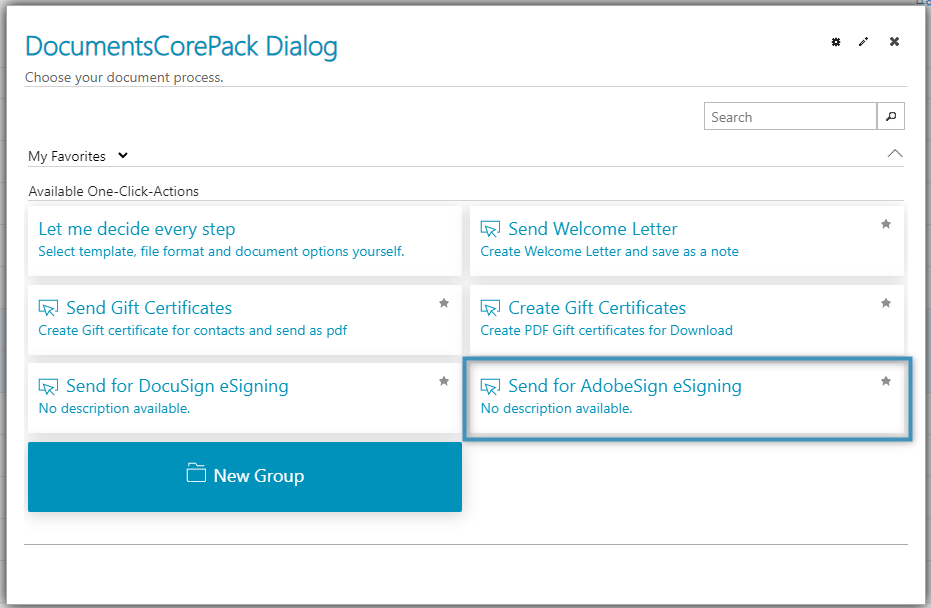
To start an AdobeSign process for multiple records via batch operations, a One-Click-Action (OCA) must be configured.
Step 1: Create a new batch OCA. In this example, this OCA will be created for the Contact entity.
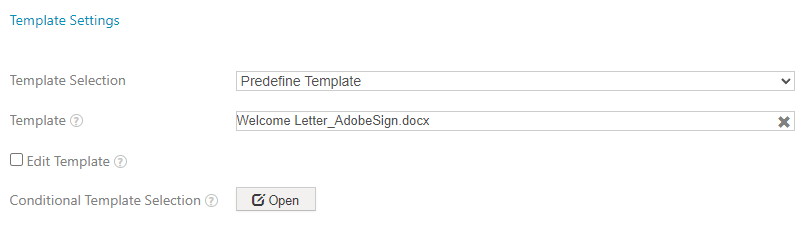
Step 2: Set a predefined template with an AdobeSign field.
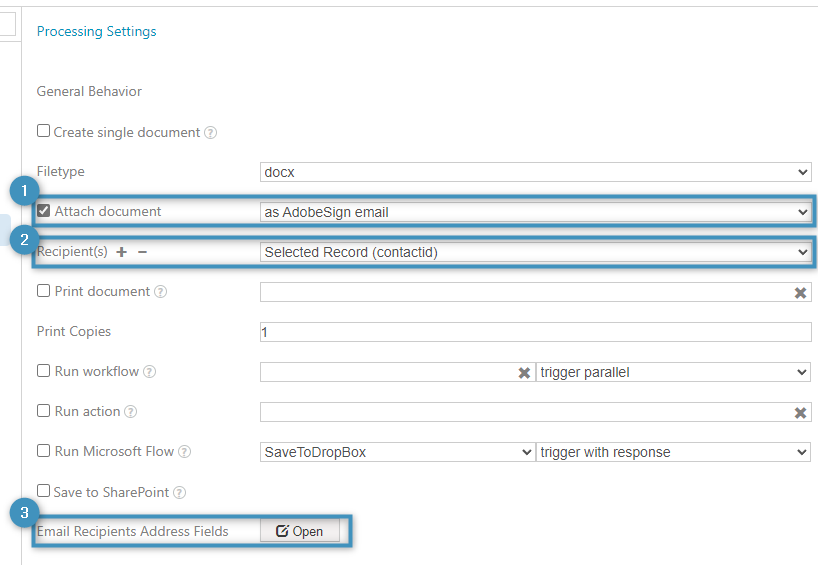
Step 3: Under Processing Settings, ❶ attach the document as AdobeSign email and ❷ make sure the recipient is set to the selected record. Optionally, ❸ additional email recipients can be added as well, allowing these recipients to receive the finished document in addition to the signees.
Step 4: Save and try your OCA. Select the records to create the documents for and run the OCA.
Step 5: Proceed through the OCA’s steps. Once finished, the AdobeSign documents will be sent to the designated parties.
That’s it! We appreciate your feedback! Please share your thoughts by sending an email to support@mscrm-addons.com.