The DocumentsCorePack (DCP) Dialog for Dynamics 365 Business Central provides users with a unified interface to generate, process, and distribute documents based on Business Central data.
This article explains how to use the dialog, describes its main sections, and walks through a typical generation process.
Opening the Dialog
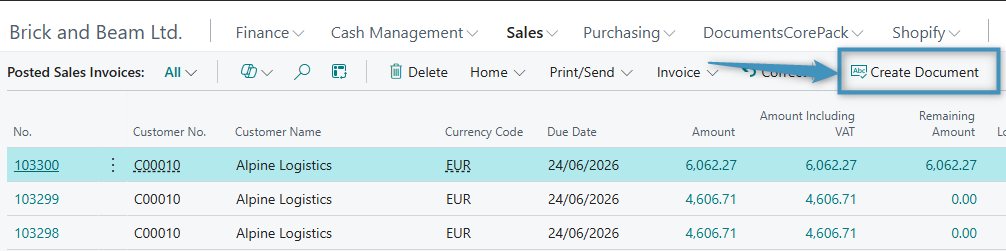
After installing DocumentsCorePack, the Create Document button will be available on the command bar in Business Central.
In our example, the DCP Dialog is accessed from a Posted Sales Invoice by selecting the Create Document button.
The Create Document button is also available directly within the record, as shown below.
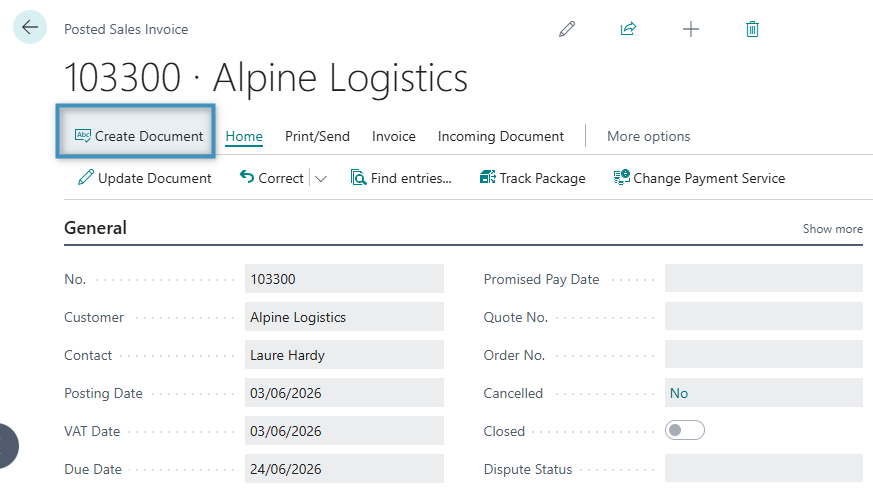
Clicking the button opens the DocumentsCorePack Dialog, as shown below.
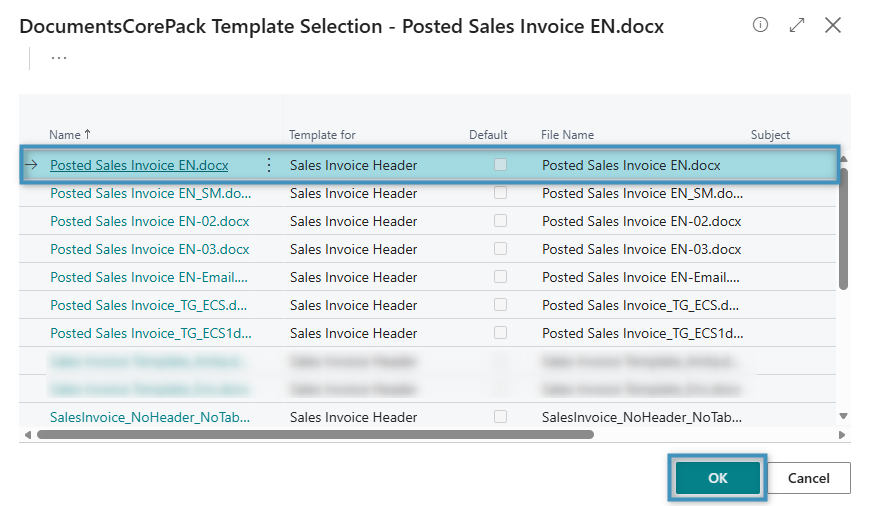
Selecting a template
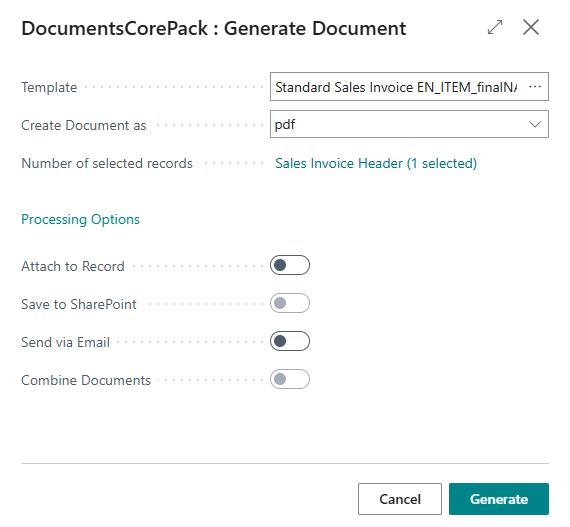
When the DCP Dialog opens, it displays the document generation options. Start by selecting the appropriate template from the Template dropdown list, which defines the layout and content of the generated document. Click OK to continue.
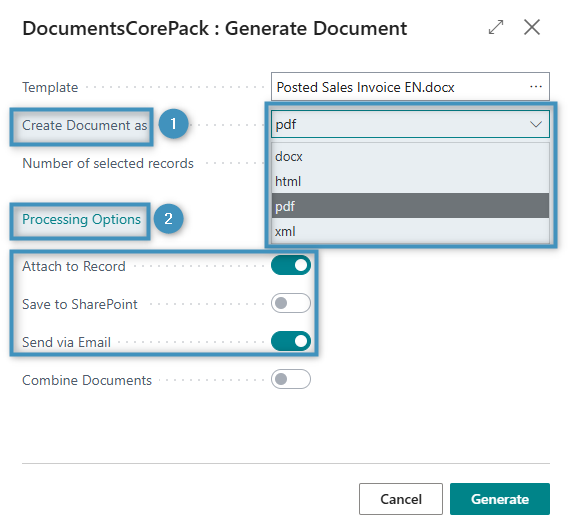
Output and processing options
Under the template dropdown, you can define how the document will be created and processed. The ❶ Create Document as field will allow you to select your desired output format, such as PDF, DOCX, HTML, or XML.
Under ❷ Processing Options, you can specify whether the generated document should be attached to the record using Attach to Record or sent directly to recipients using Send via Email. Once the settings are configured, click Generate to create the document.
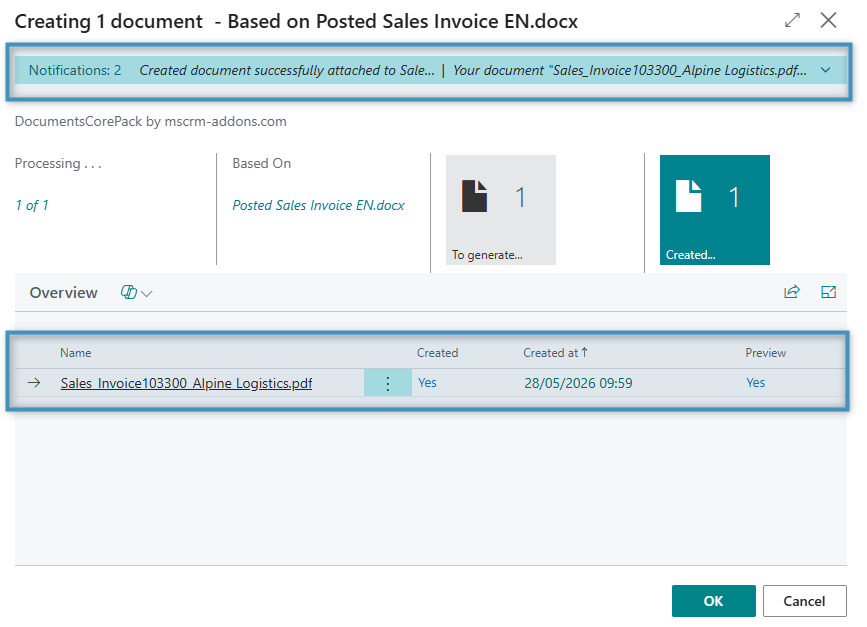
The results
If the Attach to Record processing option is selected, the generated document is automatically saved and linked to the corresponding record. After the generation process is complete, a confirmation dialog is displayed (see Figure 5 below) showing that the document has been created successfully.
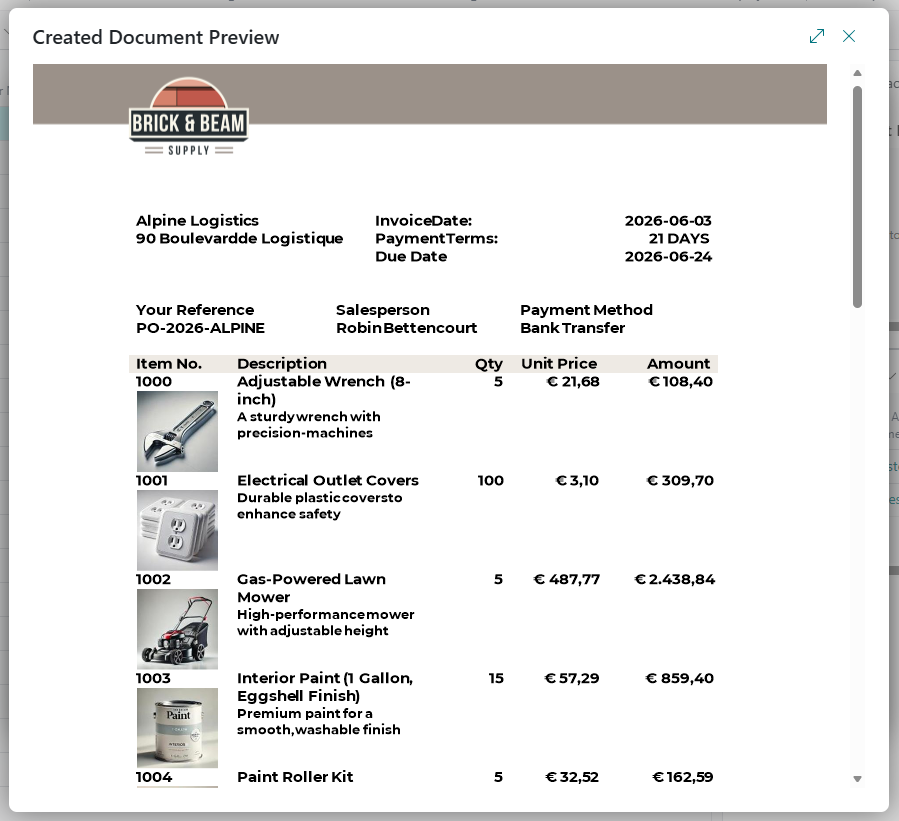
The DCP Dialog provides an overview of the generated file, including the document name, the creation status, the date and time of creation, and a preview option for the generated file.
From this overview, you can directly access the document or confirm the process by clicking OK.
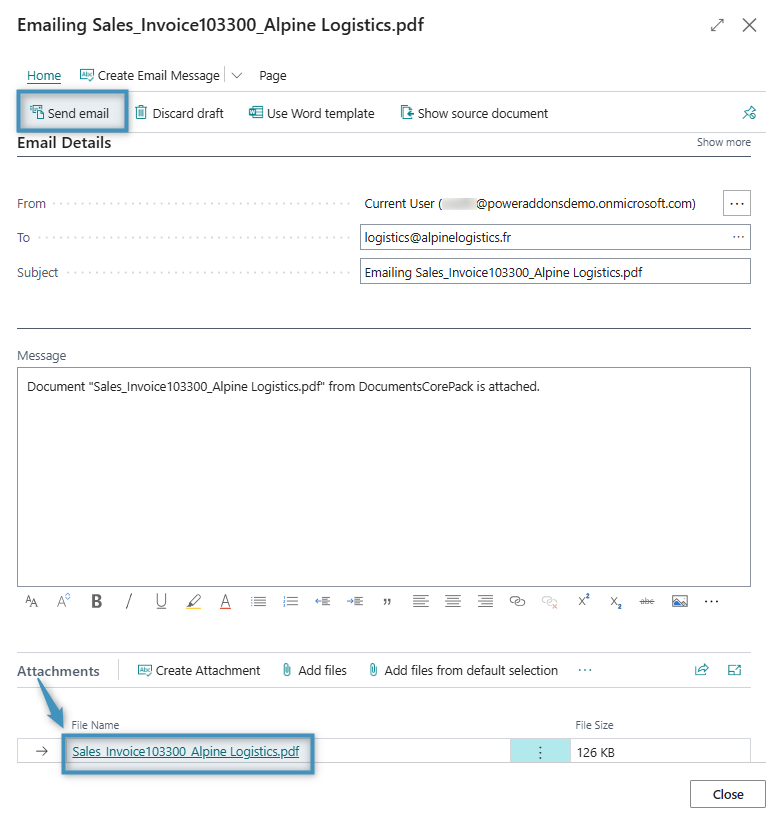
If the Send via Email processing option is selected, a new email activity form is created. The generated document is automatically added as an attachment to the email (visible in the Attachments section). At this stage, the email is created as a draft and is not sent automatically. Users can review and edit the message, update recipients, refine the subject or body text, and add further attachments if required.
Click Send email to complete the process. The email, along with the attached document, is then saved in Business Central and associated with the relevant record.