Some templates may contain content that does not need to be shown at all times. Sales invoices, for example, may include discount sections, shipment details, or payment instructions that are only relevant in specific situations.
Condition fields help manage these scenarios. By inserting and defining a condition field, you can control when and if certain content appears in your generated documents.
Adding a condition
The Condition Designer can be accessed in one of two ways:
- Via the Fields group in the DocumentsCorePack tab
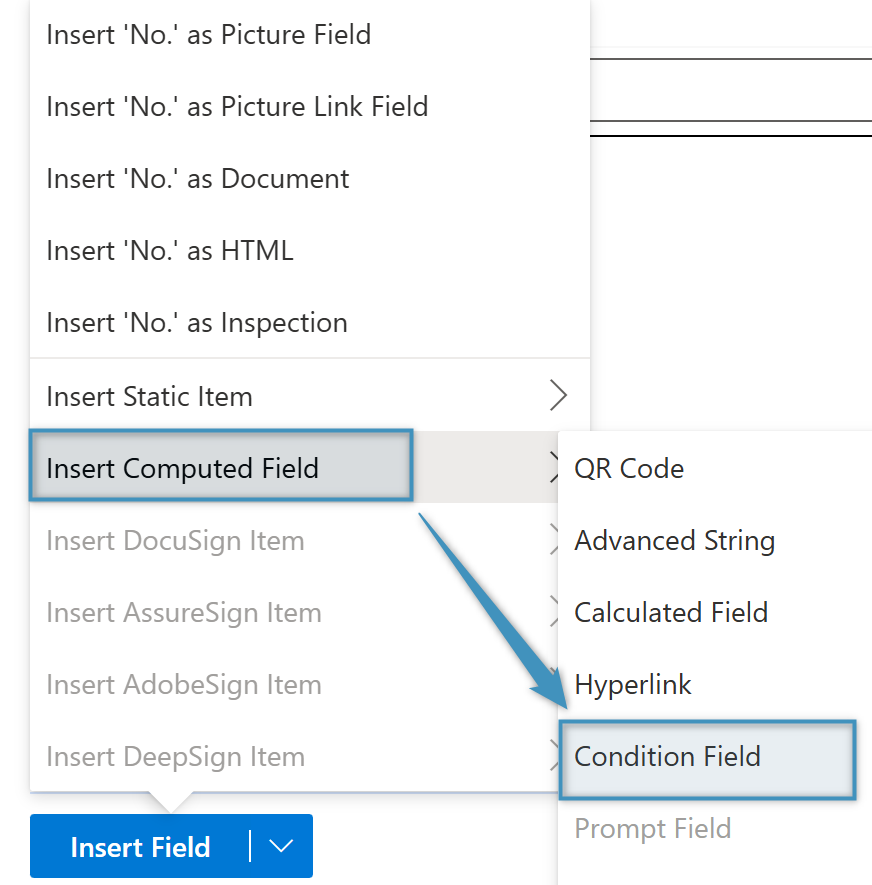
- Or through the Insert Field button in the Template designer under Computed Items.
Selecting either option will display the following window:
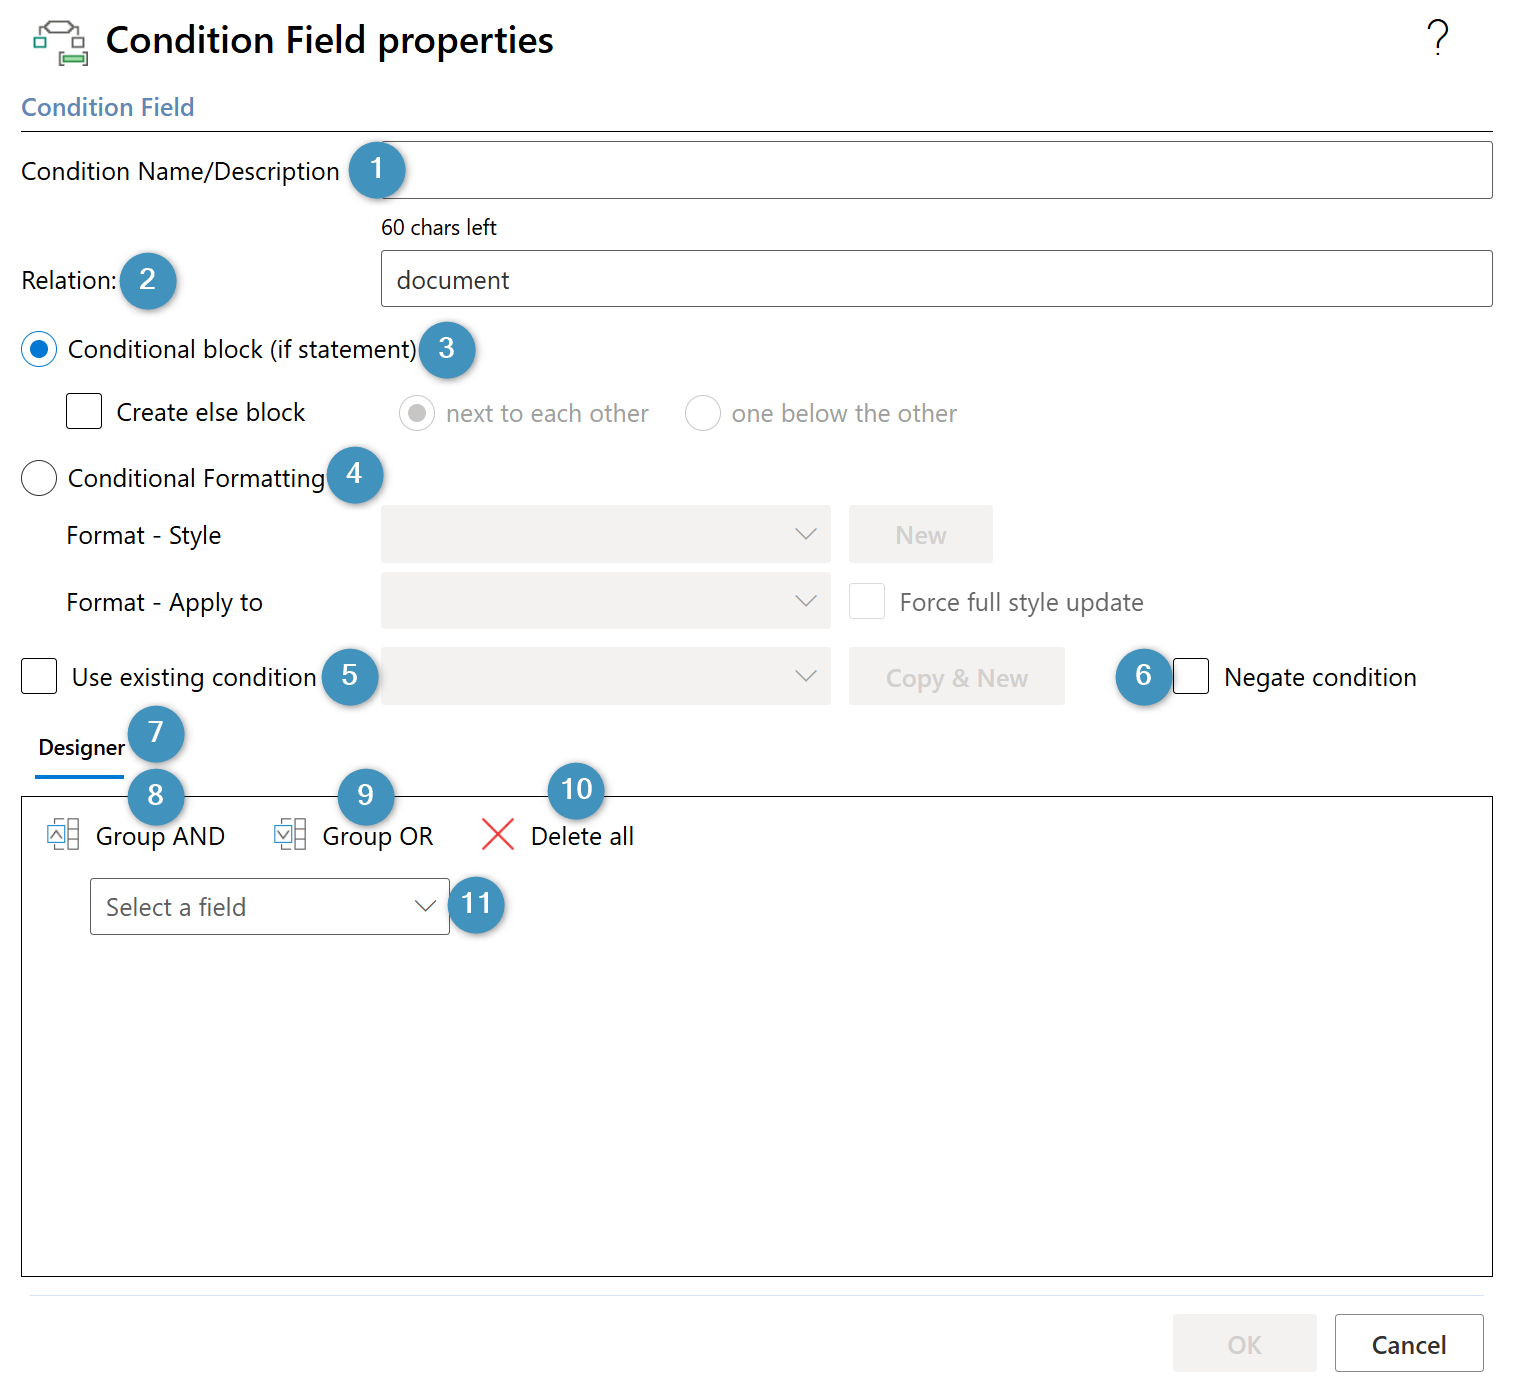
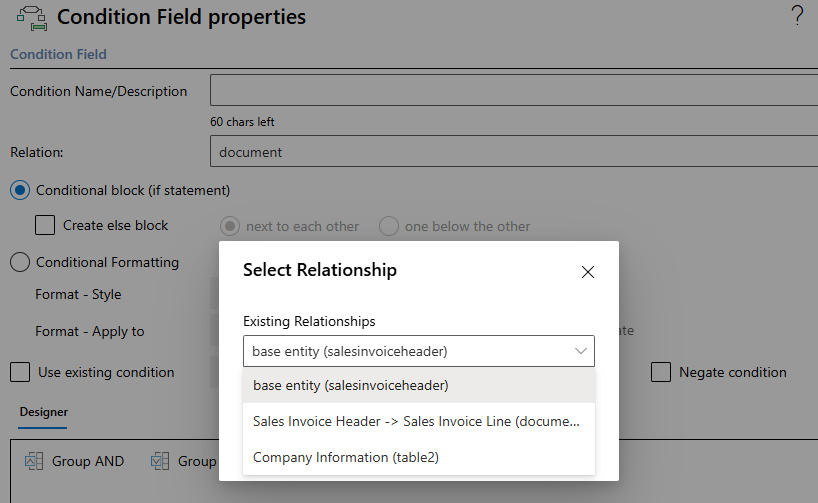
The controls are as follows:
- ❶ Condition Name/Description: The name of the created condition
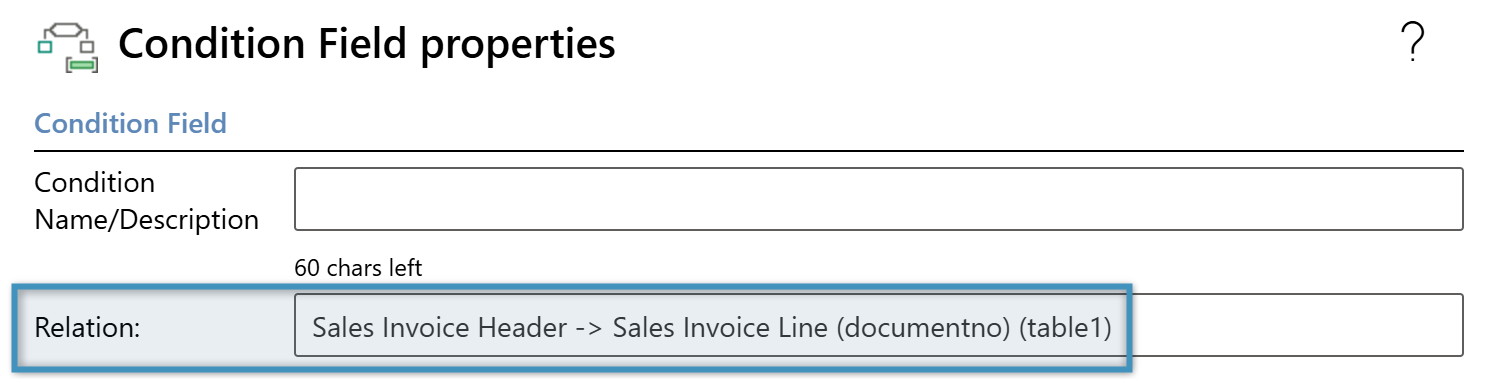
- ❷ Relation: The relation the condition is associated with. “Document” refers to the base entity of the template.
- ❸ Conditional block (if statement): Specifies that the condition should be created as a conditional block. You can choose if the block should have an “else” block, and where the “else” block should be.
- ❹ Conditional Formatting: Specifies that a formatting style will be applied if the defined condition is met (see more on Conditional Formatting).
- ❺ Use existing condition: Allows the user to re-use an already defined condition for another block or element in the template.
- ❻ Negate condition: Negates the condition selected in ❺ when the condition is created.
- ❼ Designer: The designer where conditions are defined
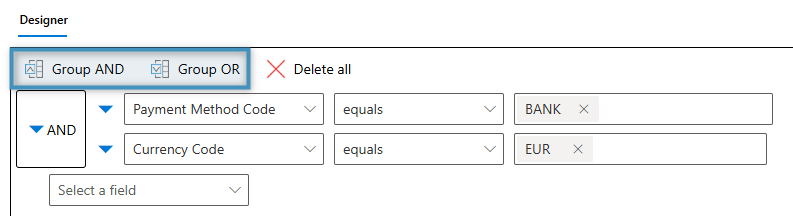
- ❽ Group AND: Groups multiple highlighted rows under ⓫ as a joint AND statement
- ❾ Group OR: Groups multiple highlighted rows under ⓫ as a joint OR statement
- ❿ Delete all: Deletes the selected row(s) in ⓫
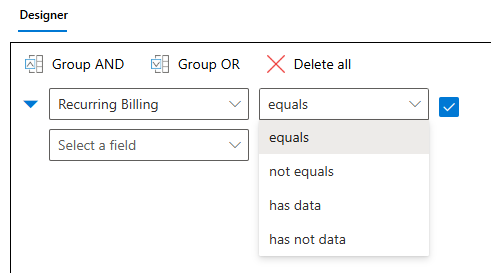
- ⓫ Field dropdown: Enables the selection of one of more fields. The chosen field(s) are used to build conditions based on the selected operators and values. The available fields in the dropdown depend on the relation ❷.
The relation ❷ in the Condition Designer can be modified. By default, it is set to document. If the Designer is opened via the Insert Field button in the Relationships tab after a relationship has been resolved, it will automatically use that relationship.
Alternatively, opening the Designer using the Conditions button allows you to directly select another available relationship.
Designing conditions
Conditions created in the designer are based on the fields and related records of the base entity. Clicking the dropdown displays a list of available fields.
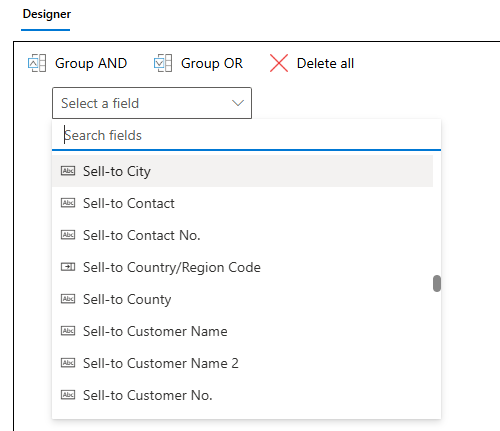
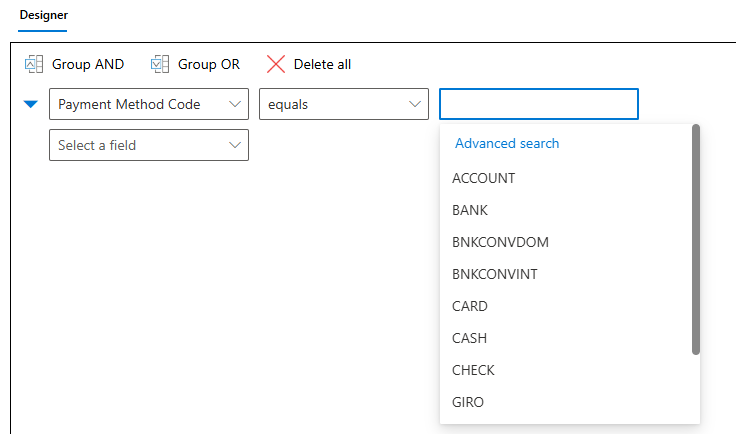
After selecting a field, choose an operator and specify a value for comparison.
Depending on the field type, different operators may be available, and the controls may change.
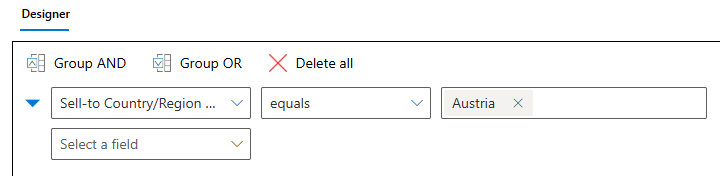
Multiple fields can be combined to create more complex conditions. By selecting several fields, they can be grouped using the Group AND or Group OR buttons.
Tip: To edit a condition field, select it and click the Field Properties button in the Fields group.
Using condition fields
In the following example, we have a Sales Invoice Header template, which is typically customized to include payment instructions, legal text, and invoice notes.
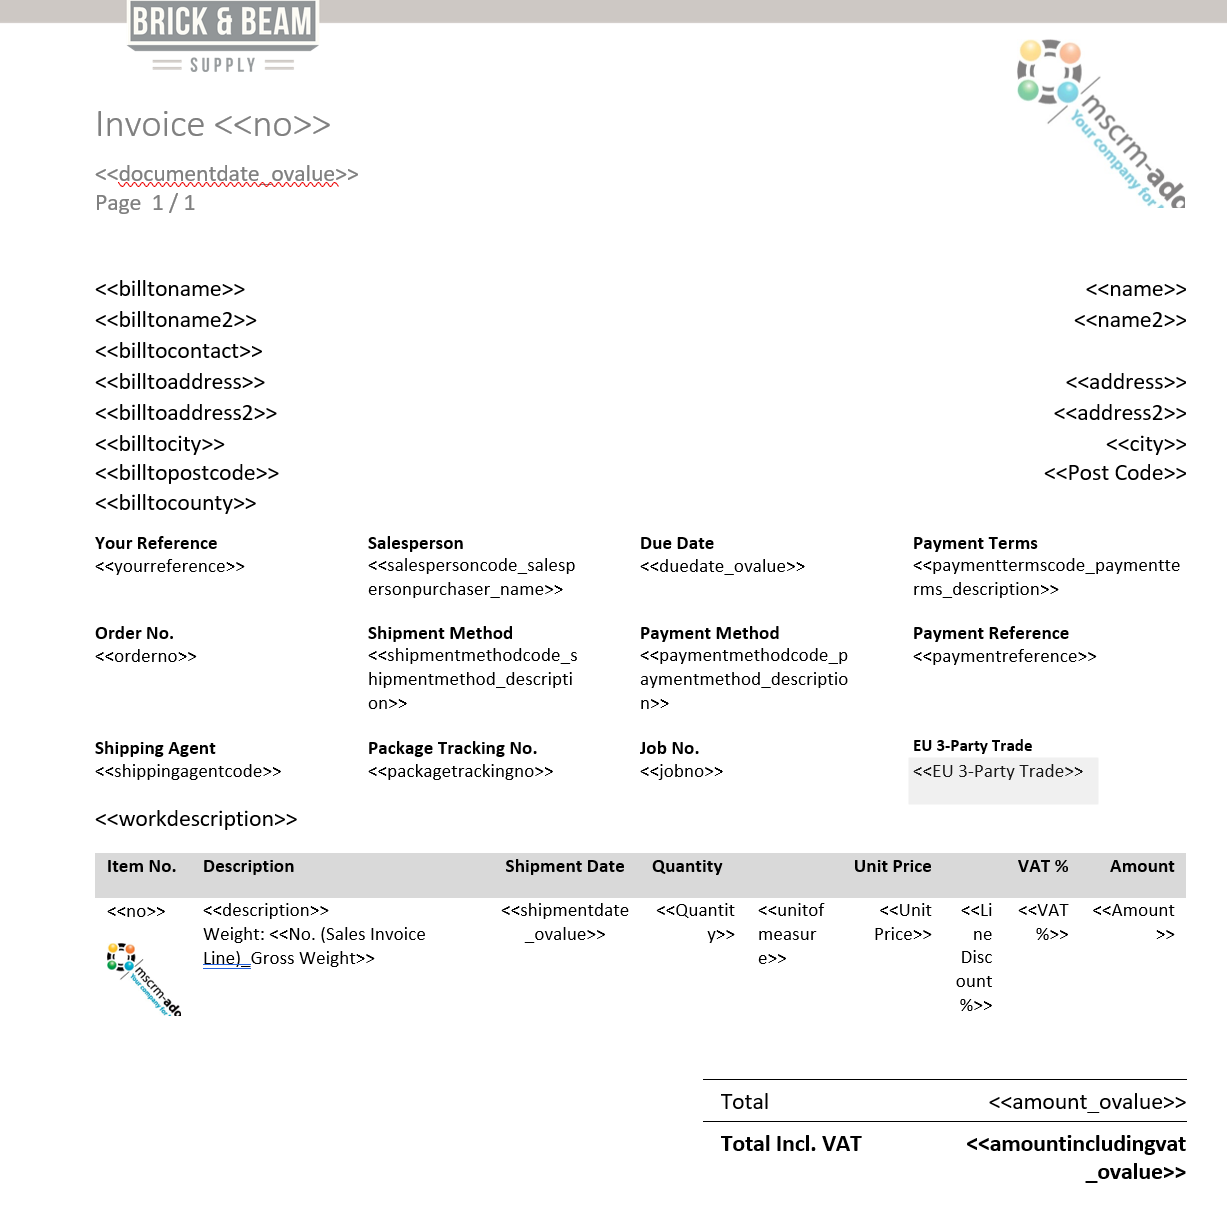
At the bottom of this template, we would like to add a condition based on the Payment Terms Code – a multiple-choice field in the Sales Invoice Header table that specifies how and when the invoice should be paid.
To add a condition to the template, place the cursor where needed and then open the Condition Designer. Provide a name for the condition and select conditional block. Since this field contains only a single value, creating an else block is not necessary.
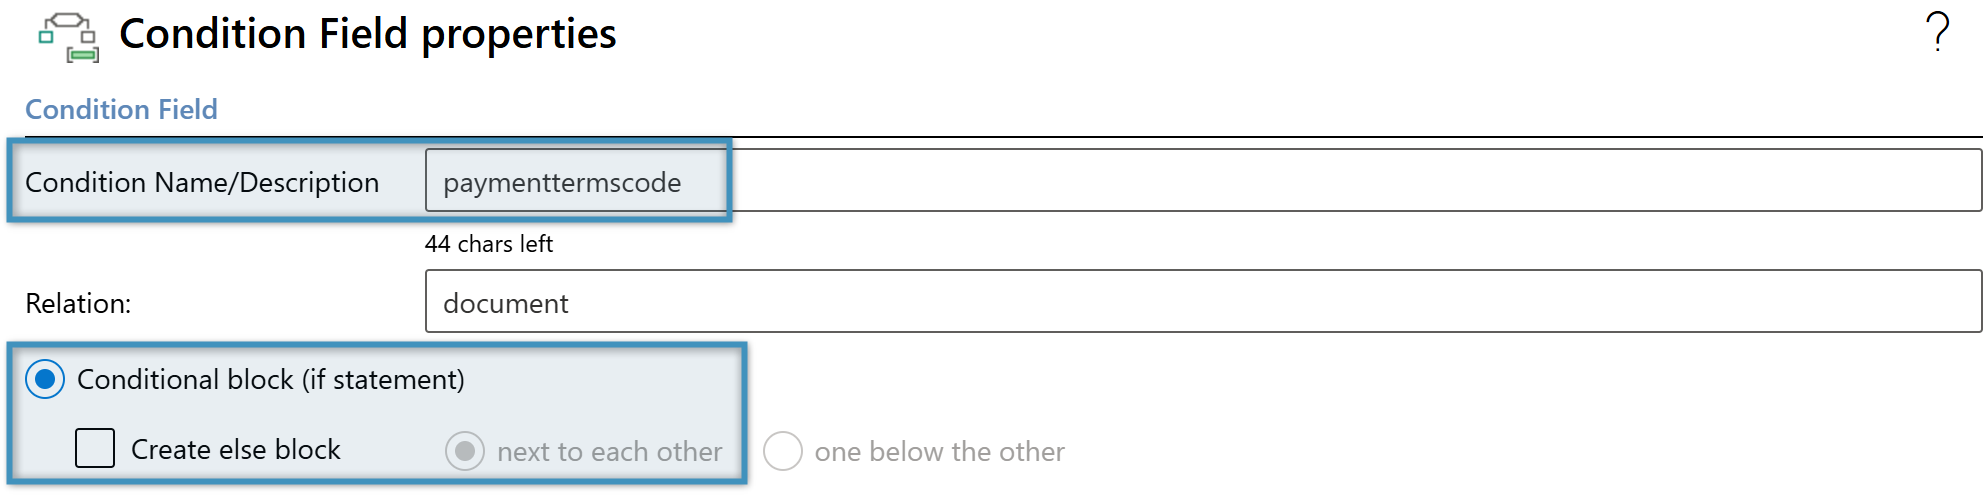
In the designer, select the Payment Terms Code field from the dropdown menu. Set the operator to equals and the value to CM, then click OK.

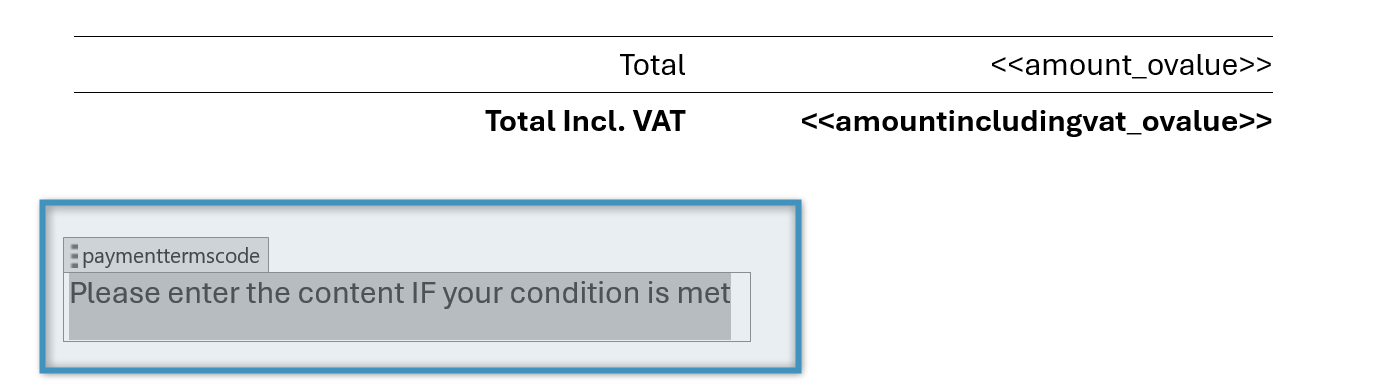
This will insert the condition field into the template and indicate where the text should be added.
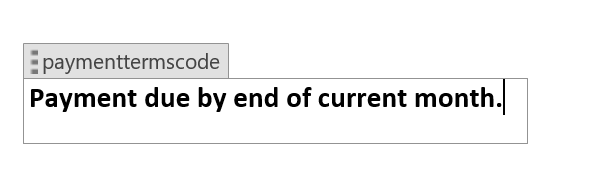
When the document is generated, the condition is evaluated based on the record’s data. If the Payment Terms Code is set to CM in the corresponding record, the condition field will display the text configured for this payment term.
Tip: You can insert not only fields but also tables into condition fields.
The IF field
Microsoft Word offers its own condition equivalents in the form of the IF field. Although it operates differently, it can still be used in combination with DocumentsCorePack fields.
Using with DocumentsCorePack fields
The syntax for the IF field is as follows, where the purple text represents the condition, the green text is displayed when the condition is true, and the red text is displayed when the condition is false:
{if ”<>”=”XY” “Content if condition is fulfilled” “Content if condition is not fulfilled”}
Fields from DocumentsCorePack can be inserted within the condition of an IF field. Using the example above, we can construct a statement like this:
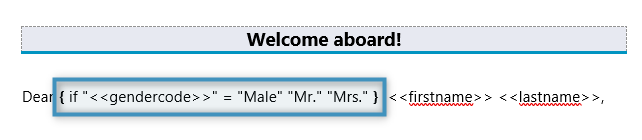
This evaluates to the following:
