In the DocumentsCorePack Layout Designer for Business Central, you can establish a relationship with the Company Information table. This table contains all of your company’s data as defined in Business Central. When placeholder fields from this table are inserted into a template, corresponding data from your defined company will be inserted in a generated document. This can be useful in instances where adding you company data, such as its address or email, is required for a template.
Adding the “Company Information” Table
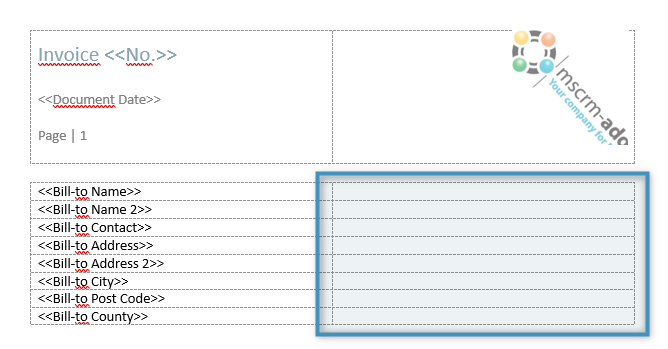
In the following demonstration, we would like to add our company’s mailing address to a template. The mailing address will be added in the space highlighted below, on the side opposite our customer’s billing information.
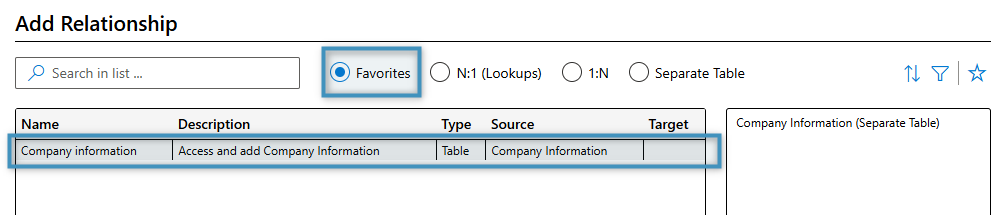
To begin, we must first add a relationship to the Company Information table. To do this, open the Relationship Designer. By default, the Company Information table is found under the Favorites tab. To add it, double-click on the table and click Add Relationship.
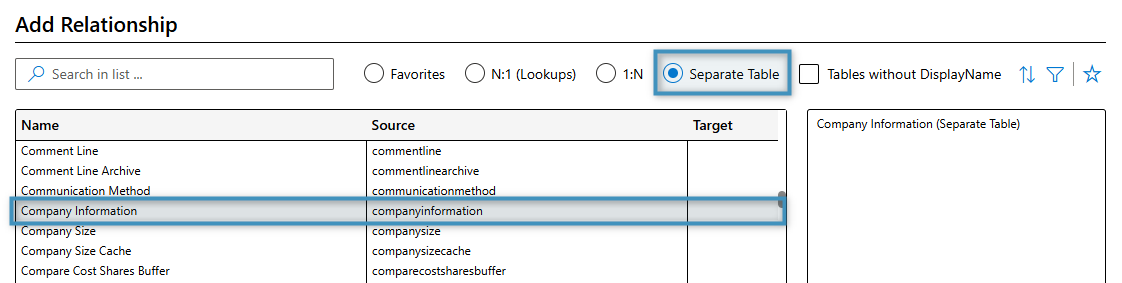
This table can also be found under the Separate Table tab.
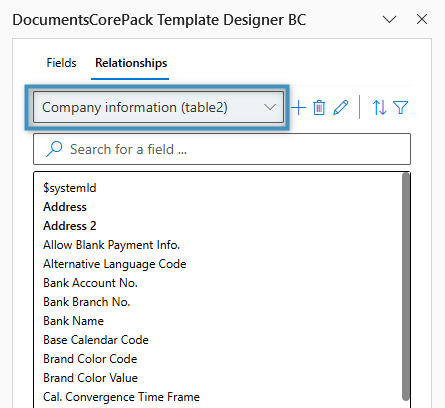
Once the Company Information table has been added, you can select the table in the relationship dropdown in the Template Designer. There, you will see a list of the table’s fields.
Inserting Company Information
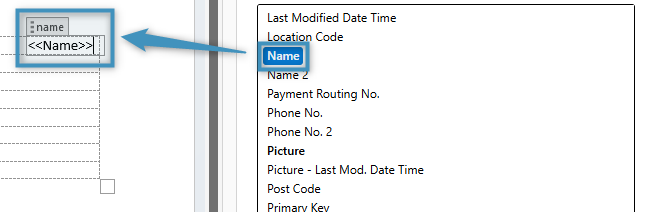
Like any relationship, we can add a field from the field list by double-clicking it. For example, we can add the company’s name as shown here.

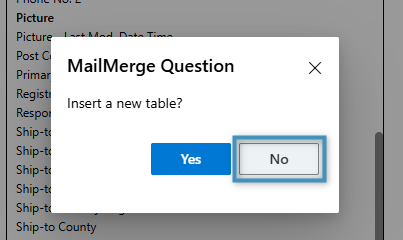
Whenever a field from a table is double-clicked, you will be prompted to create a dynamic table. In this case, we just want to insert the information, so we will select No.
The company’s name will then be inserted at the cursor’s location.
Repeat this process for each field you’d like to include in your template. Our template looks like this:

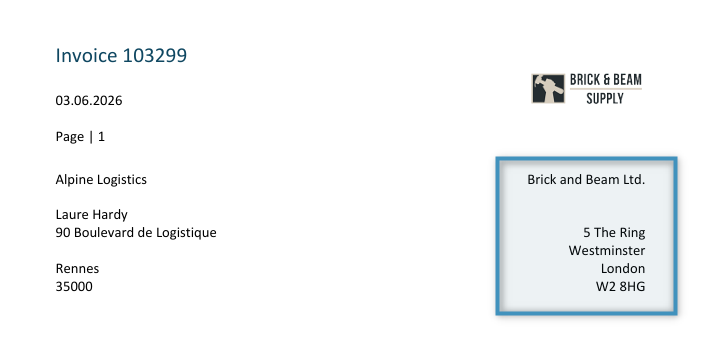
Once you are satisfied with your template, save the template and generate a document result. The final product should look similar to the following: