When creating templates in Microsoft Business Central, users can insert fields directly into their document using the Template Designer. These fields automatically pull information from your Business Central records when the template is merged with data.
This documentation explains how to insert fields into a template and provides a step-by-step walkthrough using a sample Sales Invoice template.
Step 1: Navigate to the Insert Fields Button
To begin inserting fields, ❶ navigate to the DocumentsCorePack tab in your Word ribbon. Next, select ❷ Insert Fields to open the Template Designer.

Step 2: Select the Base Table
The Template Designer will appear on the right-hand side of your screen. Choose the table that contains the data you want to insert into the template. For this example, we will use the Sales Invoice Header table.
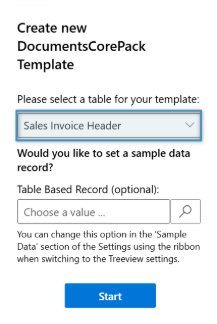
Note: Once you have selected a table for your template, you cannot change it. You will have to create a new template if you need to change the table.
The available fields for the selected table will be displayed automatically in the fields list.
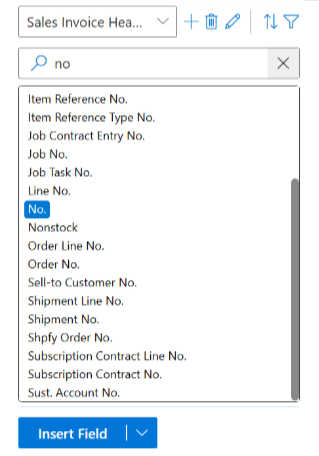
Step 3: Inserting a Field
Locate the field you want to insert into the document by either searching in the top search bar or simply by scrolling to find the correct field. From here, double-click the field you would like to insert.
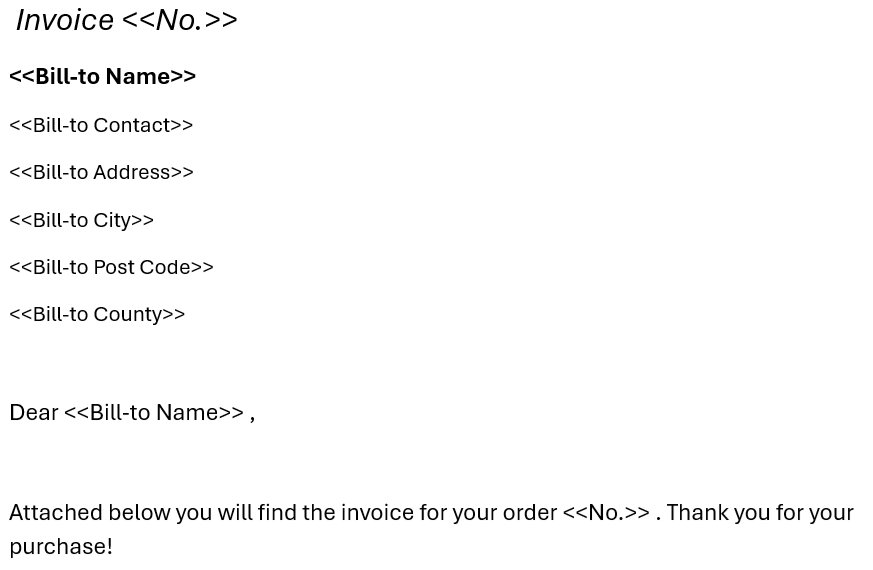
For example, to create a sales invoice, we will insert the following fields:
- Invoice No.
- Customer Name
- Address
- Post Code
- Etc.
Once inserted, the fields will appear as placeholders inside the document.
From here, you can test the fields with data inside of the Business Central dashboard after saving your template.