When generating documents in Dynamics 365 Business Central, for example, quotes, invoices, or customer letters, you can define dynamic document names directly in the document template. A dynamic document name helps ensure that saved or generated files are immediately recognizable by including meaningful business data such as customer names or document numbers.
Where to define the document name
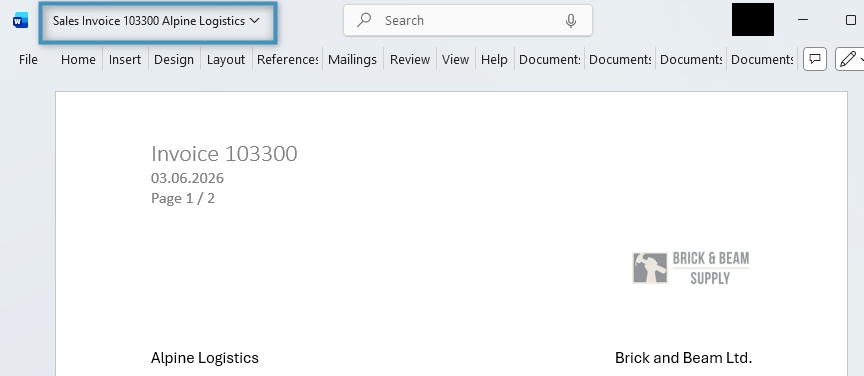
In this example, we want to define a dynamic document name for a Sales Invoice template. Since the template is used to generate customer invoices, the resulting document name should follow the format “Sales Invoice No. + Sell-to Customer Name.”
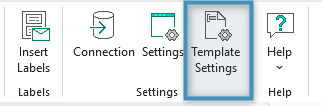
To configure a document name, begin by clicking the Template Settings button within your template, located within the Settings group.
Building a dynamic document name
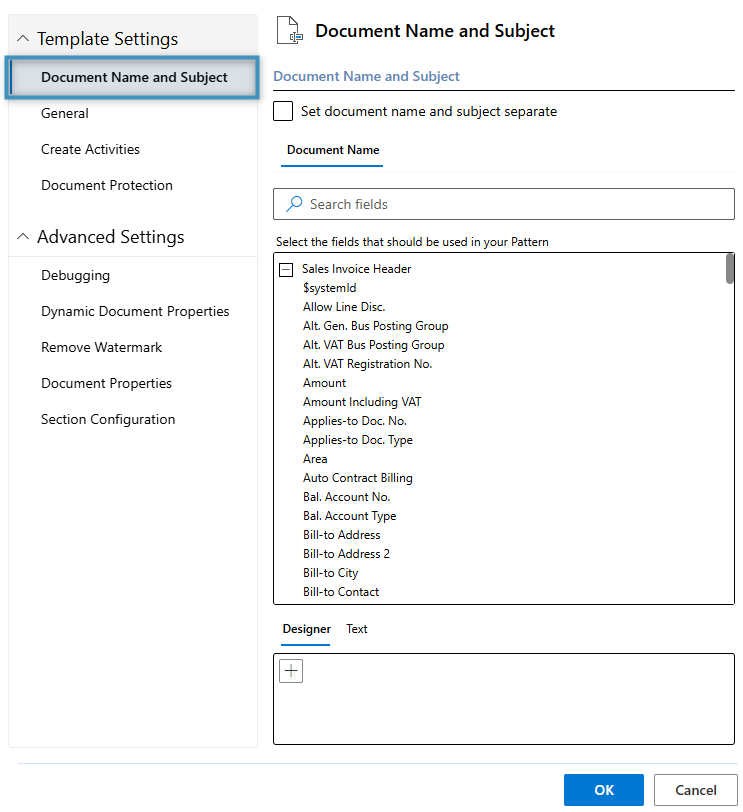
The dynamic document name can be configured in the Document Name and Subject tab in the Template Settings.

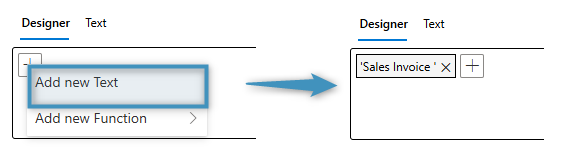
In the Designer tab, you can combine fields and static text to build your dynamic document name. To add text, click the (“+”) button and select Add new Text. This allows us to insert the first part of the dynamic name.
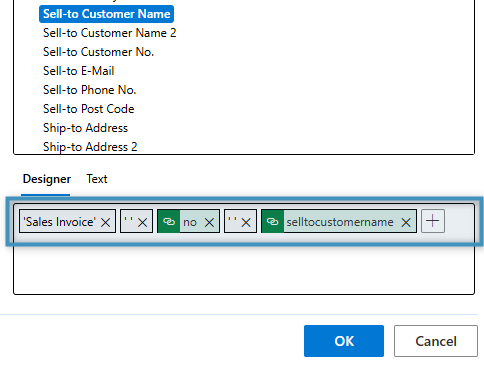
Next, we will add the No. and Sell-to Customer Name fields by double-clicking them in the list above. We will also include a space between the static text and each field to separate them. Click OK once you are finished.

Tip: Additional functions can be applied to fields and text. See here for more information. The result
The result
After saving the document name pattern, we can save the template to our Business Central environment. When a document is generated using this template, its name will follow the pattern we defined.
