This article demonstrates how to create a DocumentsCorePack service for Business Central with the DocumentsCorePack Online Service Configuration. Setting up this service will allow you to enable document generation and processing capabilities within your Business Central environment.
Prerequisites
Please ensure that the user configuring the service has the following Microsoft 365 roles:
- Dynamics 365 Business Central Administrator
- Cloud Application Administrator
Additionally, inside Business Central, the user should have these roles:
- To deploy extension: Extension Mgmt OR Super
- Service setup: Admin OR Super (or have DCP Admin Assigned)
Setting up your service
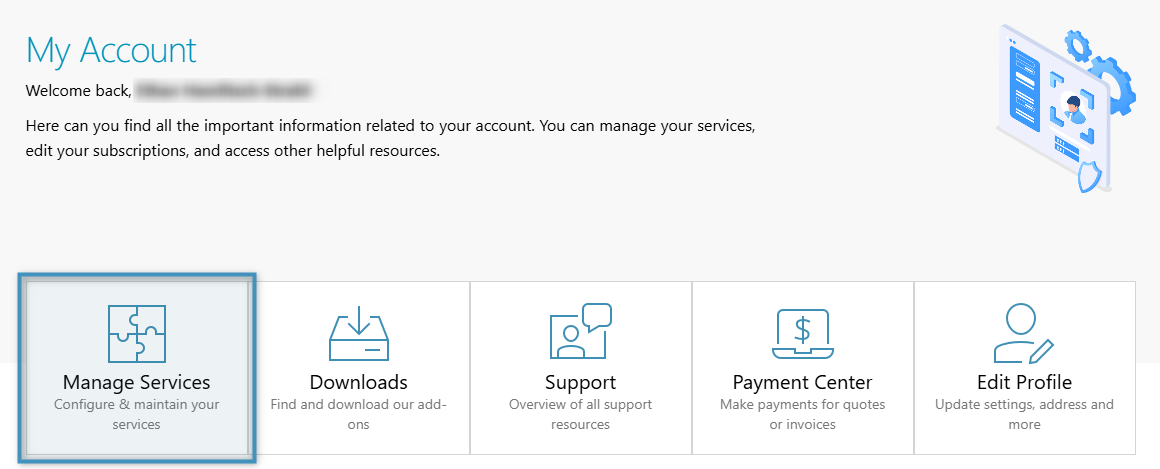
Begin by logging in to www.mscrm-addons.com. Under your account, select Manage Services.
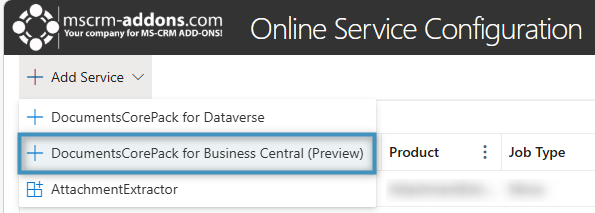
To configure a service, click on the Add Service dropdown button and select the type of service you would like to create. In this case, select DocumentsCorePack for Business Central (Preview).
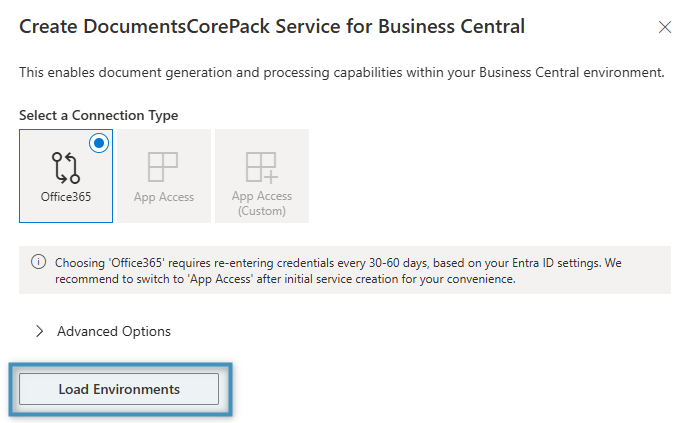
In the following window, click the Load Environments button. This will bring up a prompt to sign in with the credentials of your environment. Enter your credentials and proceed.
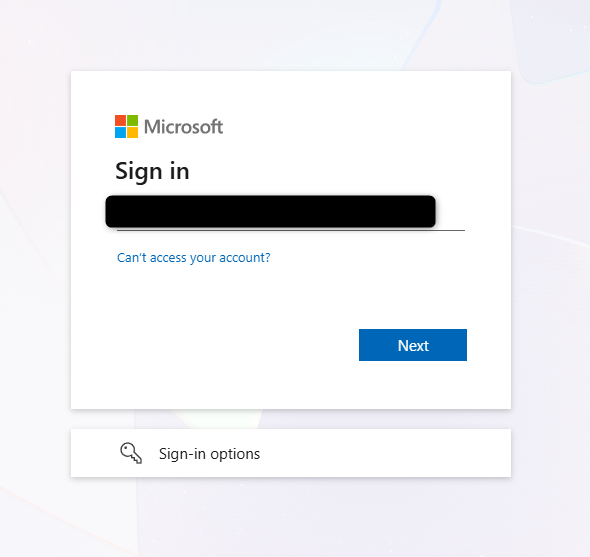
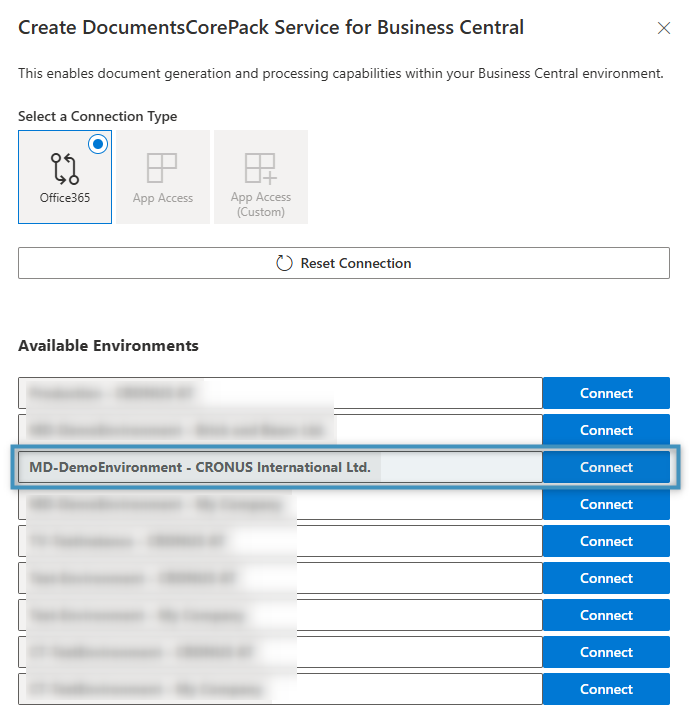
Once you have signed in and accepted the required permissions, you will be prompted to choose an environment.
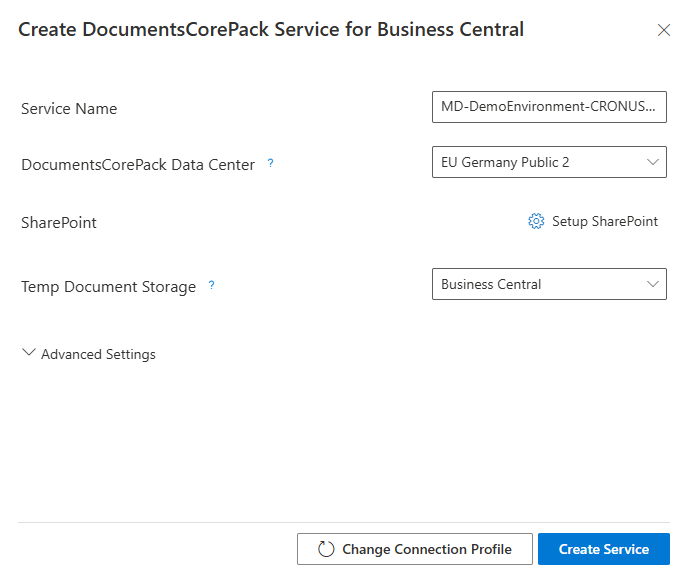
You can configure or review the service’s settings before continuing. You can click on Create Service when you are ready.
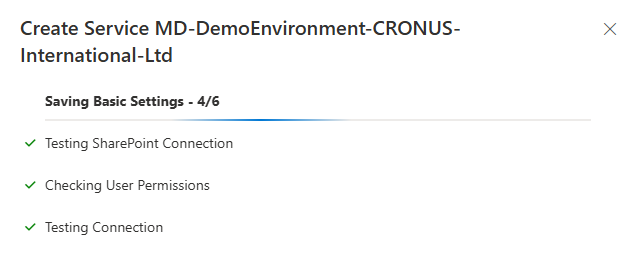
The setup process will then begin. This process will take some time before finishing.
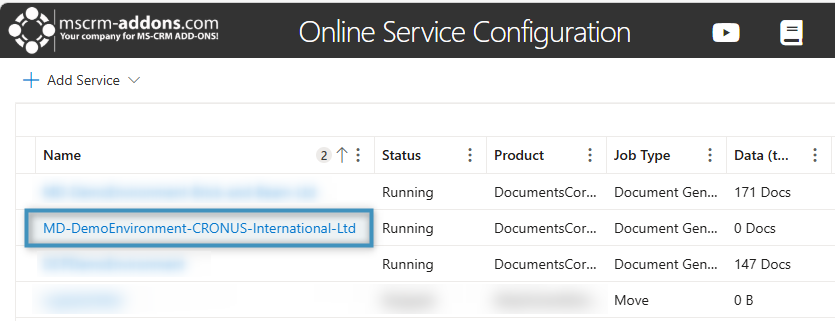
Once finished, your service should appear in the service list.
Post-Installation Review
Once your service has been configured, we recommend reviewing the following:
Checking the “Getting Started” Settings in BC
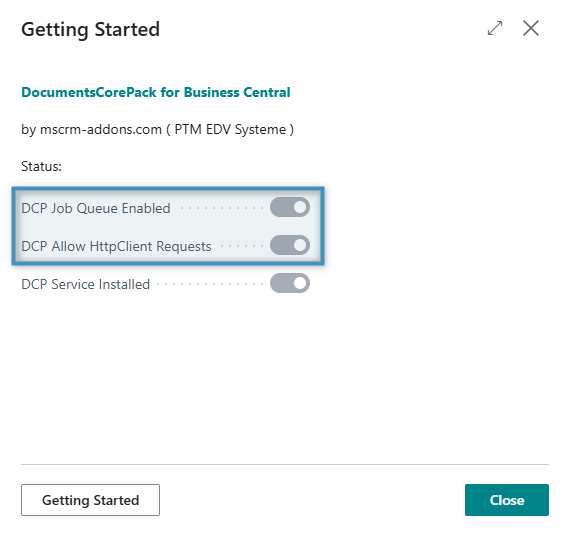
Navigate to your Business Central environment and open the Getting Started dialog under the DocumentsCorePack tab

In this dialog, ensure that both the DCP Job Queue Enabled and DCP Allow HttpClient Requests settings are enabled.
Note: If the DCP Allow HttpClient Requests setting is disabled, document generation will still be possible, but performance will be hindered. If the DCP Job Queue Enabled setting is disabled, document generation will fail.
Checking the Job Queue Entries
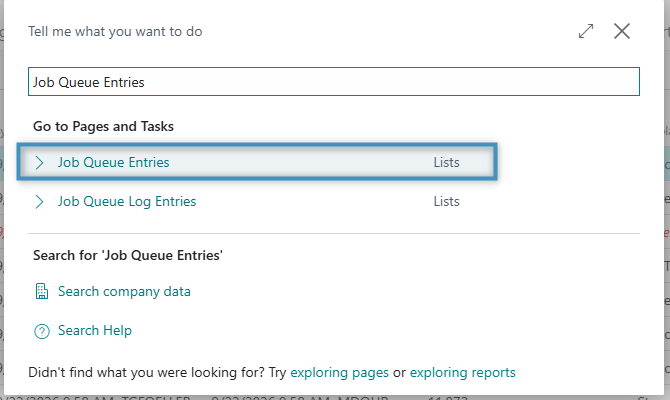
Navigate to the Job Queue Entries table by searching for it in the search bar.
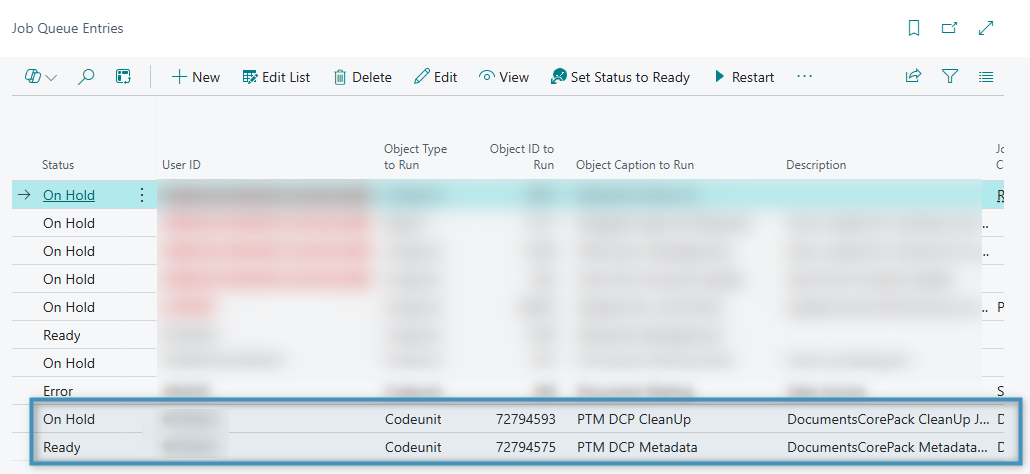
In the opened window, locate the following entries:
- PTM DCP CleanUp: Deletes old generated documents and processing queue items to save space and maintain performance.
- PTM DCP Metadata: Collects all table and column names and relations required for the Layout Designer.
Note: If either entry is missing, please contact our support team. A reinstallation of DocumentsCorePack may be required.