The DocumentsCorePack (DCP) Dialog in Business Central is a centralized interface for generating, processing, and delivering documents. It allows users to create documents and send them via email without leaving the current record.
This article explains the steps and settings required to generate a document and send it via email using the DCP Dialog.
Step 1: Opening the DCP Dialog
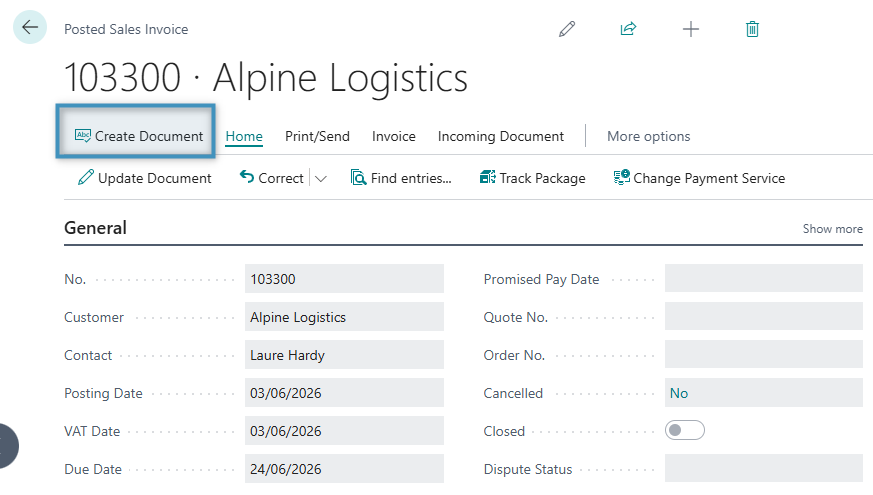
First, select your record. For this example, we will use Posted Sales Invoice record. Then, click the Create Document button. This will open the DCP Dialog.
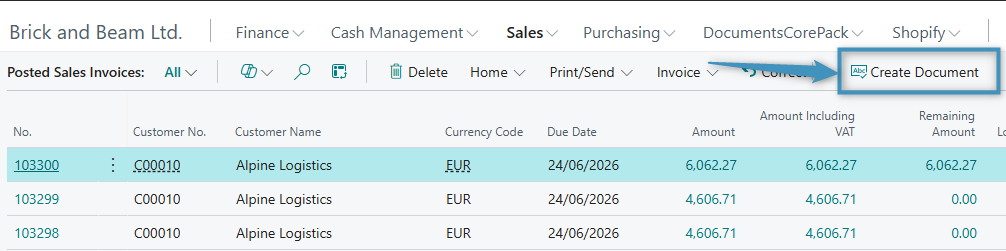
The DCP Dialog can also be opened directly from the Posted Sales Invoices page by selecting the record and clicking the Create Document button, as shown below.
This opens the DCP Dialog, using the data from the current record as the basis for document generation.
Step 2: Selecting a template
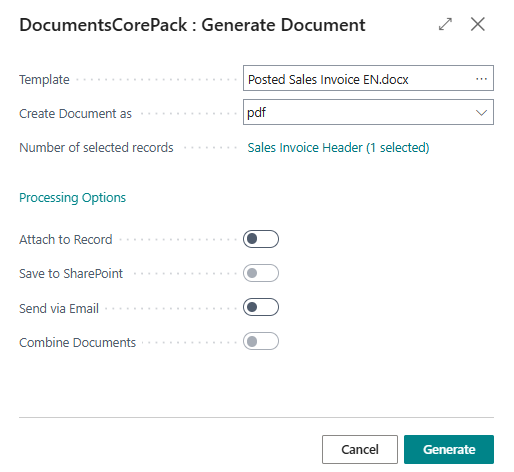
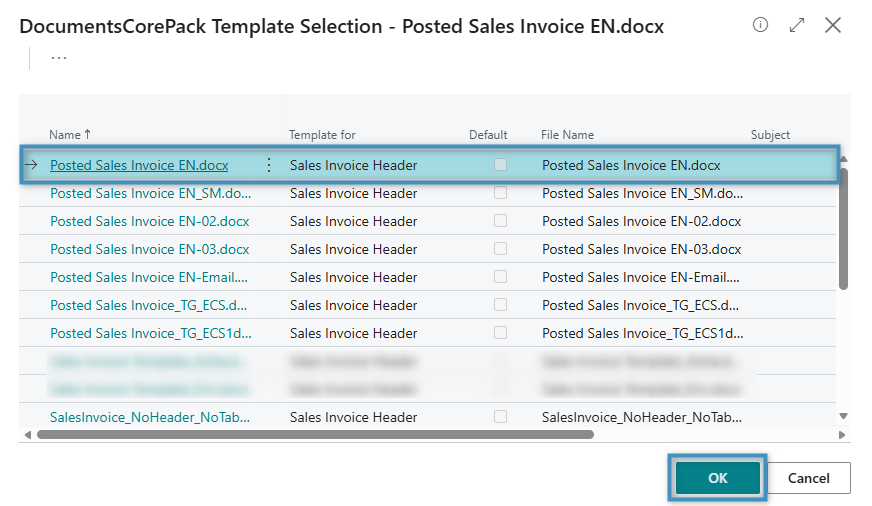
When the Dialog opens, it displays the available document generation options. Start by selecting the appropriate template in the Template dropdown, which determines the layout and content of the generated document. Then, click OK to proceed.
Step 3: Configuring document generation options
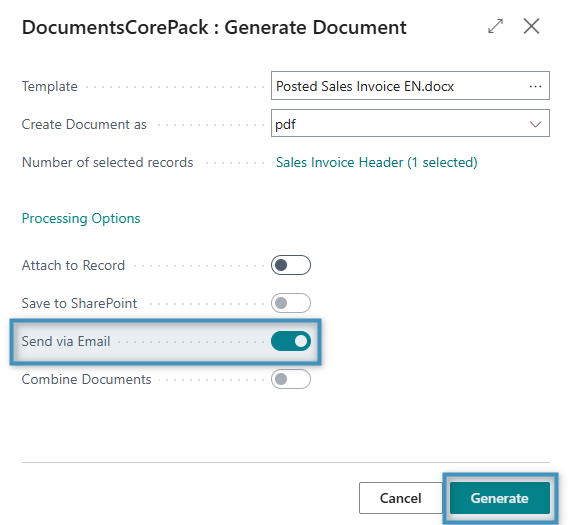
Next, review and adjust the document settings as needed. Under Processing Options, enable Send via Email and then click Generate to create the document.
The result
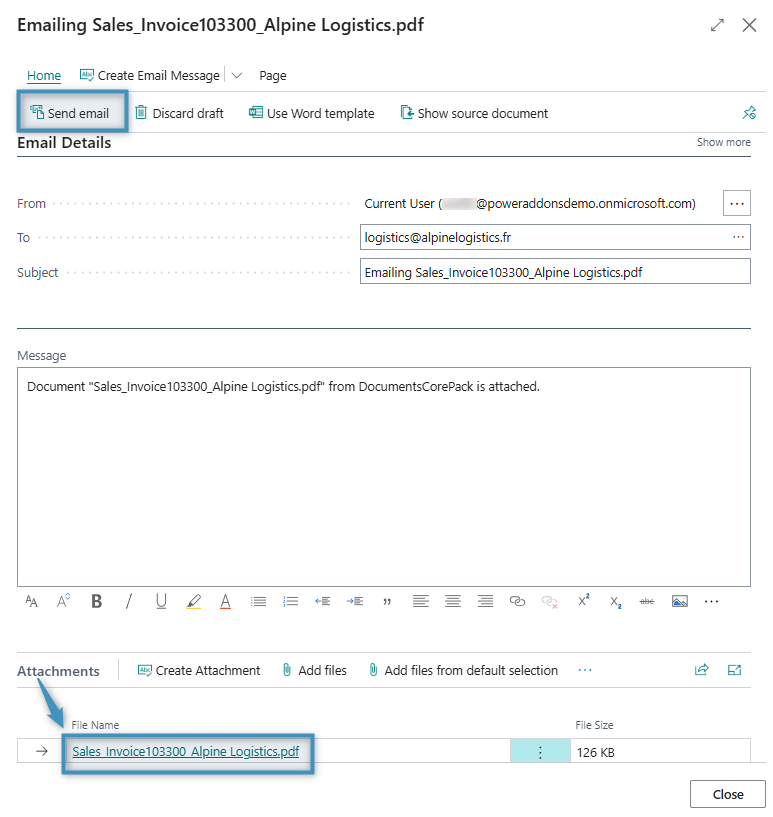
A new email draft will open in DocumentsCorePack. The generated document is attached to the email and appears in the Attachments section. The email is not sent immediately, allowing you to review and adjust as needed. You can update the recipients, modify the subject or message, and add additional attachments if required.
When you are ready, click Send email to complete the process. The email, including the attached document, is then saved in Business Central and linked to the corresponding record.