This article outlines how to create a simple lead template.
In this step-by-step description, we will create a lead template, consisting of a short message to the contact, relevant contact information, and our own contact details. This template will make use of the following features:
This guide is based on a sample template. To view the finished sample template, please see the attached document at the bottom of this article.
For a video version of this guide, please see the video below:
Step 1: Setting the base entity
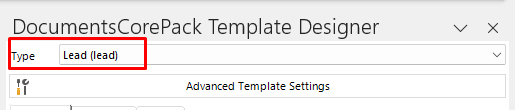
When creating a template, it is always important to set your base entity first. This is because the fields displayed in the Template Designer will be determined by this base entity, and once a field has been inserted into a template, the base entity can no longer be changed. In this case, our base entity is Lead, so we will set the Type accordingly.
Step 2: Adding our text and basic structure
Next, we will add our text and general structure to our template. For our template, this is what we are starting with.

Step 3: Adding our standard fields
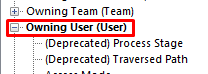
The Xs will be replaced with some fields from the Lead entity. These fields will come from the Standard tab in the Template Designer. Some fields, like the Owning User fields, come from lookup fields located near the bottom of the fields list.
Once our fields have been added, our template will look like the following:

Step 4: Adding a date
We also want to include a date for our template. That can be achieved using the Advanced String field, which can be found through the Insert Field menu under the Insert Computer Item submenu. We can add a date by entering DATETIME() in the textbox.
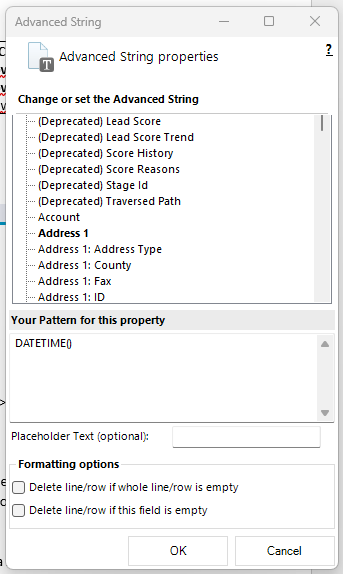
Once you click OK, this will add the field to the template

Step 5: Adding our Hyperlink and Condition fields
The last thing we need to include into the template is our Condition and Hyperlink fields. We want to display hyperlinks to our email and phone, but we only want to display the phone hyperlink if it is available. If it is not available, we want to hide it.
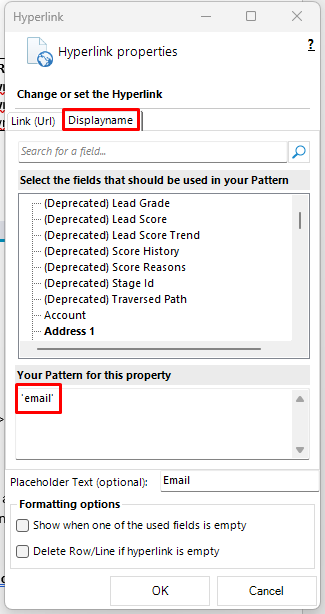
First, we will include the Hyperlink field for our email. This can be done by selecting Hyperlink through the Insert Field menu via the Insert Computed Item submenu. The field can be formatted like the following:
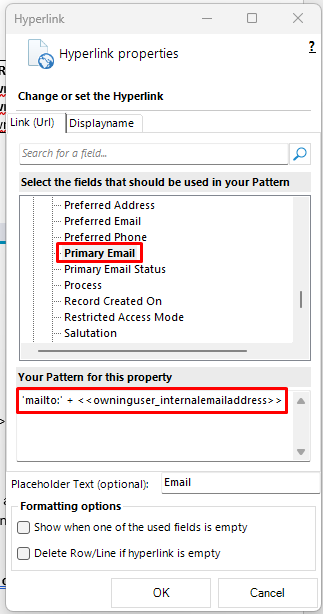
This pattern will retrieve the primary email during the merge process. The Displayname must also be set before selecting OK.
Your field should look like this in your template once finished.

We also want to include a hyperlink to our phone number if it is available. To do that, we need to begin by creating a Condition field. This can be accessed through the Insert Field->Insert Computer Item submenu as well.
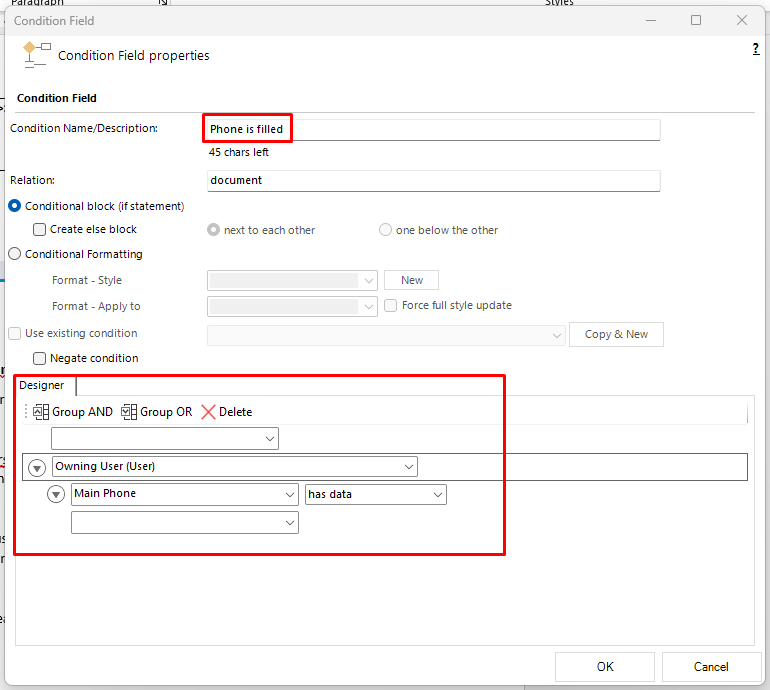
When setting up our condition, we want to make sure that we check if our phone number field from our owning user has a value. To do that, we must select the Owning User (User) in the dropdown. From there, we can open a new dropdown that appears underneath. In this dropdown, we can select the Main Phone field. Finally, in the operator dropdown to the right, we must select has data to make sure that this field will only be displayed if the field contains any data.
The condition field should look similar to the following:
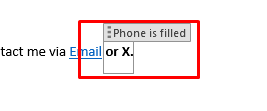
Click OK. The field should appear in the template.
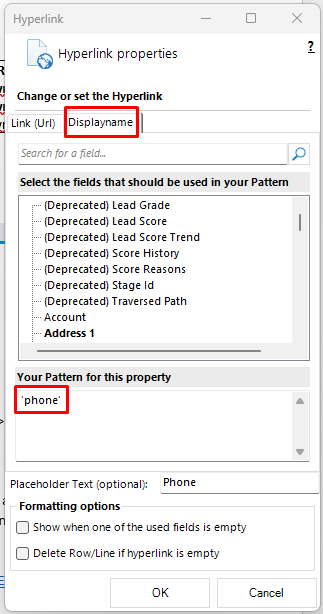
We still need to add our phone hyperlink. To do so, place your cursor within the condition field and access the Hyperlink field window once more. Set up the pattern for the hyperlink like so:
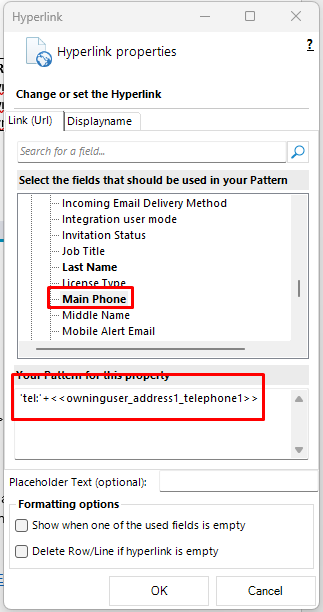
Don’t forget to include the Displayname here as well.
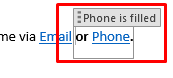
Click OK. This will insert the field into the condition field. If done correctly, your hyperlink field will be within the condition field.
Step 6: Merging our template
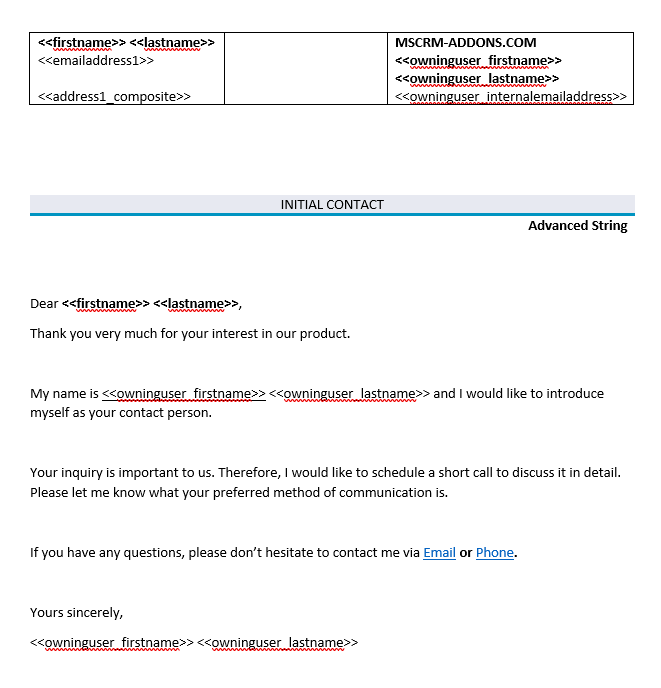
At this point, your template should look like the following:
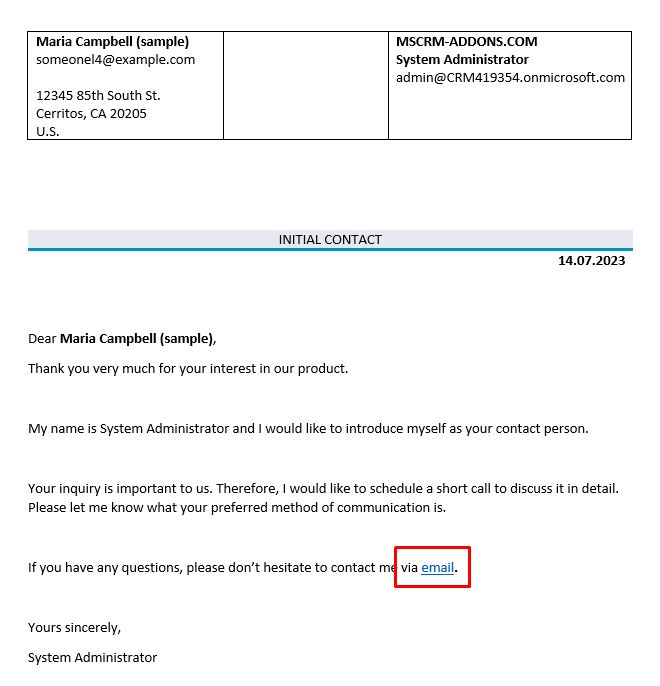
After saving our template and merging it with a record from our environment, we get the following result document:
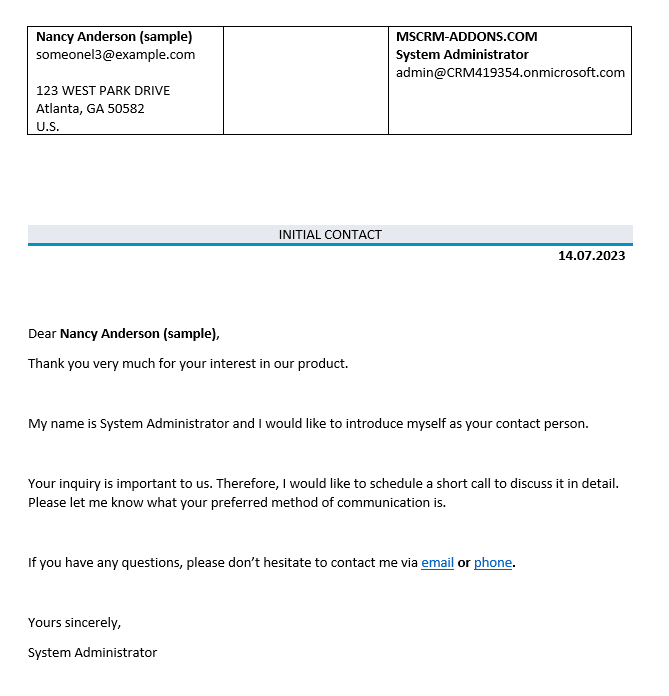
Note that both our email and phone number are appearing. If we were to remove the phone number from our Owning User record, you will see that the hyperlink field that contains our phone number disappears.
That’s it! We appreciate your feedback! Please share your thoughts by sending an email to support@mscrm-addons.com.