Approvals are actions that can be used within Flows to ensure that subsequent steps are confirmed before continuing on. In this article, we’ll take a look at how to use such approvals in combination documents to support approval of documents that require sign-off.
Note: This article assumes a general understanding of working with DocumentsCorePack within Flows. If you are not familiar with this, please review our article on the topic here.
Our use case
We want to automatically send a quote to a customer once a quote is activated. But if the total amount of the quote exceeds fifteen thousand dollars, we want to get the quote approved by a manager first before it is sent off. To do this, we’ll need to construct a Flow with an approval.
Step 1: Setting up the Flow
After we create our Flow, we’ll begin by adding a few actions. The Flow is already set up to trigger when a quote is activated. We’ll add actions after that which creates an email record using the Dataverse – “Add a row” action. After that, we utilize the “Create document (sync) V3” action of the DocumentsCorePack Connector to generate both: the attachment for the email in PDF format, and the content for the email in HTML.
Important: The “Create document (sync) V3” action provides the generated document as an output parameter.
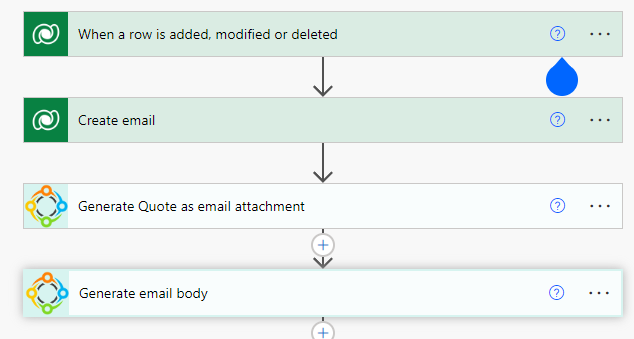
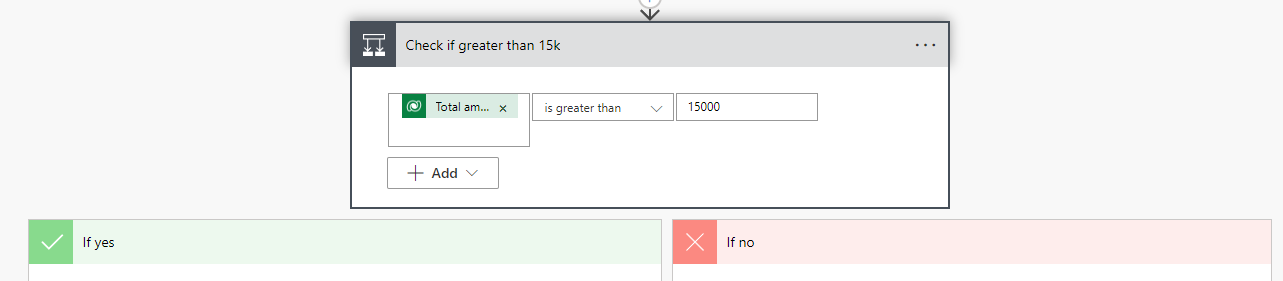
After those steps, we’ll add a condition. This condition checks if the total amount of the quote is greater than 15,000. If it is, then we’ll continue to set-up an approval action before the quote gets sent. Otherwise, we’ll send an email without needing approval.
Step 2: Setting up the approval
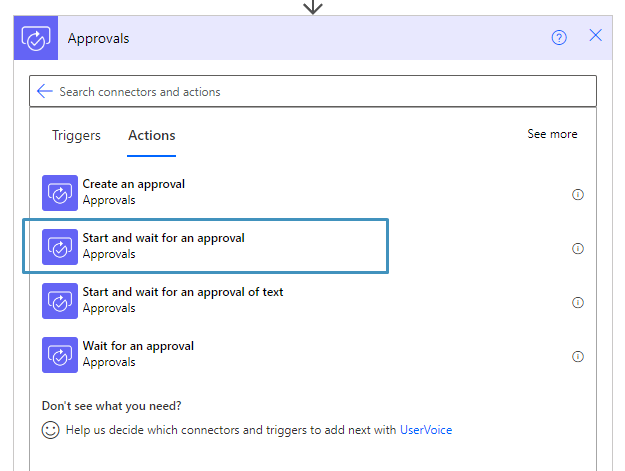
In thi “If yes” branch, add a new action and search for the “Approvals” connector and select “Start and wait for an approval.”
When added, select Approve/Reject – Everyone must approve for the approval type. Then, set your title and add the email address you would like this approval to be assigned to under the Assigned to field. Finally, we are ready to add the document to the approval. To do so, we need to open the advanced options and add the attachment as follows:
- Attachments Name: set to the File name – the output of the “Create document” action
- Attachments Content: set to the Document content – the output parameter of the “Create document” action

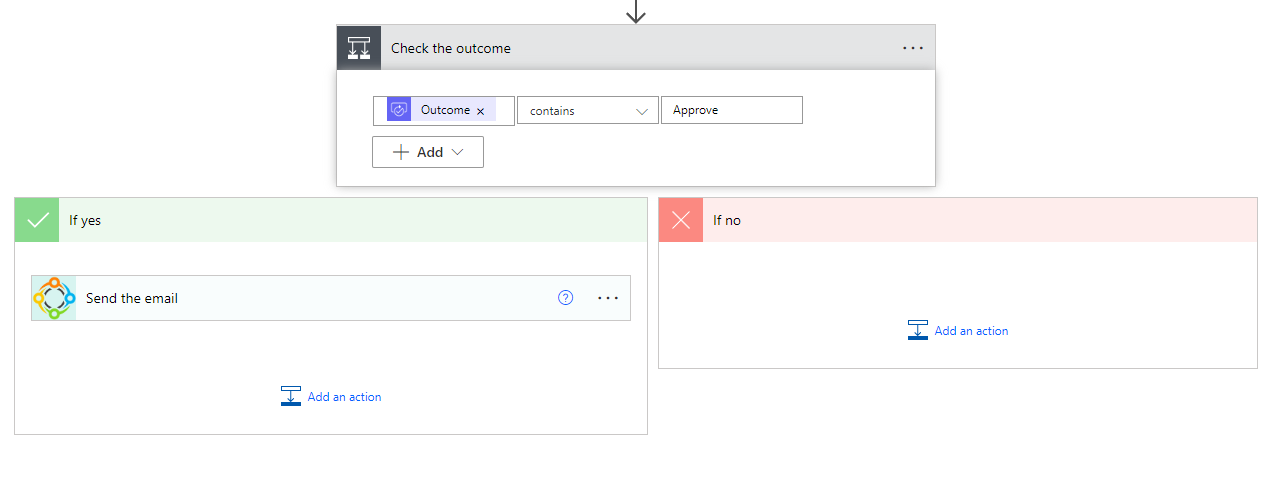
Then, we can add a condition under the approval action to check the outcome. If approved, the flow proceeds to the rest of the action. In this case, the email will then be sent to the desired recipient. If it is not approved, then the flow will stop.
Step 3: Testing our Flow
We can test this flow by going into any drafted quote and activating it.
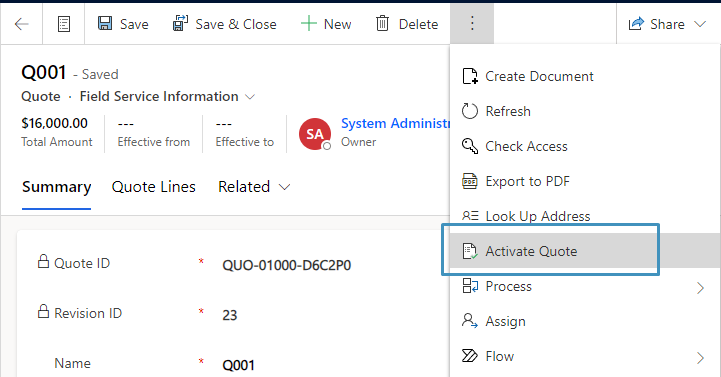
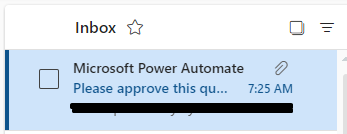
Once activated, the flow will start. If done correctly, then the email address assigned to the flow should receive an email from Microsoft Power Automate stating that their approval is needed. The generated document will also be attached to the email for viewing.

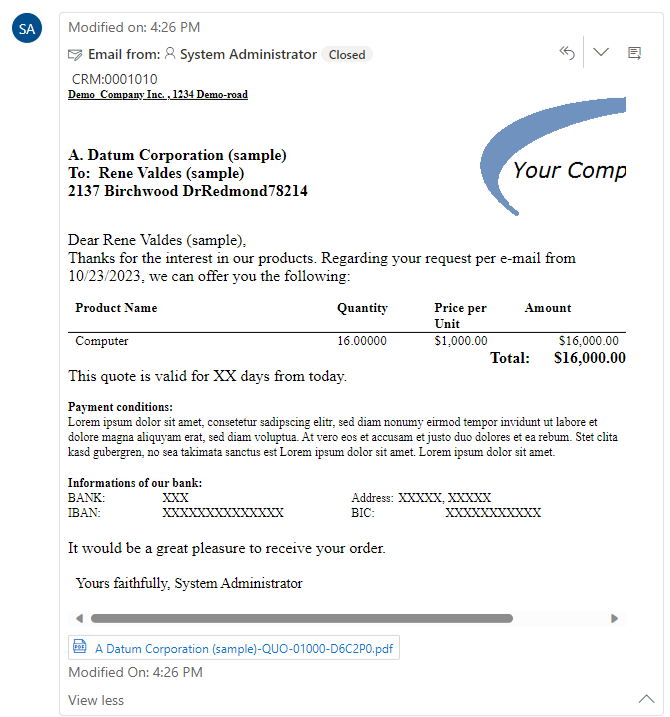
If the user approves, then the email will be sent. In our case, this email will be sent to the potential customer under our quote record.
That’s it! We appreciate your feedback! Please share your thoughts by sending an email to support@mscrm-addons.com