User prompts enable users to enter information that is mapped into the final document directly from the DocumentsCorePack (DCP) dialog. This article describes step-by-step how to set up user prompts.
Users can configure prompts to ask:
- For additional text via a textbox
- To define the date/time values via a date-time picker (e.g. reporting)
- To select from a list of predefined options of text
For example, if a user was generating a quote, they could add a personalized introduction to the document, insert the day/time that the document is sent, and select how many days the document is valid for.
Other common use cases include adding specific legal terms for different quotes, personal notes for different contacts/accounts, etc.
This blog article covers step-by-step how to set up user prompts in the DocumentsCorePack Template Designer.
Prerequisites:
- The new DateTime feature requires the DCP TemplateDesigner version 10.25.
Creating and using prompts
The following step-by-step description explains how to set up such prompts in your templates.

Step 1: Create a Prompt
Users define prompts in a template within the Advanced Template Settings of the DCP Template Designer. To access the prompt settings:
❶ Navigate to the mscrm-addons.com tab.
❷ Click Insert MailMerge Fields to open the DCP task pane.
❸ Go to Advanced Template Settings.
❹ Select Prompts.

The Prompt Editor allows you to:
❶ Create prompts
❷ Edit prompts
❸ Delete prompts
❹ Edit the order of how the prompts should appear in the DCP dialog

Step 2: Adding a prompt
You can create a new prompt with the Add button. This will redirect you to a new window, pictured below.

The following properties must be configured:
❶ Display Name: The text displayed within the field itself once inserted into the template. Note that this name does not allow for certain special characters.
❷ Type: The type of prompt field to be created. There are four different types of prompts that can be selected:
- Text (as single or multiline): A text prompt allows the user to enter additional text in the DocumentsCorePack Dialog that will be added to the generated document. A text prompt can be a single line of text, or a textbox (by checking the allow line breaks option).
- Checkbox: A checkbox prompt enables you to either add or remove optional predefined content in the document.
- Select: A select prompt enables you to select from a list of predefined options of text.
- DateTime: There are 3 options for how to display the DateTime prompt. The default setting is DateTime, where both (date and time) are displayed. You can also choose to show just the date or just the time.
❸ Labels: The text displayed in the DocumentsCorePack Dialog before the acutal control (see Figure 1 above). Each prompt requires at least one label. If a label for the current user language in Dynamics 365 is set, this translation will be displayed. If there is no label that matches the current user’s language, the system will display first one in the list.
Note: Users can also format labels using basic HTML tags. For more information, see here.
Optionally, the Required checkbox can be selected to make the user prompt a mandatory field.
Once you have created a prompt, click ❹ OK to save the prompt. You can then insert it into your template.
Step 3: Insert a prompt to your template
To insert prompts into your DCP template, navigate back to the Template Designer and select Insert Field > Computed Item > ❶ Prompt Field. Then, select from the available prompts that you have previously created.
❷ For Select prompts, there is an additional step where you need to insert each individual option under that prompt.

Each prompt is handled slightly differently by the DocumentsCorePack Dialog:
❶ Text and ❷ DateTime prompts do not require any further steps after they inserted into the template, as they will later be replaced by the user’s input.

❸ Checkbox and ❹ Select prompts must have the content of their fields replaced in the template. The placeholder text can be replaced by clicking into the field and modifying the text.

For Checkbox prompts, enabling or disabling them in the DocumentsCorePack Dialog will cause the field to appear or disappear in the result document. For Select prompts, only one field will appear, depending on which field is selected in the dropdown in the Dialog.

Once the needed user prompts and content have been added to your template, save the template to your environment via the Save Template option in the www.mscrm-addons.com.
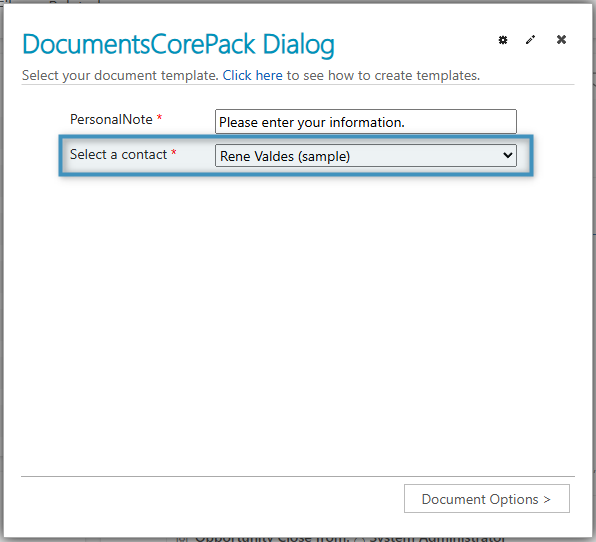
Step 4: Using prompts in the DocumentsCorePack Dialog
After selecting your template, the DocumentsCorePack Dialog will automatically show the defined user prompts during the generation process, as seen in the example below.

Lookup prompts for relations
Prompts can be created through the Relationship Designer as well, though only lookup prompts can be created. These prompts differ from standard prompts in that they can be used to select specific records to be displayed in a given table, acting as a sort of filter.
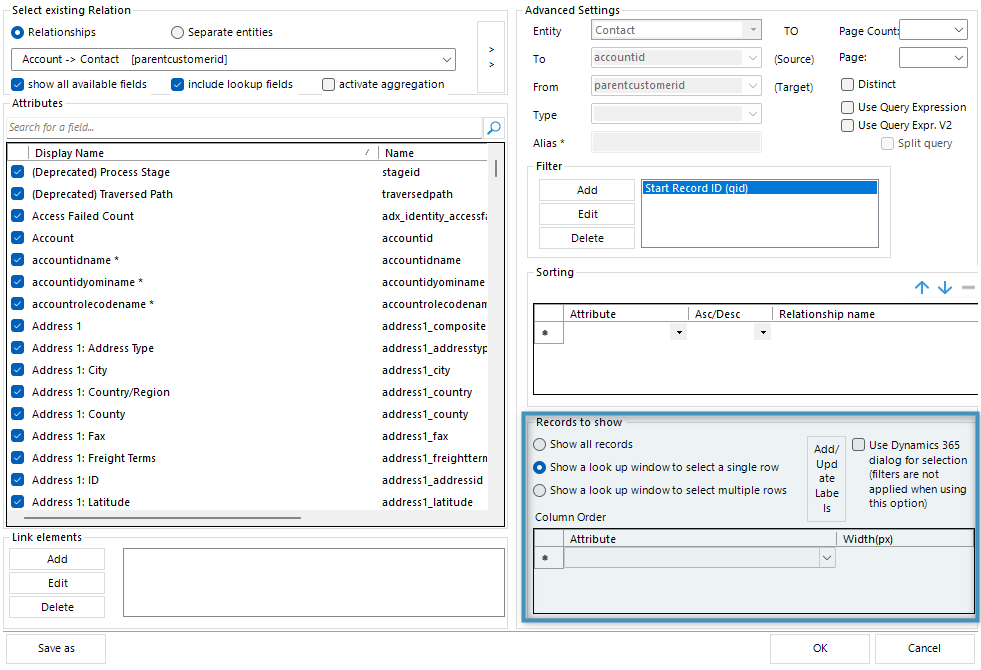
Lookup prompts cannot be added to templates. Instead, they are displayed in the DocumentsCorePack Dialog when generating a document.
More information on lookup prompts for relations can be found here.
Using prompts in the DocumentsCorePack connector
Prompts can also be used within PowerAutomate with the DocumentsCorePack connector. Learn more about how to use the DCP connector here.
Users can utilize this feature with the Create Document action of the DocumentsCorePack connector under the Advanced Options section.

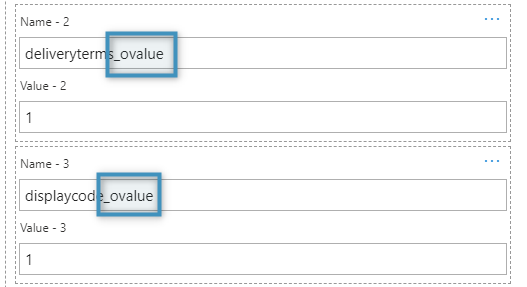
To add a text prompt, enter the name of the prompt field and its value in the respective Name and Value fields.

To add a checkbox or select prompt, enter the name of the field in the and follow it with “_ovalue” to preserve the field’s formatting. For the value, enter 1 or 0 for checkbox fields to represent true or false respectively. For select fields, enter the value that corresponds to a specified option (1 to represent the first option, 2 to represent the second, ect.).
As of now, DateTime prompt fields are not supported by the DocumentsCorePack connector.
That´s it! We appreciate your feedback! Please share your thoughts by sending an e-mail to support@mscrm-addons.com.