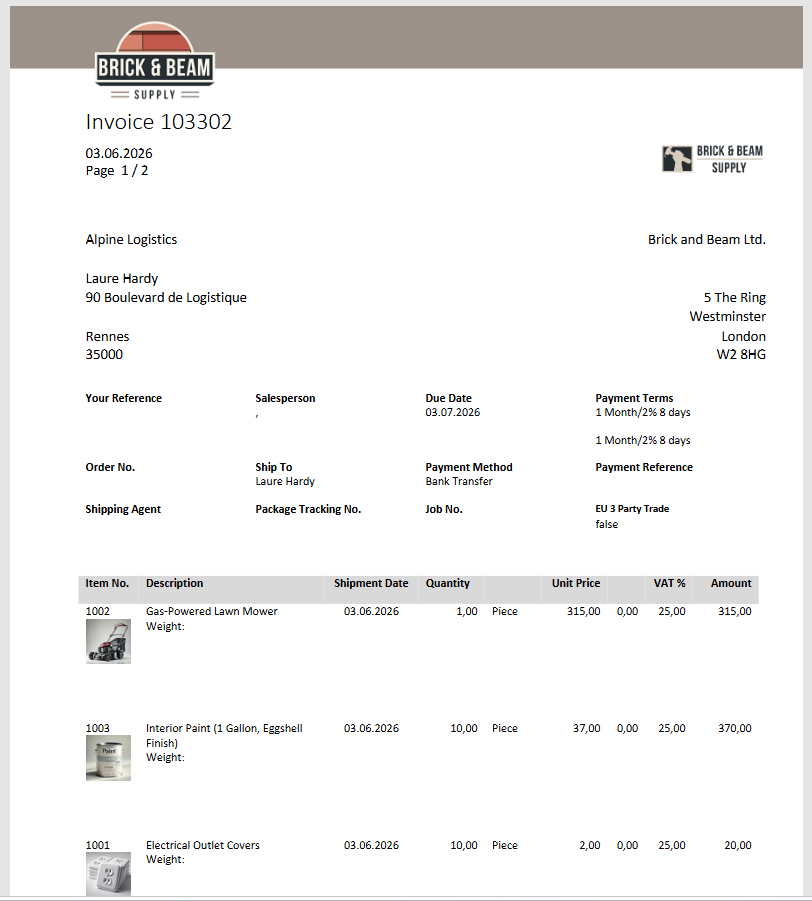
When a sales invoice is posted and sent, Business Central automatically generates the invoice document using a defined, default report and delivers it to its destination. With DocumentsCorePack for Business Central, you can define a DocumentsCorePack report to use your own custom template for invoice documents.
This article is divided into two parts. First, we will configure a report layout to use a DocumentsCorePack template in the DCP Reports Configuration. Then, we will post and send a sales invoice and review the generated document to verify that the selected template was applied.
Part 1: Configure a DCP Template as the Report Layout
The Post and Send… functionality in a sales invoice uses the default report layout configured in Business Central. To use a DocumentsCorePack template for our sales invoice, we will need to change this default layout (more info here).
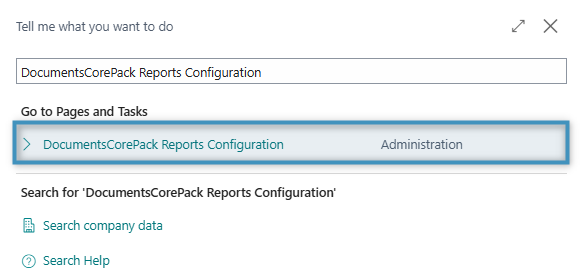
To change the default layout, open the DocumentsCorePack Reports Configuration page. You can find it by entering its name in the search bar.
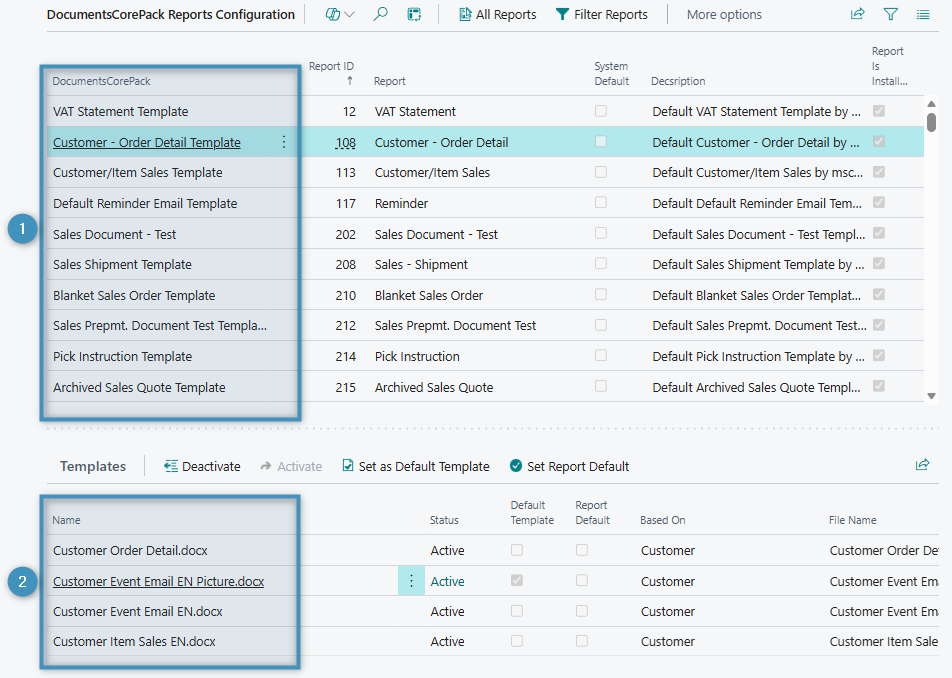
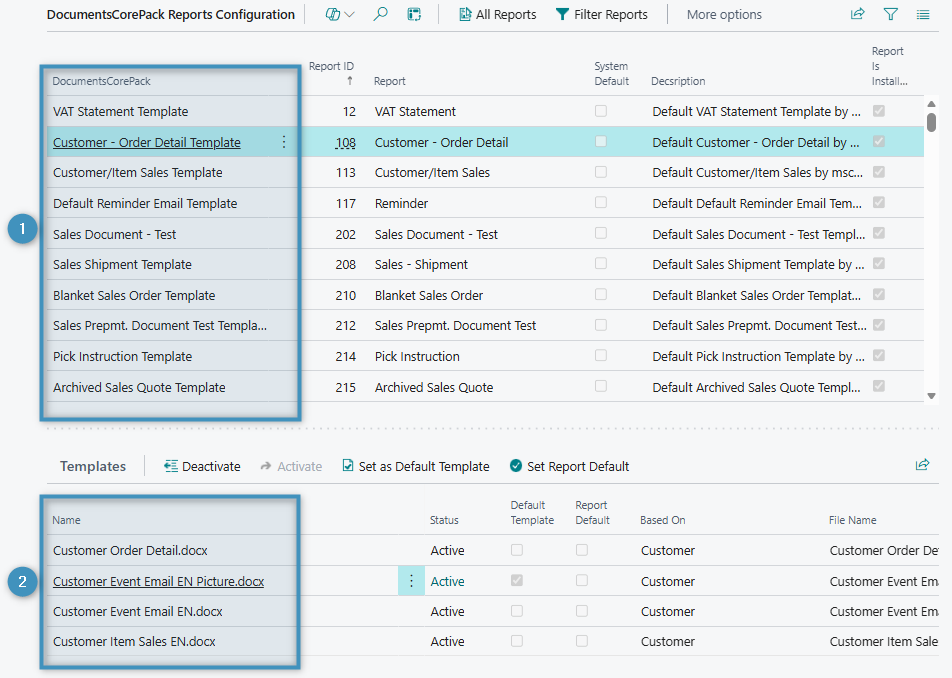
The DocumentsCorePack Reports Configuration page displays a ❶ list of DocumentsCorePack reports. Clicking a report displays the available ❷ DocumentsCorePack templates that can be assigned to it.
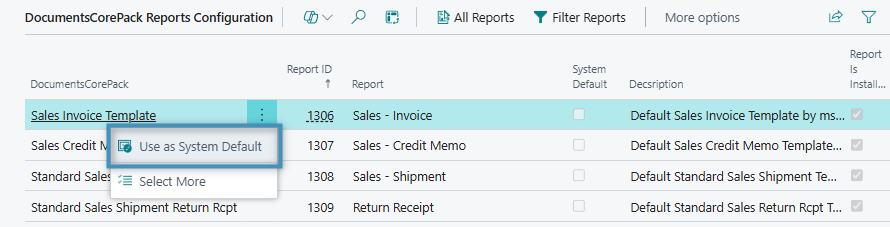
To change the report used for our sales invoice to a DCP report, we need to configure the corresponding sales invoice report as the system default. To do this, we will locate the report (Sales Invoice Template) and select Use as System Default from the report’s options.
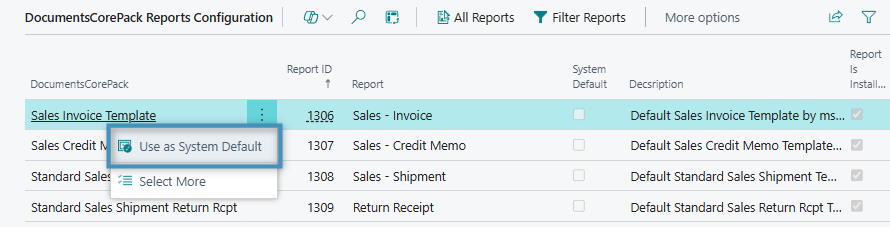
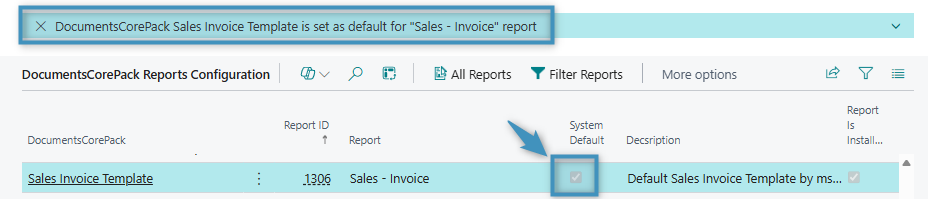
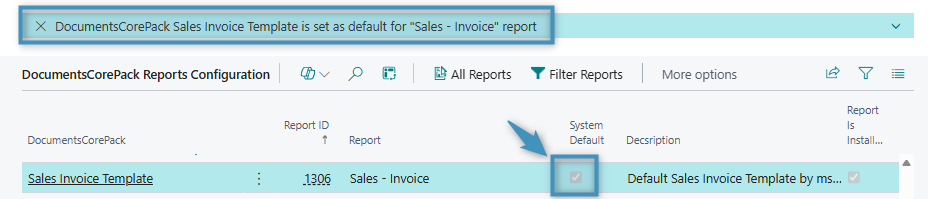
A confirmation message appears when the report is set as the system default. The selected System Default checkbox confirms that the DCP template is now the default report.
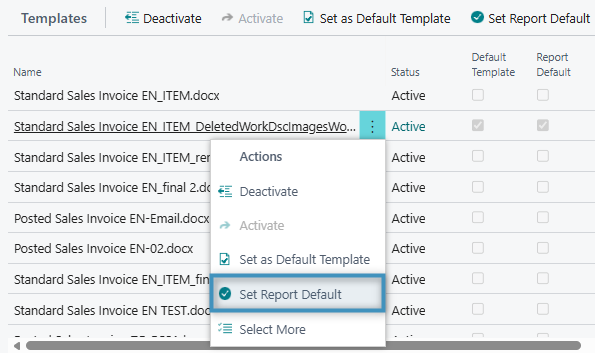
With the report selected, the next step is to choose the template that will be used. To do this, select the template’s Actions menu and select Set Report Default. This will set the chosen template to be used for the DocumentsCorePack report layout.
Part 2: Post and Send a Sales Invoice
With our report configured, the next step is to post and send our sales invoice to the customer. Posting the invoice records the transaction in Business Central and updates the relevant financial and inventory entries.
To begin, go the Sales Invoices page and select the invoice record you want to use.
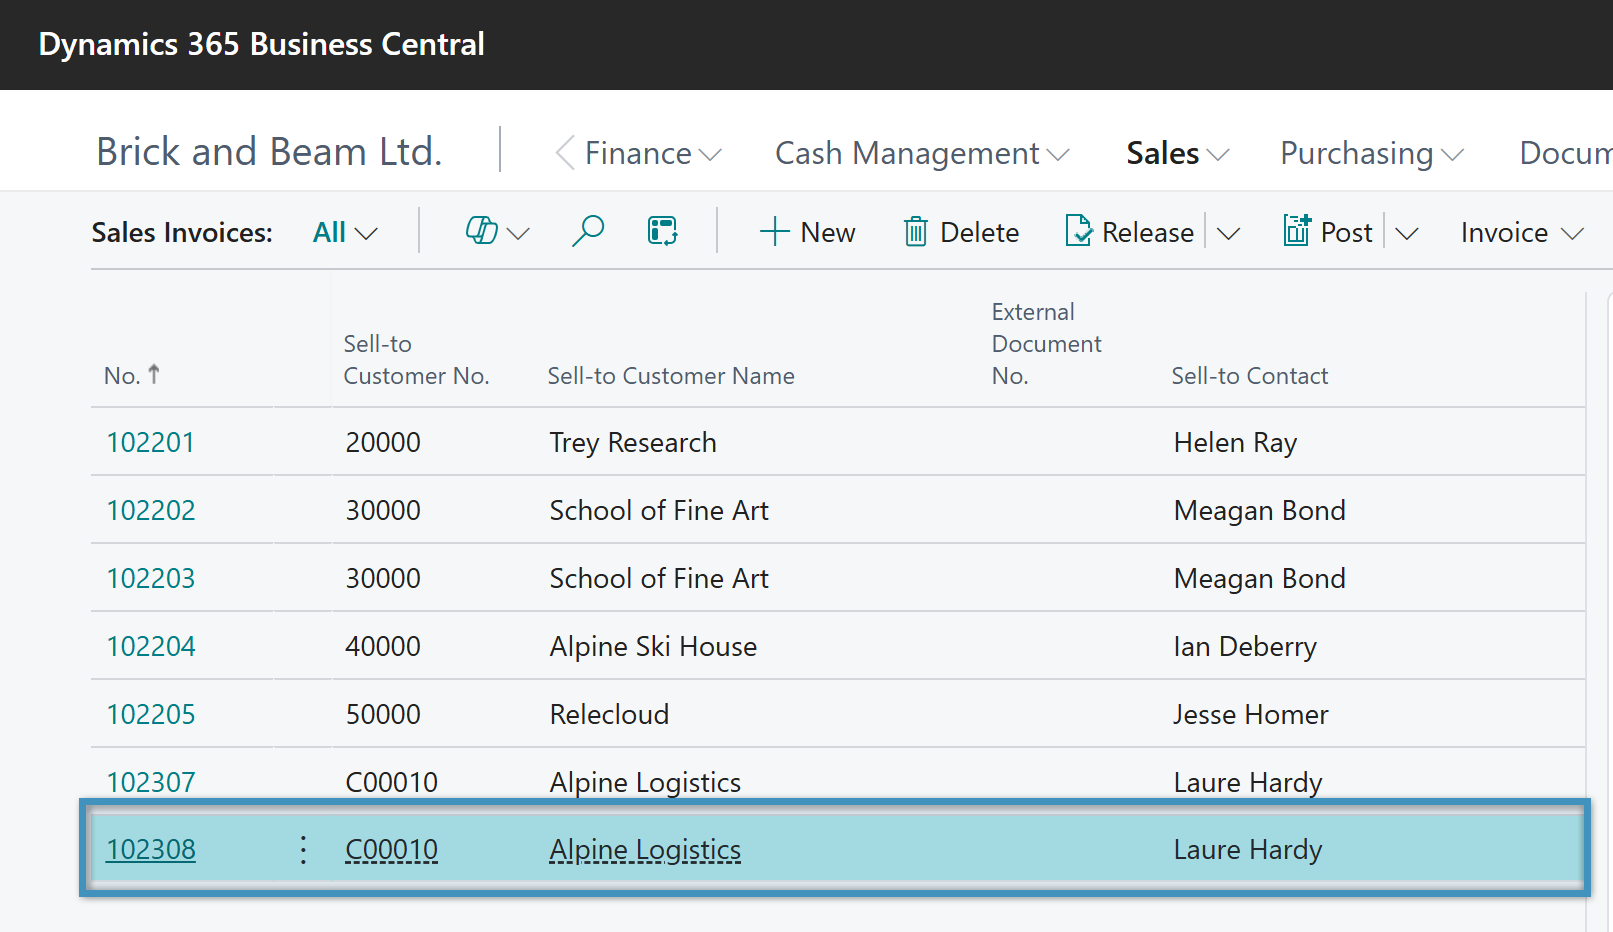
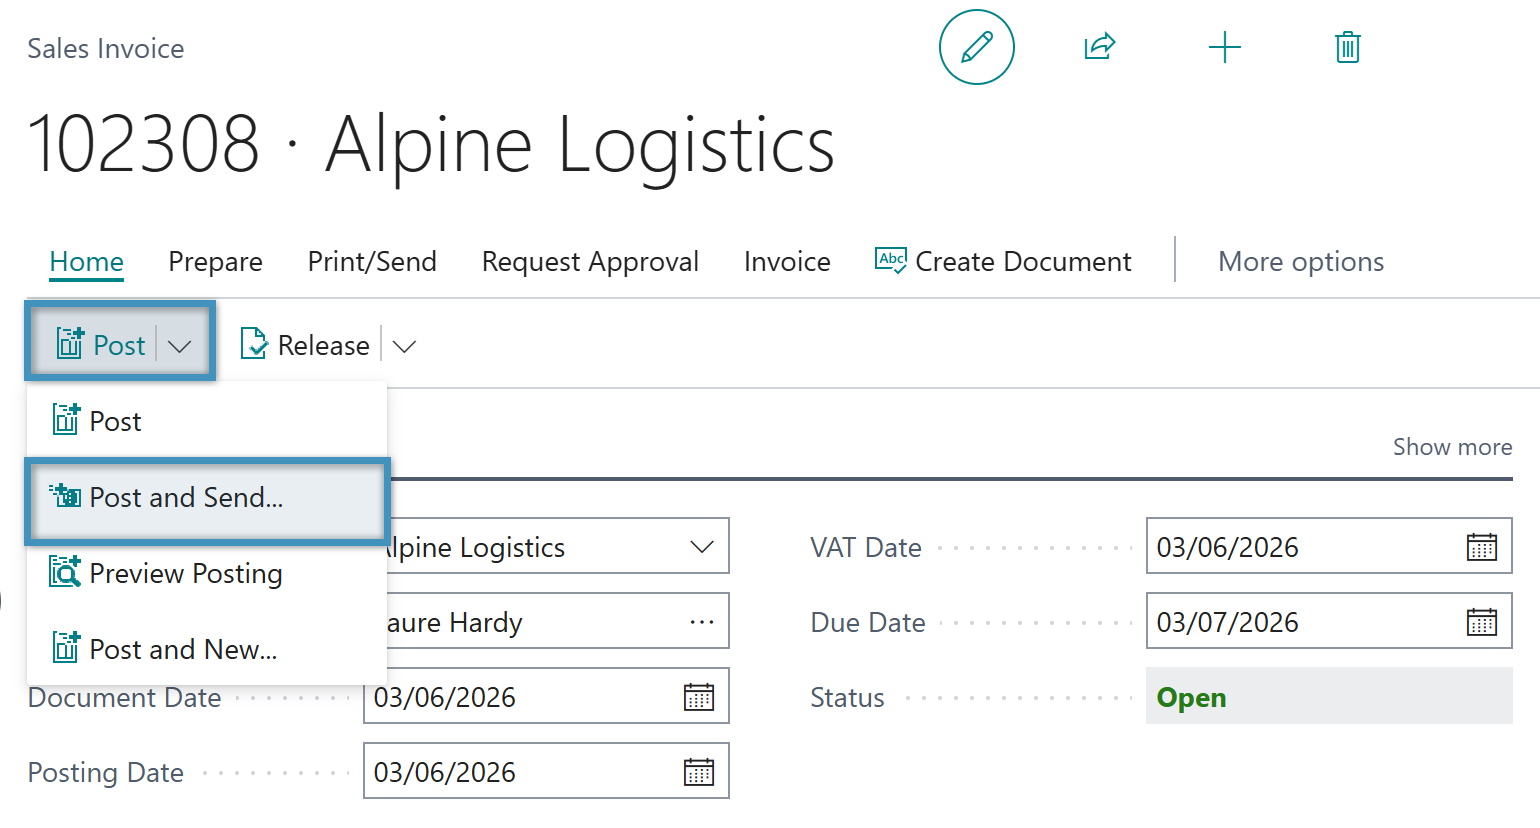
On the Home tab of your sales invoice, select the Post drop-down menu, and then click Post and Send… to post the invoice and initiate the sending process.
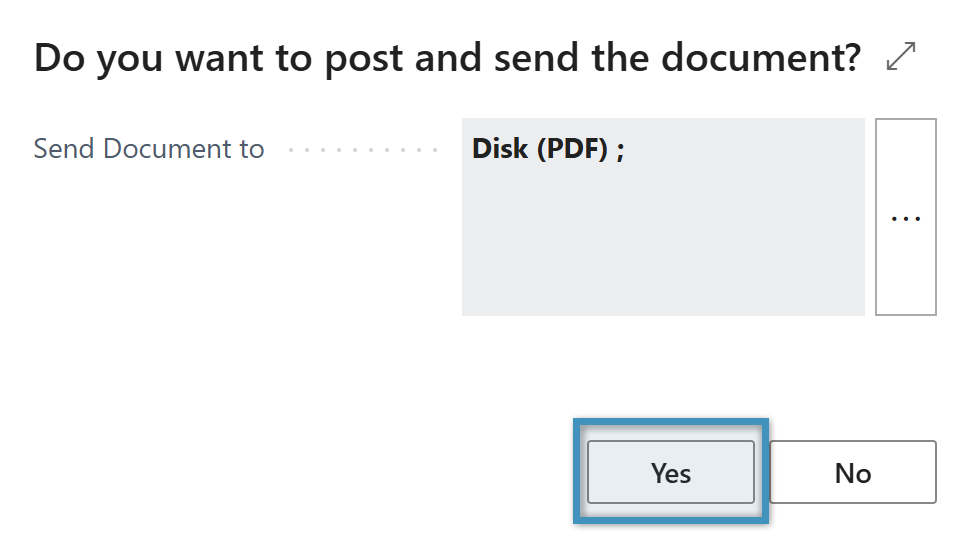
The following dialog box opens. Verify the selected delivery method and select Yes to post the invoice and send the document.
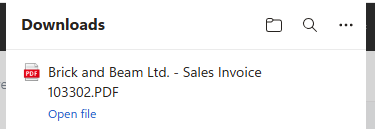
The system automatically downloads the posted invoice as a PDF file to your device.
Viewing the Generated Document
After the invoice has been posted, navigate to Posted Sales Invoices and open the newly created sales invoice.
The generated sales invoice document is shown below.